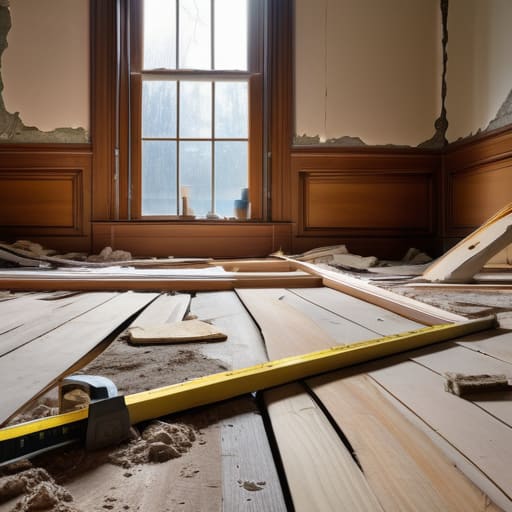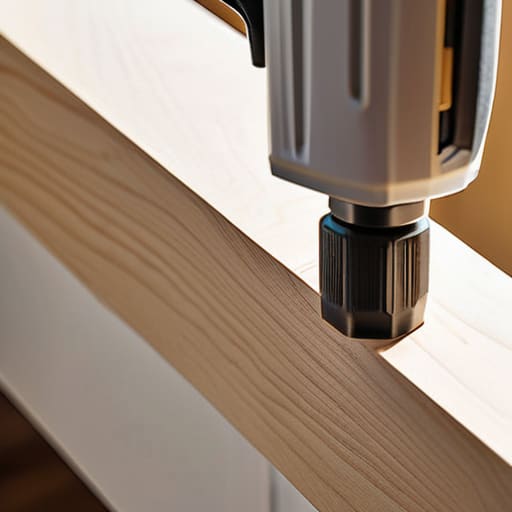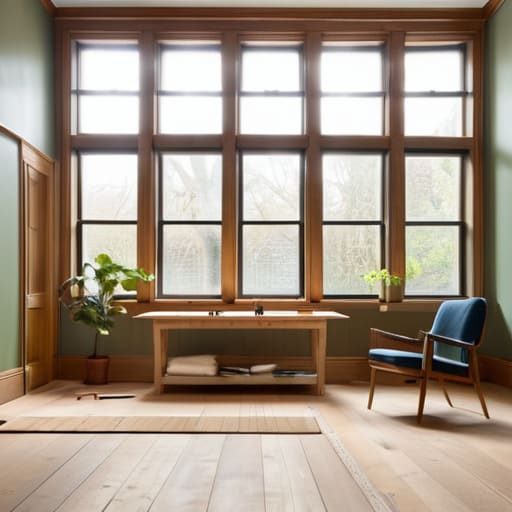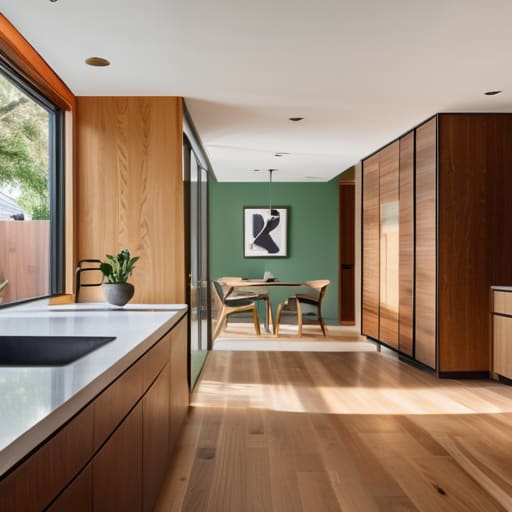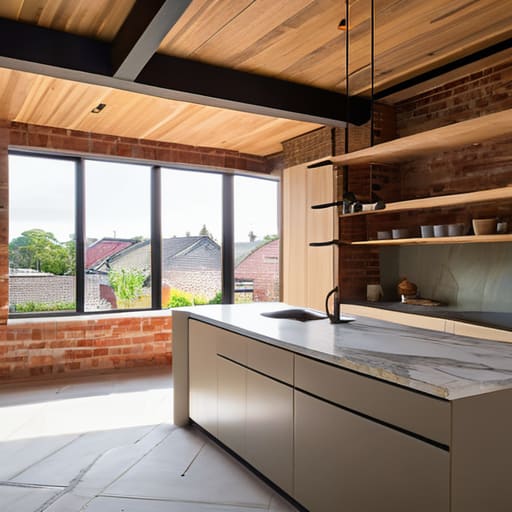
I was standing in a drafty Victorian fixer-upper last November, my laser measurer in hand, staring at a room with nothing but peeling, water-stained drywall and a sense of impending doom. Most designers would have told me to rip it all out and spend five figures on custom plasterwork just to make the space “marketable.” But I knew better. I saw exactly how a strategic application of wall paneling could mask those structural imperfections while adding the high-end architectural character that buyers crave. You don’t need a massive budget to create a sense of luxury; you just need to know which tactical upgrades actually move the needle on your ROI.
In this guide, I’m stripping away the fluff and the overpriced design trends that don’t actually add value. I’m going to show you how to use wall paneling to hide flaws, define spaces, and—most importantly—build instant equity without draining your renovation fund. We’re talking real-world applications, material choices that stand up to heavy use, and the exact methods I use on my own job sites to turn a dated shell into a high-value asset.
Table of Contents
Mastering Molding Installation Styles for Maximum Roi
When you’re looking at a room that feels “empty” or lacks character, you have to decide whether you’re playing the long game or going for a quick visual punch. If you’re aiming for a high-end resale, I usually lean toward traditional vs contemporary paneling debates based on the neighborhood’s vibe. In more established, classic suburbs, wainscoting or picture frame molding adds that sense of permanence that buyers crave. However, if I’m flipping a condo in a revitalized urban core, I’m looking for something much sleeker.
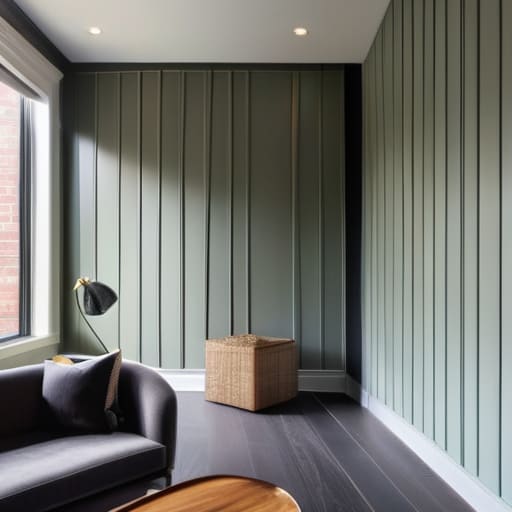
For those modern urban spaces, I prioritize modern interior design trends like vertical slatting or geometric patterns. These act as high-impact textured wall treatments that turn a boring, flat surface into a focal point without needing a massive renovation budget. If you’re working on living room feature walls, don’t just throw up random strips of wood. You need a cohesive plan. The goal isn’t just to decorate; it’s to use these molding installation styles to create the illusion of architectural depth, which is exactly what makes a property feel expensive during a walkthrough.
Choosing Textured Wall Treatments That Command Higher Rents

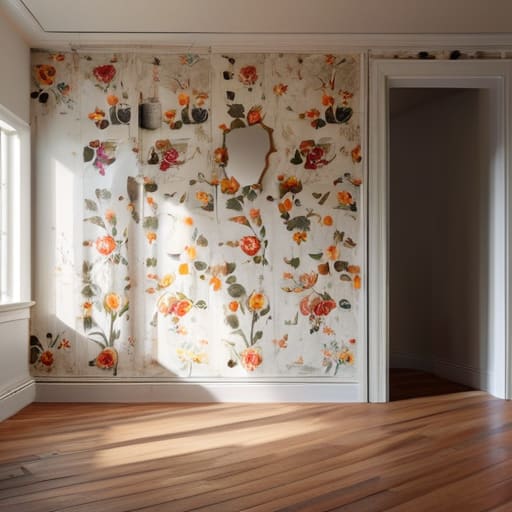
When you’re looking to scale a rental portfolio, you have to stop thinking like a decorator and start thinking like a strategist. If you want to attract high-quality tenants who don’t mind paying a premium, you need to move beyond flat, boring paint. I’ve found that incorporating textured wall treatments is one of the fastest ways to make a unit feel “custom” rather than “cookie-cutter.” Whether it’s a subtle lime wash or a more structured decorative wall cladding, adding depth to a room creates a sensory experience that photos alone can’t capture.
I always steer my clients toward living room feature walls that lean into current modern interior design trends without being so niche that they become polarizing. For example, a slate-effect cladding or a reclaimed wood accent can turn a cramped space into a high-end sanctuary. The goal isn’t just to make it look pretty; it’s to create a focal point that justifies a higher monthly rent. When a tenant walks in and sees a room with actual character, they stop comparing your unit to the cheap apartment down the street and start seeing the value in the aesthetic.
Pro-Tips for Paneling That Actually Pays Off
- Don’t go overboard with the dark wood—unless you’re aiming for a library vibe, stick to lighter, neutral tones that make a room feel bigger and more expensive to potential buyers.
- Always check the studs before you start nailing anything in; there is nothing more soul-crushing than realizing halfway through a feature wall that your expensive wainscoting is sagging because you missed the framing.
- Focus your budget on the “eye-level zones”—investing in high-quality paneling in an entryway or dining room offers a much better return than wasting money on a hallway no one actually spends time in.
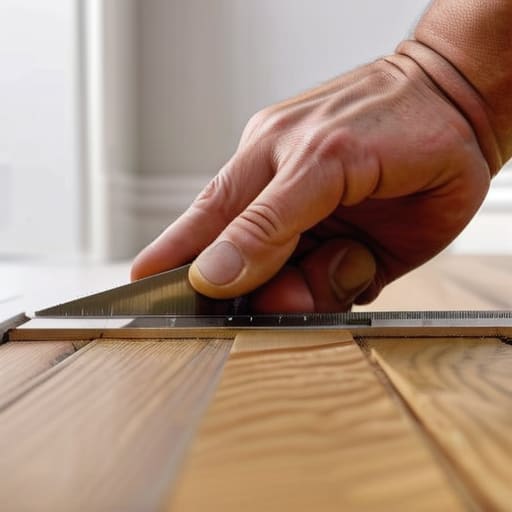
- Use your laser measurer to ensure every single line is dead-on; in a minimalist industrial space, even a tiny gap or a crooked slat will scream “amateur DIY” rather than “high-end renovation.”
- Mix your textures strategically by pairing smooth paneling with a bit of matte paint to create depth without making the room feel cluttered or dated.
The Bottom Line for Your Next Flip
Stop viewing paneling as a decorative luxury and start seeing it as a strategic tool to mask structural imperfections and hide expensive drywall repairs.
Focus your budget on high-impact, tactile textures in common areas to justify higher rental premiums or a faster sale price.
Always prioritize timeless, clean lines over trendy patterns to ensure your renovation adds long-term equity rather than becoming a dated headache for the next owner.
## The Real Value of Vertical Lines
“Don’t look at wall paneling as just another decor choice; look at it as a strategic layer of equity. You aren’t just covering up old drywall—you’re using texture and depth to trick the eye into seeing a high-end custom build instead of a budget renovation.”
Gareth Trelawny
The Bottom Line on Wall Paneling
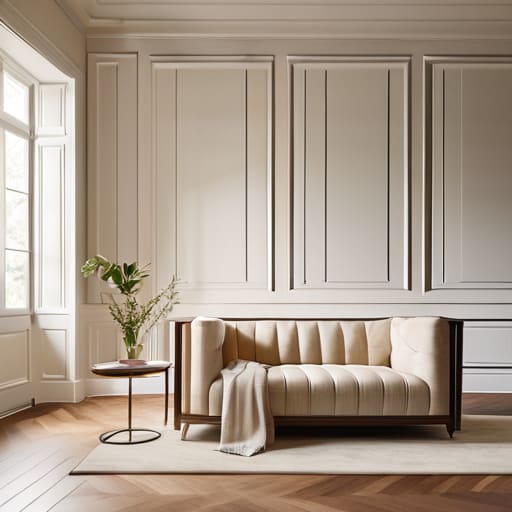
At the end of the day, wall paneling isn’t just about making a room look pretty for a listing photo; it’s a strategic tool for increasing your property’s value. Whether you’re leaning into the high-end feel of classic molding to boost your resale price or using textured treatments to attract long-term, high-quality tenants, every choice you make should be driven by the math. Don’t get distracted by fleeting trends that won’t hold up in five years. Instead, focus on timeless, high-impact upgrades that turn a bland, empty shell into a space people can actually visualize themselves living in. If you execute these installs with precision, you aren’t just decorating—you are actively building equity one wall at a time.
I know that staring at a room full of bare, uneven drywall can feel overwhelming, especially when you’re staring down a tight renovation budget. But remember, the most profitable flips aren’t the ones that look perfect on day one; they are the ones where the investor saw the potential beneath the mess. Don’t let a little bit of dust or a complicated installation scare you away from a massive opportunity. Grab your tools, trust your eye, and start turning those crumbling surfaces into solid assets. This is how you build a portfolio that lasts, and it all starts with the decision to see the value where others only see a headache.
Frequently Asked Questions
How do I figure out if a specific paneling style is actually going to add value to the house or if it's just going to be a headache for the next buyer?
Look, don’t fall in love with a design just because it looks good on your Pinterest board. To avoid a headache, ask yourself: “Is this a classic or a trend?” If you’re installing heavy, dark wood paneling, you’re likely shrinking the room and alienating buyers. Stick to timeless, architectural details like wainscoting or slim Shaker styles. If it feels like a “statement piece” that requires a specific furniture set to work, skip it. Aim for versatility, not a niche vibe.
Is it worth the extra time and money to do custom wainscoting, or should I just stick to something simpler and faster for a quick flip?
If you’re on a tight timeline for a quick flip, skip the custom wainscoting. It’s a time sink that rarely recoups its cost in a fast-paced sale. You want speed and impact. Instead, grab some pre-primed picture frame molding kits. You get that high-end, architectural look for a fraction of the labor cost. Don’t get bogged down in custom carpentry; focus on the high-margin wins that get people through the door.
What’s the best way to handle paneling in older fixer-uppers where the walls are already uneven or crumbling underneath?
Look, I’ve been there—standing in a room with walls that look like a topographical map. Don’t try to fight the unevenness by nailing thin, flimsy paneling directly to the studs; you’ll just highlight every flaw. My rule of thumb? Level it out first. Use furring strips to create a flat plane, or better yet, install a cement board over the crumbling plaster. It’s more upfront work, but it ensures a professional finish that actually adds value.