I was standing in the hallway of a fixer-upper I picked up last spring, staring at a set of hollow-core doors that felt like they were made of cardboard. I reached out to turn the knob, and the whole thing gave a sickening, metallic clunk—the kind of sound that tells you exactly how much the previous owner cut corners. It’s a rookie mistake that kills my blood pressure every time: treating door hardware as an afterthought or, worse, a place to save a few bucks by buying the cheapest bulk packs at a big-box store. When a potential buyer reaches for a handle and it feels flimsy or cheap, they don’t just see a bad knob; they see a house that hasn’t been cared for, and that perception can tank your asking price faster than a cracked foundation.
I’m not here to sell you on some overpriced, designer gold-plated nonsense that won’t last two seasons. Instead, I’m going to show you how to select strategic, high-impact hardware that adds tangible value without blowing your renovation budget. We’re going to talk about weight, finish, and why the tactile experience of a door is actually one of your most underrated tools for building equity.
Table of Contents
Modern Door Handle Finishes That Signal High End Value
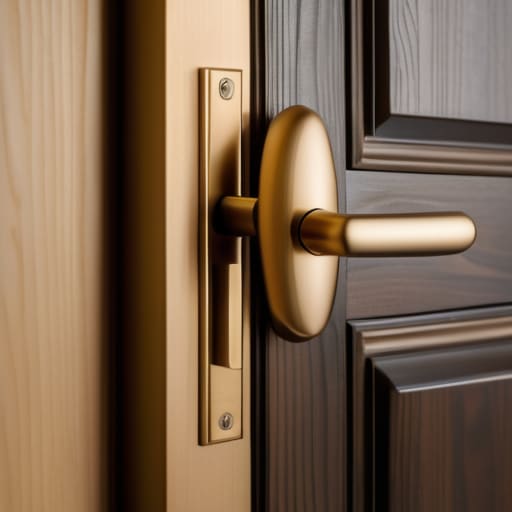
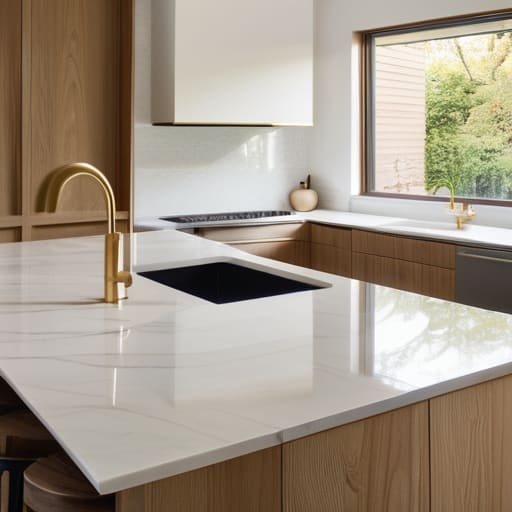
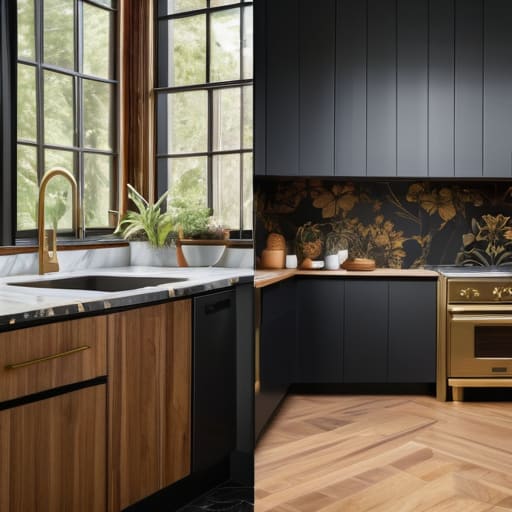
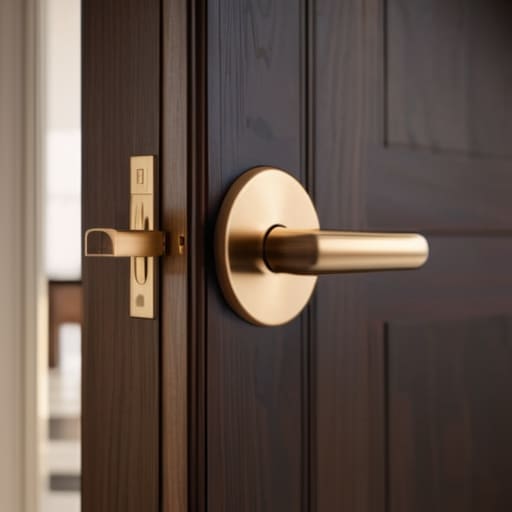
When you’re walking through a property during a showing, the first thing a buyer does isn’t looking at the crown molding—it’s reaching for a handle. If that handle feels flimsy or looks like it came from a big-box clearance aisle, they’ve already mentally devalued the entire house. To signal real luxury, you need to lean into current modern door handle finishes that feel intentional. Right now, I’m seeing a massive shift away from the dated, shiny chrome of the early 2010s. Instead, I’m opting for matte black or brushed champagne gold to add a layer of sophistication that makes a standard renovation feel custom-designed.
If you want to stay ahead of the curve, keep an eye on architectural door hardware styles that favor clean, geometric lines. A heavy, solid brass lever in a satin finish does more for the perceived value of a room than a dozen expensive paint colors ever could. It’s about that tactile weight; when a door closes with a solid, expensive-sounding thud, the buyer knows they aren’t just looking at a flip—they’re looking at quality craftsmanship.
Selecting Durable Door Hardware Materials for Long Term Gains
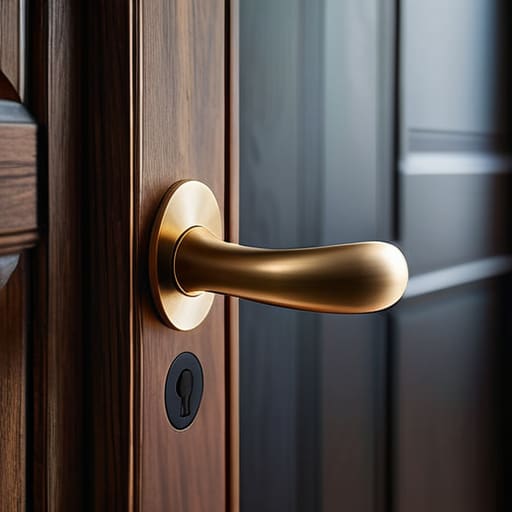
When I’m walking through a job site, I’m not just looking at the aesthetics; I’m looking at the lifecycle of the asset. If you’re flipping a property, you might be tempted to go with the cheapest zinc alloy handles you can find just to cross the finish line, but that’s a rookie mistake. You want to invest in durable door hardware materials like solid brass or stainless steel. These aren’t just about looks; they provide a weight and a “click” that tells a potential buyer the house was built to last. Cheap hardware feels hollow and flimsy, and once that finish starts peeling after six months, your reputation for quality takes a massive hit.
I also tell my clients to pay close attention to the entryway security hardware. The front door is the first point of contact for a buyer, and it needs to feel substantial. If the deadbolt feels loose or the handle wobbles, they’ll immediately start questioning what else was cut corners on behind the drywall. Investing a little extra upfront in high-quality components is one of the easiest ways to ensure your renovation stands the test of time without constant maintenance calls.
5 Pro Tips to Keep Your Hardware from Tanking Your ROI
- Match your hardware to the room’s “vibe” rather than just picking one finish for the whole house. A sleek, matte black lever works wonders in a minimalist kitchen, but don’t be afraid to lean into aged brass for a more traditional, high-end study.
- Test the weight before you buy. If a handle feels hollow or light in your hand, it screams “builder grade” to a potential buyer. You want something with a bit of heft that makes the door feel substantial when it opens.
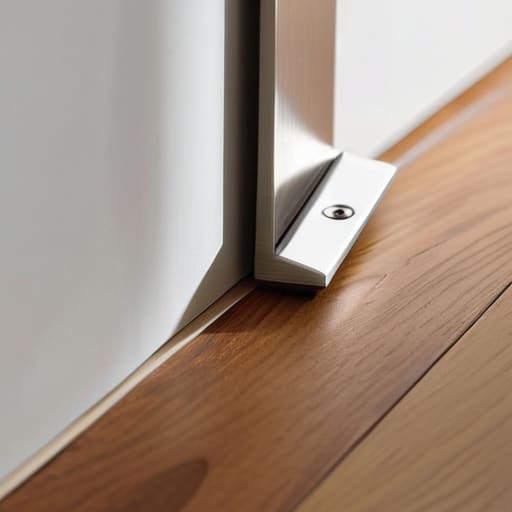
- Don’t ignore the hinges. I’ve seen too many flippers spend a fortune on designer knobs only to leave up those flimsy, squeaky silver hinges. If you’re upgrading the handles, match the hinge finish to keep the look seamless and professional.
- Prioritize privacy sets in the right places. It sounds basic, but nothing kills a showing faster than a bathroom door that doesn’t actually lock properly or feels flimsy. It’s a small detail that signals the house is well-maintained and functional.
- Think about the “touch points” for long-term durability. In high-traffic areas like mudrooms or laundry rooms, steer clear of overly delicate finishes that show every single fingerprint. Stick to brushed or textured metals there to save yourself a headache during the final walkthrough.
The Bottom Line on Hardware ROI
Stop treating door hardware as an afterthought; it’s a high-touch tactile detail that buyers use to subconsciously judge the quality of the entire renovation.
Prioritize solid brass or heavy-duty alloys over hollow, lightweight alternatives to ensure the hardware feels substantial and signals durability to potential buyers.
Stick to timeless, high-end finishes like matte black or brushed brass to avoid the “dated flip” look and ensure your investment holds its value long after the sale.
## The Psychology of the Handshake
“When a potential buyer walks through a door, the hardware is their first physical handshake with the house. If that handle feels flimsy or looks dated, they’ve already decided the renovation was cheap—and once they think you cut corners, you’ve lost the sale.”
Gareth Trelawny
The Final Polish
At the end of the day, choosing the right door hardware isn’t just about picking something that looks pretty on a spec sheet. It’s about the intersection of durability and design. We’ve covered how the right finish can instantly elevate a room’s perceived value and why opting for solid, high-quality materials is non-negotiable if you want to avoid a callback from a frustrated buyer. If you’re flipping, you want hardware that feels substantial in the hand; if you’re holding for long-term equity, you want pieces that won’t tarnish or fail after two years of heavy use. Remember, small details are the silent ambassadors of your renovation quality.
I know that when you’re staring at a mountain of drywall dust and a budget that’s constantly creeping upward, it’s easy to view door handles as an afterthought. But don’t fall into that trap. These are the tactile touchpoints that tell a story about how much care you put into the bones of the house. Investing in these “small” wins is exactly how you bridge the gap between a basic remodel and a professional-grade asset. Stop looking at hardware as an expense and start seeing it as a tool for maximizing your ROI. Now, grab your laser measurer and go get to work.
Frequently Asked Questions
How do I know if I should go with a single-lever design versus a traditional knob for a rental property versus a flip?
If you’re flipping, go with levers. They feel premium, look modern, and that tactile “click” of quality helps justify your asking price. For rentals, levers are non-negotiable for accessibility and durability—they handle heavy use better and won’t frustrate tenants. Save the traditional knobs for a niche, historic restoration where character trumps convenience. In this business, you aren’t just picking hardware; you’re choosing between ease of maintenance and perceived luxury.
At what point in the renovation timeline should I actually be installing the hardware so it doesn't get damaged by contractors?
Wait until the very end. I’ve seen too many beautiful matte black levers get scratched by a contractor’s tool belt or covered in drywall dust. You want your hardware installed during the final “punch list” phase—after the painters have finished, the floors are down, and the heavy construction is dead and buried. Protect your ROI by making hardware one of the final, polished touches in the room.
Is it worth paying the premium for designer brands, or can I find high-end looking options at a big-box retailer that won't break after six months?
Look, I’ve been in enough dusty job sites to know that brand names don’t always equal ROI. You don’t need a designer label to make a house feel expensive, but you do need weight. Avoid those hollow, lightweight handles at the big-box stores; they feel cheap the second a tenant or buyer touches them. My rule of thumb? Shop the big-box pro aisles for solid brass or heavy steel, and spend your saved premium on the finish instead.