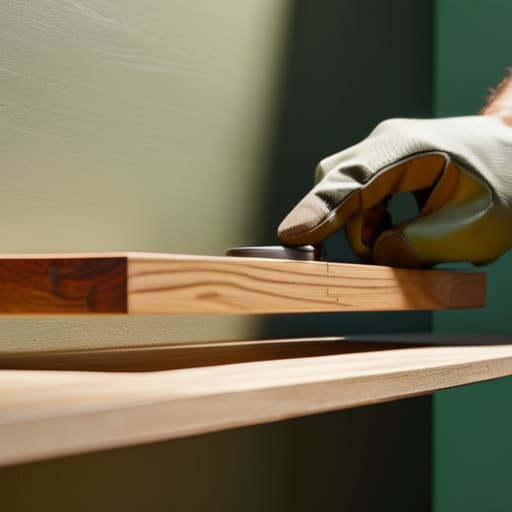
I was standing in a dusty hallway of my first fixer-upper, staring at a patch of drywall that looked more like Swiss cheese than a structural support, wondering why I hadn’t just hired a contractor. I had a stack of beautiful reclaimed wood planks and a vision for a custom library, but the reality of shelving installation felt like a recipe for a collapsed wall and a wasted budget. Most people think you need a professional crew to get those clean, floating lines, but the truth is that improperly executed DIY work is what actually kills your property value.
I’m not here to give you some polished, Pinterest-perfect fantasy that ignores the grit of a real job site. In this guide, I’m breaking down the actual mechanics of a successful shelving installation—from finding the studs to choosing the right anchors so your heavy decor doesn’t end up on the floor. I’ll show you how to navigate wonky walls and leverage your space to create tangible equity without breaking the bank. Let’s stop looking at empty walls and start turning them into assets.
Table of Contents
- Step-by-Step Instructions
- Precision Stud Finder Techniques for Structural Integrity
- Weight Capacity Calculations to Protect Your Investment
- Pro-Level Moves to Avoid a Renovation Nightmare
- The Bottom Line: Turning Shelving into Equity
- The Real Value of a Straight Line
- Turning Walls into Value
- Frequently Asked Questions
Guide Overview
Tools & Supplies
- Drill/Driver for making holes and driving screws
- Level to ensure shelves are straight
- Stud finder to locate wall support
- Measuring tape for precise placement
- Pencil for marking drill points
- Shelving boards (length depends on project)
- Shelf brackets (set matching board depth)
- Wall anchors (if not drilling into studs)
- Screws (appropriate length for thickness)
Step-by-Step Instructions
- 1. Before you even touch a drill, you need to find those studs. I’ve seen too many rookies try to hang heavy oak shelves on just drywall anchors, only to have the whole thing come crashing down mid-renovation. Grab your stud finder and trace the vertical supports behind the wall; you want to be hitting solid wood whenever possible to ensure these shelves can actually hold the weight of your decor or books.
- 2. Once you’ve identified your mounting points, grab that laser measurer I’m always talking about and mark your heights. Don’t just eyeball it—measure from the floor up to ensure your lines are perfectly level across the entire span. I like to use a spirit level to draw a light pencil line across the wall so I have a visual guide that doesn’t lie to me.
- 3. Now it’s time to prep the hardware. If you’re using floating shelves, you’ll likely be installing a metal bracket first. Position your bracket against your pencil marks and drill your pilot holes. If you missed a stud and absolutely have to use an anchor, make sure you’re using a heavy-duty toggle bolt rather than those cheap plastic ones that crumble under pressure.
- 4. Secure the mounting system to the wall. Drive your screws in, but don’t go full force immediately. I prefer to start all the screws halfway and then go back to tighten them once I’m sure the bracket is perfectly flush against the drywall. If the bracket is wobbly, your shelves will never look high-end; they’ll just look amateur.
- 5. Slide your shelving units onto the brackets. This is the moment of truth where you check for any wobbling or misalignment. If the shelf feels loose, check your level one more time. In this business, precision is profit; a crooked shelf can make an entire room feel “off” to a potential buyer, and we want everything looking intentional and sharp.
- 6. Finally, do a stress test. I always give my shelves a firm, even press with my palms to make sure they aren’t shifting. Once you’re confident, start styling. I like to keep it minimal—maybe a few curated pieces or a trailing plant—to show off the clean lines of the installation without cluttering the visual space you just worked so hard to create.
Precision Stud Finder Techniques for Structural Integrity
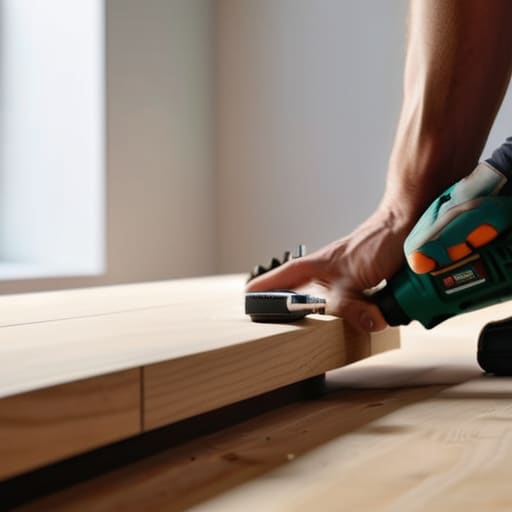
Look, I’ve seen too many beautiful, expensive floating shelves end up on the floor because someone got lazy with their prep work. If you’re just guessing where the wood is behind that drywall, you’re asking for a disaster. You need to master specific stud finder techniques before you even think about picking up a drill. I always do a double-pass: first, I scan to find the edge of the stud, and then I scan again to find the center. If you don’t hit that center point exactly, your screws are going to pull through the side of the timber, and your structural integrity goes right out the window.
Once you’ve located your targets, don’t just assume any screw will do. I always keep a mental weight capacity calculations checklist in my head. If you’re planning on stacking heavy art books or mid-century ceramics, you can’t rely on plastic anchors alone; you need to be securing shelves to drywall using heavy-duty lag bolts driven directly into those studs. It’s the difference between a shelf that looks great in a photo and one that actually holds the value you’re trying to build.
Weight Capacity Calculations to Protect Your Investment
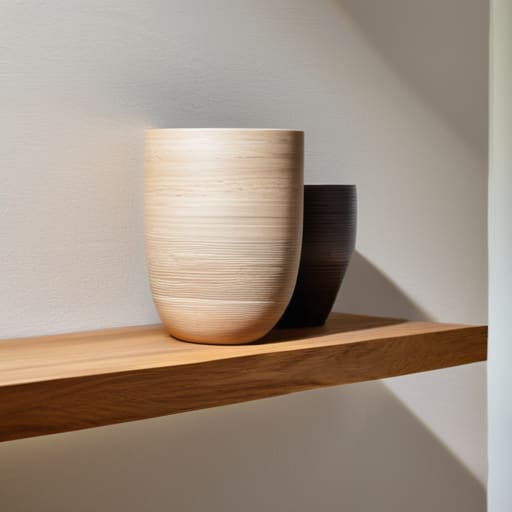
Look, I’ve seen too many beautiful renovations ruined because someone got a little too ambitious with their decor. You might think a sleek floating shelf is just for a few lightweight succulents, but if you’re planning to stack heavy art books or stoneware, you need to do your weight capacity calculations before you even touch a drill. It’s not just about the shelf itself; it’s about the physics of the load. If you miscalculate, you aren’t just looking at a broken shelf—you’re looking at a hole in the drywall and a massive headache that eats into your profit margins.
When you’re planning the load, don’t just guess. Factor in the weight of the items plus the weight of the shelving material itself. If you aren’t hitting a stud, you absolutely cannot rely on standard anchors for heavy loads; that’s how you end up securing shelves to drywall with nothing but hope. I always recommend overestimating your load by about 20%. It’s much better to have a shelf that feels slightly too sturdy than one that starts bowing the moment you add a single heavy vase.
Pro-Level Moves to Avoid a Renovation Nightmare
- Stop eyeballing it. Even if the room looks square, it rarely is. Use your laser measurer to check your level lines across the entire wall, because nothing screams “cheap flip” like a shelf that slants just enough to make a buyer uneasy.
- Don’t skimp on the hardware. I’ve seen too many DIYers use the flimsy plastic anchors that come in the box; if you aren’t hitting a stud, use high-quality toggle bolts. You want these shelves to feel like part of the house, not an afterthought.
- Plan for the “Visual Weight.” Since I love that minimalist industrial look, I always remind my clients that heavy timber shelves need beefier brackets. If the hardware looks too spindly for the wood, the whole room loses its sense of quality.
- Mind your clearance. Before you drill a single hole, stand where the person will actually be standing. You don’t want to install a beautiful shelf only to realize it’s at head-height for anyone walking through the room.
- Think about the lifestyle, not just the look. When I’m staging a rehab, I install shelving with the end-user in mind—if it’s a kitchen, it needs to handle heavy stoneware; if it’s a living room, it’s about displaying those mid-century finds without the fear of a collapse.
The Bottom Line: Turning Shelving into Equity
Don’t eyeball your measurements; use that laser measurer to ensure everything is level, because nothing kills the perceived value of a renovation faster than crooked, amateur-looking built-ins.
Always prioritize the studs over the drywall; if you aren’t anchoring into the structural bones of the house, you aren’t building a feature, you’re building a liability.
Think about the long-term use, not just the aesthetic; calculating weight capacity upfront means you won’t be dealing with cracked plaster or failed hardware six months after the flip is complete.
The Real Value of a Straight Line
“In this business, people get distracted by the expensive finishes, but I’m looking at the bones. If your shelving isn’t anchored into the studs with precision, you aren’t building storage—you’re just building a liability that’s going to cost you more in repairs than it ever added in equity.”
Gareth Trelawny
Turning Walls into Value
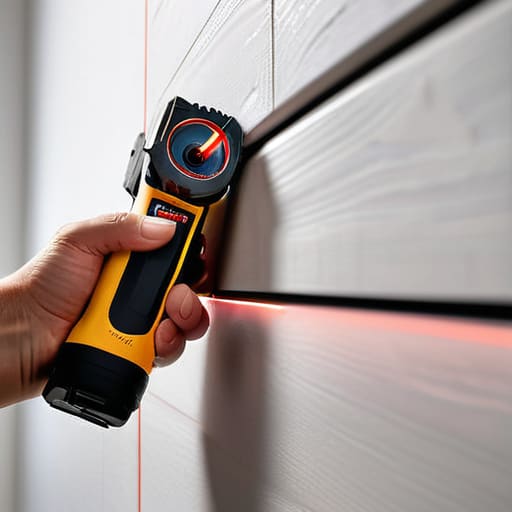
At the end of the day, successful shelving installation isn’t just about making a room look pretty; it’s about the technical discipline behind the aesthetic. We’ve covered why you can’t skip the precision of a stud finder and why calculating weight capacity is the difference between a high-end custom look and a total renovation disaster. If you’ve taken the time to measure twice and anchor into those structural supports, you’ve already done more than most DIYers to ensure these additions actually hold their value. It’s that attention to detail—the stuff that happens behind the drywall—that separates a cheap fix from a strategic property upgrade.
I know it can feel overwhelming when you’re staring at a pile of brackets and a blank wall, but remember that every major renovation is just a series of small, calculated wins. You aren’t just hanging boards; you are learning how to manipulate a space to maximize its potential. Don’t let the fear of a crooked level or a dusty floor stop you from making your move. Every time you master a new skill like this, you are building your toolkit for the next big flip. Keep your eye on the equity, stay patient through the mess, and keep building.
Frequently Asked Questions
What kind of hardware should I use if I can't find a stud exactly where I want my shelf?
If you’re staring at a perfect spot but there’s no stud in sight, don’t panic—and for heaven’s sake, don’t just rely on those flimsy plastic anchors that come in the box. If you aren’t hitting wood, you need heavy-duty toggle bolts. They grip the back of the drywall and distribute the load much better. It’s a bit more work to drill the hole, but it’s the only way to ensure your investment doesn’t end up on the floor.
How do I make sure my floating shelves don't start sagging after a few months of heavy books?
If you’re seeing a sag, you’ve likely ignored the physics of leverage. Floating shelves are essentially long levers trying to pry themselves out of your walls. To prevent this, skip the cheap plastic anchors; you need to sink heavy-duty structural screws directly into the center of your studs. If your layout doesn’t align with the framing, you’ll need to install a solid wood cleat first. Don’t guess on weight—over-engineer the support so your equity stays level.
Is it worth the extra cost to use heavy-duty anchors, or can I get away with standard drywall plugs for lighter decor?
Look, if you’re just hanging a lightweight framed print or some dried eucalyptus, standard plugs are fine. But here’s the thing: I never play guessing games with my walls. If there’s even a slight chance you’ll add a heavier piece later—or if you’re installing anything near a high-traffic area—spend the extra few bucks on heavy-duty anchors. It’s a tiny upfront cost to prevent a massive headache (and a hole in your drywall) down the road.
