I was standing in the middle of a fixer-upper last Tuesday, staring at a garage that looked less like a storage space and more like a graveyard for broken dreams and rusted lawnmowers. The smell of damp concrete and old oil was thick enough to choke on, and as I pulled my laser measurer from my bag, I realized the owner had spent thousands on fancy, aesthetic shelving units that were already buckling under the weight of literal junk. Most people think garage organization is about buying a matching set of plastic bins from a big-box store to make things look pretty, but let me tell you: if you haven’t audited your inventory, you’re just organizing your mess.
I’m not here to sell you on some overpriced, Pinterest-perfect lifestyle hack that falls apart the moment you actually try to park a car inside. Instead, I’m going to show you how to approach garage organization like a real estate investor would—by focusing on functional square footage and maximizing every inch of usable space. We’re going to cut through the fluff and talk about heavy-duty systems, strategic zones, and the kind of ruthless decluttering that actually builds equity in your home.
Table of Contents
- Mastering Garage Decluttering Tips to Reclaim Your Square Footage
- Maximizing Small Garage Space With High Yield Storage Layouts
- Stop Wasting Equity: 5 High-Impact Moves to Optimize Your Garage
- The Bottom Line: Turning Your Garage from a Junk Drawer into an Asset
- ## Stop Seeing a Junk Room, Start Seeing Square Footage
- Stop Treating Your Garage Like a Junk Drawer
- Frequently Asked Questions
Mastering Garage Decluttering Tips to Reclaim Your Square Footage

Before you even think about buying a single bin or installing a shelf, you have to face the music: most people are hoarding junk they haven’t touched in three years. If you want to actually reclaim your square footage, you need to be ruthless. I’ve seen too many investors blow their budget on fancy shelving only to realize they just organized their trash. Grab some heavy-duty contractor bags and start sorting everything into three piles: keep, donate, or trash. If you haven’t used it since your last move, it’s probably just taking up valuable equity.
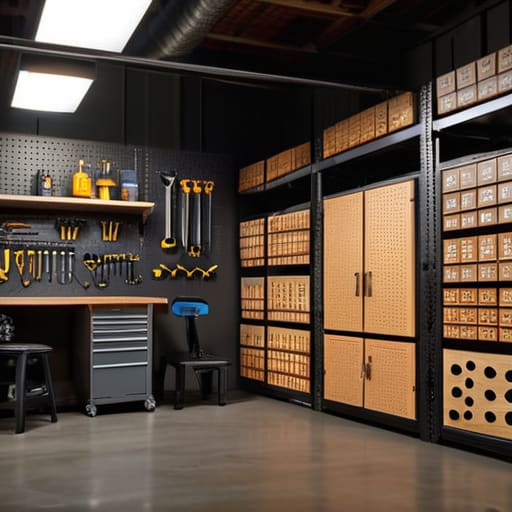
Once the floor is clear, it’s time to think vertically. This is where you stop treating your garage like a dumping ground and start treating it like a workspace. I’m a huge advocate for wall mounted organizers because they keep your tools accessible without eating into your parking space. If you’re dealing with a tight footprint, look into overhead storage racks for those seasonal items you only need once a year. The goal is to get as much off the floor as possible so you can actually utilize the space you’re paying for.
Maximizing Small Garage Space With High Yield Storage Layouts
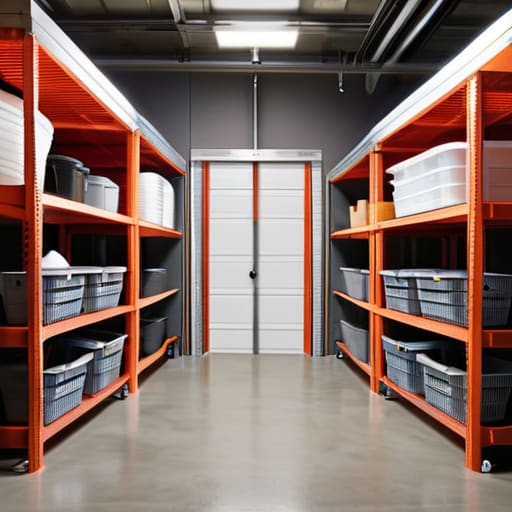
If you’re working with a tight footprint, you have to stop thinking about the floor as your primary real estate. Every square inch of concrete covered by a plastic bin is wasted potential. To truly master maximizing small garage space, you need to look up. I always tell my clients that the ceiling is your best friend; installing overhead storage racks for seasonal items like holiday decor or camping gear clears the floor and instantly makes the room feel larger.
When you can’t go up, you go vertical. I’m a huge advocate for wall mounted organizers because they keep your high-frequency tools within arm’s reach without creating a tripping hazard. Don’t settle for flimsy plastic shelving that bows under pressure, either. If you’re storing power tools or heavy bins, invest in heavy duty garage storage systems. It might cost a bit more upfront, but it’s a strategic move that prevents the constant cycle of replacing cheap gear and keeps your workflow streamlined. Treat your garage like a high-yield asset, not a junk drawer.
Stop Wasting Equity: 5 High-Impact Moves to Optimize Your Garage
- Go Vertical or Go Home: If your floor is covered in stuff, you’re losing money. Invest in heavy-duty slatwalls or industrial shelving units to get everything off the ground and up the walls.
- Zone Your Chaos: Stop treating the garage like a catch-all junk drawer. Create dedicated zones—one for garden tools, one for automotive gear, and one for seasonal storage—so you aren’t hunting for a screwdriver for twenty minutes.
- The “One-Year” Purge Rule: I see this on every job site; if you haven’t touched a piece of equipment or a box of “maybe” items in twelve months, it’s not an asset, it’s clutter. Sell it, donate it, or toss it to make room for things that actually matter.
- Clear Bin Strategy: Stop using opaque cardboard boxes that hide your inventory. Use heavy-duty, clear plastic bins so you can actually see what’s inside without having to dig through a mountain of plastic every time you need a specific tool.
- Lighting is Everything: You can’t organize what you can’t see. Swap out that single, dim bulb for bright, LED shop lights; it changes the entire vibe from a dark cave to a functional workspace that actually adds perceived value to the property.
The Bottom Line: Turning Your Garage from a Junk Drawer into an Asset
Stop viewing your garage as a graveyard for old junk; treat it like a high-value square footage opportunity where every organized inch contributes to your property’s overall market appeal.
Invest in vertical storage and smart layouts rather than just buying more bins—you want to reclaim your floor space, not just hide the mess under more clutter.
Focus on high-impact, functional organization that actually works for your lifestyle, because a garage that’s easy to maintain is a garage that stays valuable.
## Stop Seeing a Junk Room, Start Seeing Square Footage
“Most people look at a cluttered garage and see a headache; I look at it and see wasted equity. If you aren’t organizing that space, you’re literally leaving money on the table by letting functional square footage rot under a pile of old cardboard boxes.”
Gareth Trelawny
Stop Treating Your Garage Like a Junk Drawer
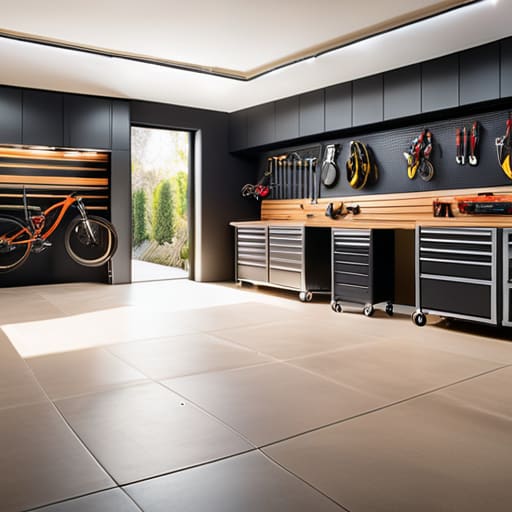
At the end of the day, organizing your garage isn’t just about finding a place for the lawnmower or making sure your tools aren’t buried under a mountain of cardboard boxes. It’s about strategic spatial management. We’ve covered how to aggressively declutter the dead weight, how to implement high-yield layouts that actually work for your lifestyle, and how to make every single square inch count. If you follow these steps, you aren’t just tidying up; you are reclaiming lost square footage that adds tangible value to your property. Stop looking at that mess as an inevitable part of homeownership and start seeing it as an inefficient use of your most valuable asset.
I know it feels overwhelming when you first pull that garage door up and see the chaos, but remember that every major renovation starts with a single, messy step. You don’t need a massive budget or a professional crew to transform this space; you just need the discipline to execute a plan. Don’t let another season pass while your potential equity sits buried under clutter. Grab your measuring tape, pick a corner, and start building something better. You have the vision to see what this space could be—now go out there and make it a reality.
Frequently Asked Questions
How do I decide which items are worth keeping and which are just taking up valuable square footage?
Look, I’ve seen it all during a gut rehab: garages filled with “maybe one day” junk that actually eats your equity. Here’s my rule of thumb: if you haven’t touched it in a year and it doesn’t have a specific, high-value utility, it’s gone. Don’t get sentimental over broken tools or old hobby gear. If it isn’t functional or worth more than the space it’s occupying, it’s just dead weight. Toss it or sell it.
Are there specific storage systems that actually hold up during a heavy renovation, or is it all just aesthetic fluff?
Look, if you’re planning a renovation, don’t waste a dime on those flimsy plastic bin systems you see at big-box stores. They’re aesthetic fluff and they’ll crack the moment you toss a heavy power tool in them. I swear by heavy-duty, wall-mounted steel slatwall systems or industrial metal shelving. You want gear that can handle the dust, the impact, and the chaos of a job site without buckling. Build for utility, not just for the ‘gram.
What’s the most cost-effective way to add vertical storage without blowing my entire renovation budget?
If you’re looking to maximize your ROI without draining your rehab budget, skip the high-end custom cabinetry. That’s a money pit. Instead, go for heavy-duty industrial metal shelving or a wall-mounted slatwall system. You can grab sturdy steel racks at a hardware store for a fraction of the cost of built-ins. It’s all about utilizing that vertical real estate to clear the floor, making the space feel larger and significantly increasing the property’s perceived value.