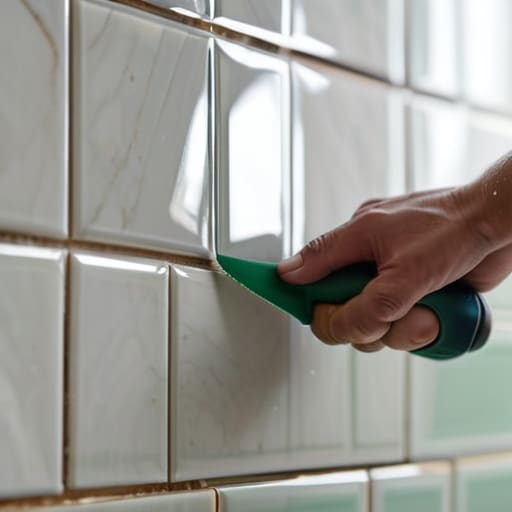
I was standing in a gutted kitchen in East Nashville last Tuesday, staring at a wall of cracked, dated ceramic that looked like it belonged in a 1970s cafeteria, when I realized something: most people treat backsplash installation like a purely cosmetic afterthought. They think it’s just about picking a pretty pattern to cover up some old drywall. But if you’re looking to actually force equity into a property, you need to view it as a strategic design move. I’ve seen too many amateur flippers blow their budget on high-end marble that doesn’t move the needle, or worse, settle for cheap peel-and-stick nonsense that makes a house feel cheap the second a buyer walks in.
In this guide, I’m stripping away the fluff and giving you the real, gritty blueprint for a professional-grade finish. I’ll walk you through everything from calculating your actual material needs—so you aren’t running back to the tile shop mid-job—to the specific tools you’ll need to avoid a messy, uneven grout line. This isn’t just about making a kitchen look “nice”; it’s about mastering the technical execution required to turn a standard renovation into a high-margin asset.
Table of Contents
- Step-by-Step Instructions
- Finding Value Through Strategic Kitchen Remodel Backsplash Ideas
- Precision Layouts Using Kitchen Tile Layout Patterns for Profit
- Don't Blow Your Margin: 5 Hard Truths About Backsplash Execution
- The Bottom Line: Turning Tile into Equity
- ## The Investor's Edge
- The Bottom Line on Backsplashes
- Frequently Asked Questions
Guide Overview
Tools & Supplies
- Tile cutter or wet saw for precise cuts
- Notched trowel for spreading adhesive
- Spacers to maintain even grout lines
- Rubber grout float for application
- Level to ensure straight rows
- Backsplash tiles (enough for square footage plus 10% extra)
- Tile adhesive or mastic (1-2 tubs depending on area)
- Grout (1 bag matching tile color)
- Tile spacers (1 bag)
- Caulk (1 tube for edges and corners)
Step-by-Step Instructions
- 1. Before you even touch a bag of thin-set, you need to prep the surface like your ROI depends on it—because it does. Scrub the walls down with a degreaser to remove every trace of cooking grease or old dust; if you don’t, that tile is going to peel off in six months, and nothing kills a flip faster than a callback for poor craftsmanship.
- 2. Next, pull out that laser measurer I always talk about and map out your layout. Don’t just start tiling from one corner and hope for the best; you need to find the center point of your wall and work outward to ensure your cuts at the edges are symmetrical. There is nothing more amateur than a kitchen that looks lopsided because you were too lazy to plan the grid.
- 3. Once you’ve mapped it, it’s time to apply your adhesive. Use a notched trowel to spread the thin-set, and make sure you’re creating even, consistent ridges rather than just globbing it on. If you leave huge gaps or uneven mounds, your tiles will sit at weird angles, and you’ll waste a fortune on expensive tiles that won’t lay flat.
- 4. Now, start setting your tiles, and for heaven’s sake, use tile spacers. If you try to “eyeball” the gaps between tiles, the pattern will drift, and the entire backsplash will look like a DIY disaster rather than a professional renovation. Keep those lines dead straight—it’s the difference between a high-end finish and a cheap-looking job.
- 5. After the adhesive has fully cured—and I mean actually cured, so don’t rush this—it’s time to grout. Mix your grout to a peanut butter consistency and push it into the joints using a rubber float, making sure you pack it deep into every single crevice. Wipe away the excess with a damp (not soaking wet) sponge before it sets, or you’ll be scrubbing endless white haze off your tiles for hours.
- 6. The final touch is the silicone caulk. Don’t use grout in the corners where the backsplash meets the countertop; grout will crack the moment the house settles, and that’s a massive red flag for inspectors. Use a high-quality color-matched silicone to seal those joints, creating a flexible, waterproof barrier that actually lasts through years of heavy kitchen use.
Finding Value Through Strategic Kitchen Remodel Backsplash Ideas
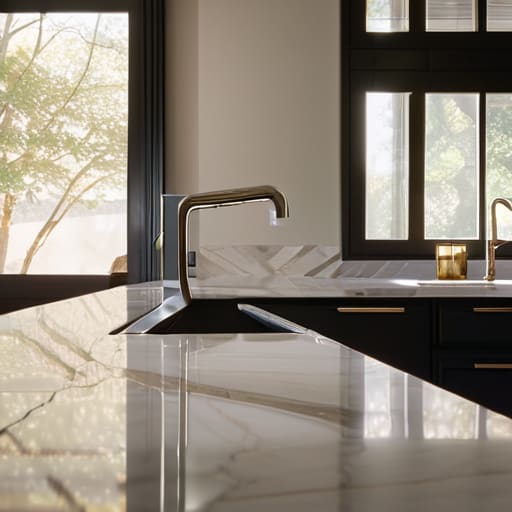
When I’m walking through a potential flip, I’m not just looking at the cabinets; I’m looking at the “bones” of the kitchen. If you want to maximize your ROI, you need to move past the basic, builder-grade subway tile. I look for kitchen remodel backsplash ideas that feel intentional and high-end without breaking the bank. Think about using a herringbone or chevron pattern to create visual interest; it’s a way to force instant equity by making a standard kitchen feel like a custom designer space.
However, a beautiful pattern won’t save you if the execution is sloppy. I’ve seen too many amateur renovations where the lines look crooked because they skipped using tile spacers for even lines. If your grout lines are inconsistent, the whole room feels cheap, and buyers will sniff that out immediately. My rule is simple: spend the extra twenty minutes ensuring your layout is laser-straight. It’s the difference between a kitchen that looks like a DIY project and one that looks like a professional, high-margin renovation.
Precision Layouts Using Kitchen Tile Layout Patterns for Profit
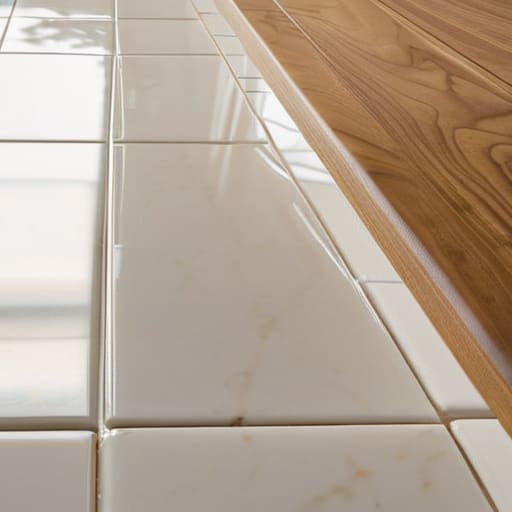
When you’re flipping a house, the difference between a “DIY job” and a professional-grade renovation often comes down to the math. I’ve seen too many investors lose money because they rushed the layout and ended up with awkward, sliver-thin tiles in the corners. To avoid that, you need to obsess over your kitchen tile layout patterns before you even touch a bucket of mortar. Whether you’re going with a classic subway offset or a more high-end herringbone, I always start by finding the center point of the wall. This ensures your cuts are symmetrical, which is exactly what a picky buyer looks for during a walkthrough.
Don’t just wing it, either. Use tile spacers for even lines to keep everything tight and disciplined; nothing screams “amateur” like crooked grout lines that make a kitchen look lopsided. If your lines aren’t straight, the entire room feels off, and that’s money left on the table. Once you’ve nailed the pattern, the goal is to create a sense of intentional, high-end design that makes the space feel more expensive than it actually was. Consistency is your best friend when you’re trying to force equity.
Don't Blow Your Margin: 5 Hard Truths About Backsplash Execution
- Stop obsessing over the “perfect” tile and focus on the grout. If your grout lines are uneven or dirty, it doesn’t matter if you used expensive subway tile; the whole kitchen will look cheap, and buyers will smell the lack of quality from the hallway.
- Always account for your outlet placement before you even touch a trowel. There is nothing more amateur than realizing your beautiful new backsplash is interrupted by a cluster of ugly, unaligned electrical outlets that you didn’t plan for.
- Buy 15% more tile than your measurements suggest. I’ve seen too many rookie investors stall a job halfway through because they ran out of material, and then they end up buying a new batch that doesn’t perfectly match the dye lot of the first one.
- Use a laser level, not your eyes. I carry mine everywhere for a reason; if your horizontal lines are even slightly off, the eye will catch it immediately, and that’s the difference between a professional flip and a DIY disaster.
- Prioritize durability over trendy patterns. If you’re installing this to flip, avoid anything so “out there” that it limits your buyer pool. Stick to classic textures that look high-end but won’t make a potential buyer think they have to renovate the second they move in.
The Bottom Line: Turning Tile into Equity
Don’t treat a backsplash as just a decorative afterthought; treat it as a high-margin tool to force appreciation and make your listing pop in photos.
Precision matters more than the price tag—a misaligned pattern or a messy grout line will kill your perceived value faster than a cheap tile ever could.
Focus on timeless, high-durability materials that appeal to the widest buyer demographic rather than chasing fleeting trends that will look dated by your next exit.
## The Investor's Edge
“A backsplash isn’t just a decorative finish; it’s a strategic tool. If you pick the right tile and execute the layout with precision, you aren’t just covering a wall—you’re forcing equity into a room that’s going to sell itself.”
Gareth Trelawny
The Bottom Line on Backsplashes
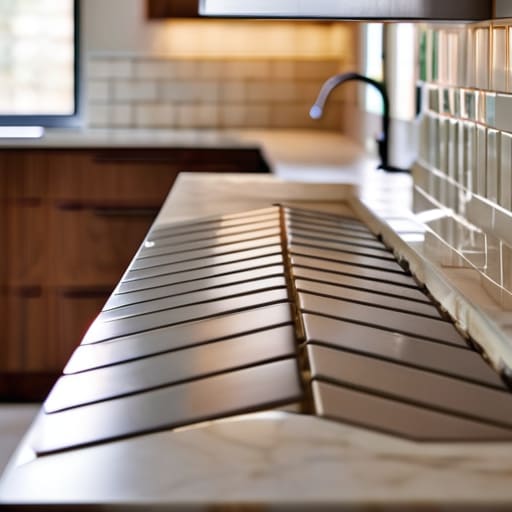
At the end of the day, a backsplash isn’t just about picking a pretty pattern from a catalog; it’s a calculated move to increase your ROI. We’ve covered how to nail the layout to avoid awkward cuts, how to select materials that actually appeal to a wide buyer pool, and why precision during the installation phase is what separates a professional-grade flip from a DIY disaster. If you focus on the strategic placement of your tile and keep your eyes on the long-term resale value rather than just your personal taste, you’re going to see that extra margin show up in your final numbers. Don’t let a sloppy installation eat your profits.
Real estate investing is rarely about the easy wins; it’s about the grit you show when you’re standing in a dusty kitchen deciding between subway tile and a patterned mosaic. It’s easy to get overwhelmed by the small details, but those details are exactly where the equity is hidden. Every tile you set correctly is a step toward building that portfolio we’re all after. So, grab your laser measurer, trust your eye for potential, and get to work. The walls might be crumbling now, but you know exactly how to turn them into gold.
Frequently Asked Questions
How do I know if I'm overspending on tile when the goal is a quick flip versus a long-term rental?
If you’re flipping, you’re playing a numbers game. Every dollar spent on a custom mosaic is a dollar taken directly out of your profit margin. For a quick flip, stick to high-impact, low-cost neutrals—think subway tile or a simple herringbone. If it’s a long-term rental, you can afford to spend slightly more on durability and “wow factor” to attract better tenants, but even then, don’t let vanity projects eat your ROI.
Is it worth the extra labor cost to do a custom herringbone pattern, or should I stick to a standard offset to save on my renovation budget?
Look, if you’re flipping for a quick margin, stick to a standard offset. It’s faster, less wasteful, and keeps your labor costs predictable. But if you’ve found a property with high-end bones and you’re aiming for a premium buyer, go with the herringbone. That custom pattern creates a “wow” factor that justifies a higher asking price. Just don’t skimp on the installer; a botched herringbone pattern is a massive red flag that screams amateur.
What are the biggest red flags I should look for in a contractor's backsplash work that might signal future liability or poor equity growth?
If you see uneven grout lines or tiles that aren’t sitting flush, walk away. That’s a sign of sloppy prep work, and it’s a nightmare for your margins. Look closely at the corners, too; if the silicone is messy or the tiles don’t meet cleanly, you’re looking at future water damage or mold. I’ve seen too many “cheap” installs turn into expensive liability issues during a final inspection. Don’t let bad craftsmanship eat your equity.
