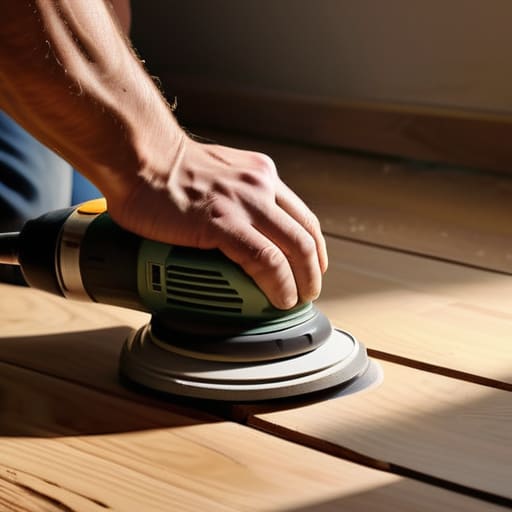
I was standing in the middle of a dusty, gutted colonial last Tuesday, the kind of house where you can practically smell the decades of neglect, when I saw it: a beautiful, original oak floor buried under layers of hideous, dark cherry stain and decades of wax buildup. Most contractors would have looked at those scarred boards and immediately quoted me a fortune for a full replacement, claiming the wood was too far gone. But that’s the industry lie I hate most—they want to sell you expensive new materials when what you actually need is a strategic hardwood refinishing plan to reclaim the value that’s already sitting right under your feet.
I’m not here to give you a polished, textbook lecture on sanding grits or polyurethane types that sounds like it came from a manufacturer’s manual. Instead, I’m going to pull back the curtain on how I approach these projects to maximize my margins without breaking the bank. I’ll show you how to spot the difference between a floor that’s salvageable and one that’s a total money pit, giving you the exact, no-nonsense tactics I use to turn worn-out surfaces into high-end equity.
Table of Contents
Mastering the Hardwood Floor Restoration Process
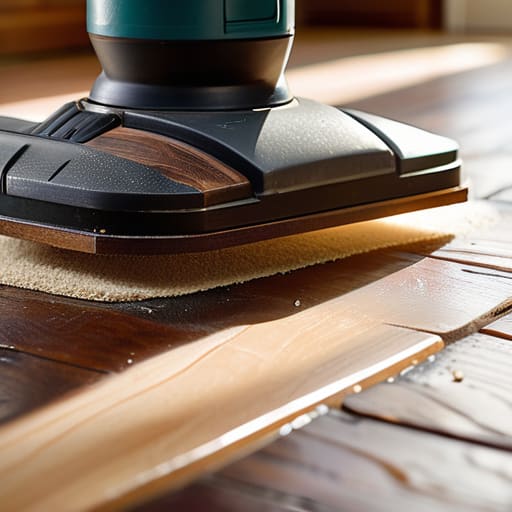
Before you even touch a sander, you have to understand the difference between a quick cosmetic fix and a true overhaul. I often see investors get tripped up by the distinction between sand and finish vs refinishing; one is just a surface refresh, while the other is a deep dive into the wood itself. If you’re dealing with a property that’s been neglected for a decade, you aren’t just applying a new coat of poly. You are likely looking at the intensive task of removing old floor finish that has become gummy or cracked over time. If you don’t strip that old layer completely, your new stain will look patchy and amateur, and nothing kills my ROI faster than a botched floor.
Once you’ve cleared the slate, the real magic happens during the staining phase. This is where you decide the vibe of the entire house. I always tell my clients to test a few samples on a scrap piece first, because the best wood stains for floors can look drastically different once they hit a sanded grain. You want a tone that feels intentional, not like an afterthought. It’s a gritty, dusty, and often exhausting job, but seeing that raw wood transform into a centerpiece is exactly how we turn a crumbling room into serious equity.
Removing Old Floor Finish to Reveal Hidden Gold
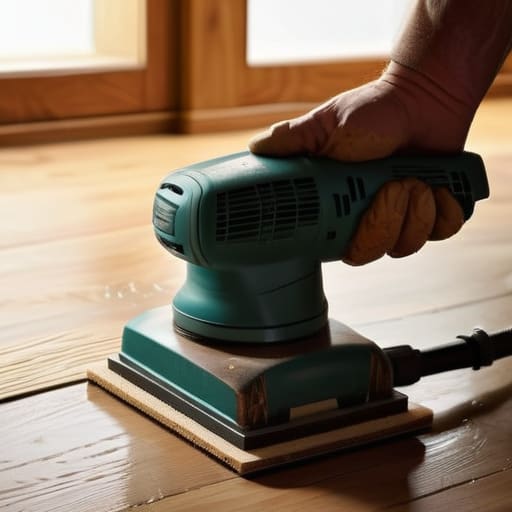
Look, I’ve walked into plenty of flips where the floors look like a disaster zone—cloudy, scratched, or coated in decades of cheap, yellowing polyurethane. Most people see a mess, but when I’m removing old floor finish, I see the potential for a massive ROI hiding underneath. You can’t just slap a new coat of stain over old grime and expect it to look high-end; you have to strip it back to the raw grain. If you skip this step, you’re essentially painting over a dirty canvas, and that’s a rookie mistake that will haunt your resale value.
The real work happens during the heavy sanding phase. This is where you decide if you’re doing a quick sand and finish vs refinishing the entire subfloor. If the wood is structurally sound, stripping away those layers of old wax and sealant is the most critical part of the hardwood floor restoration process. It’s gritty, it’s dusty, and it’s exhausting, but once that old finish is gone, you finally have a clean slate to apply the best wood stains for floors and truly showcase the character of the timber.
Pro-Tips for Protecting Your Margins During the Refinish
- Don’t skip the sanding grit progression; jumping from a coarse grit straight to a fine one is a rookie mistake that leaves swirl marks, and trust me, those are a nightmare to hide under stain.
- Test your stain on a hidden corner or a scrap piece of wood first—colors look completely different once they hit the actual grain, and you don’t want to realize you’ve ruined a whole room after the first coat is down.
- Check your moisture levels before you even think about applying a finish; if that wood is too damp from a recent renovation or high humidity, your new coat will peel faster than a cheap rental’s wallpaper.
- Invest in a high-quality vacuum with a HEPA filter to clear the dust between sanding stages, because even a single speck of grit can ruin the glass-smooth finish you’re aiming for.
- Watch your sealants like a hawk; applying too much can lead to pooling and unsightly drips, while too little leaves the wood vulnerable to the very wear and tear that killed the previous finish.
The Bottom Line on Flooring ROI
Don’t rush the sanding process; if you don’t strip that old, gummy finish completely, your new coat will look amateur and kill your resale value.
Focus on the bones of the wood rather than replacing it—reclaiming original hardwoods is almost always more profitable than installing cheap, trendy laminate.
Treat floor refinishing as a strategic equity play, not just a cosmetic fix, because high-quality wood floors are one of the few upgrades that actually pay for themselves in a quick flip.
## The Hidden Margin in Your Floors
“Stop looking at scratched-up oak as a headache and start seeing it as untapped equity; a weekend of sanding and a fresh coat of stain can do more for your ROI than almost any other cosmetic upgrade in the house.”
Gareth Trelawny
Turning Grit into Equity
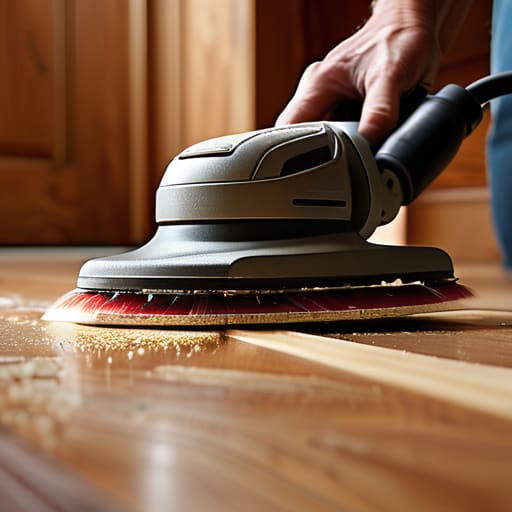
At the end of the day, refinishing hardwood isn’t just about making a room look pretty for a listing photo; it’s about the technical execution of stripping away years of neglect to reveal the structural value underneath. We’ve walked through the heavy lifting—from the initial prep work and the meticulous sanding process to the critical step of stripping that old, gummy finish that hides the wood’s true character. If you skip the prep or rush the drying times, you aren’t just risking a bad look, you’re risking your entire profit margin. Treat the floor like the foundation of your investment, and it will pay you back tenfold when you finally close the deal.
I know the dust is overwhelming and your back might be aching by the time you reach the final coat, but don’t lose sight of the big picture. Every layer of grit you sand away is a step closer to turning a dated, depreciating space into a high-value asset. Real estate investing isn’t for the faint of heart, and it certainly isn’t for people who want a quick, easy fix. But for those of us willing to do the dirty work, there is nothing more satisfying than seeing that raw, beautiful grain emerge from the wreckage. Now, grab your gear and go build that equity.
Frequently Asked Questions
How do I know if my floors are actually worth refinishing, or if I'm just throwing good money after bad on a thin veneer?
The quickest way to tell is the “sand test.” Grab a piece of coarse sandpaper and grind it into a corner. If you hit a thin, paper-like layer within seconds, you’re looking at engineered wood with a superficial veneer—refinishing that is a money pit. But if you keep sanding and see thick, solid wood, you’ve struck gold. Real hardwood has the depth to handle the grit and come out looking like a million bucks.
Is it worth the headache to DIY the sanding process, or am I going to end up destroying the wood and killing my ROI?
Look, I get the temptation to save a few hundred bucks, but if you’ve never operated a drum sander, you’re playing with fire. One wrong move or too much pressure and you’ll gouge the wood so deep it’ll cost more to repair than the original refinishing would have. If you aren’t confident in your technique, hire a pro for the heavy sanding. Don’t let a DIY ego trip kill your margins and your ROI.
How do I choose between water-based and oil-based finishes if I want to minimize downtime and maximize durability for a rental?
If you’re looking to minimize downtime, go with water-based. It dries incredibly fast, meaning you can get tenants back in much sooner, which keeps your cash flow moving. However, for a rental where durability is king, you need to ensure you’re using a high-quality, commercial-grade water-based finish. While oil-based is legendary for its toughness and that classic amber glow, the long dry times and heavy fumes can turn a quick flip into a logistical nightmare.
