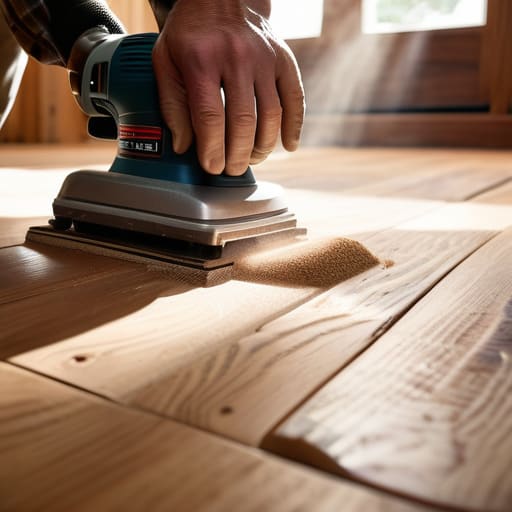
I was standing in the middle of a gutted mid-century ranch last Tuesday, the smell of stale dust and old sawdust thick in the air, staring down at a floor that looked absolutely hopeless. Most “experts” would have looked at those deep gouges and water stains and told me the only logical move was a total rip-out and replacement. They love selling you on the high cost of new materials, but that’s just burning your margins for no reason. I’ve learned the hard way that most people underestimate the sheer ROI of hardwood floor refinishing; they see a mess, but I see the raw equity hiding under layers of cheap, scratched-up polyurethane.
I’m not here to give you a polished, theoretical lecture from a design textbook. I’m going to show you the gritty, unvarnished reality of how to assess wood quality, choose the right grit, and avoid the expensive mistakes that turn a simple weekend project into a financial sinkhole. If you’re ready to stop overpaying for replacements and start reclaiming the value in your existing assets, let’s get to work.
Table of Contents
Removing Old Floor Varnish to Reveal Hidden Potential
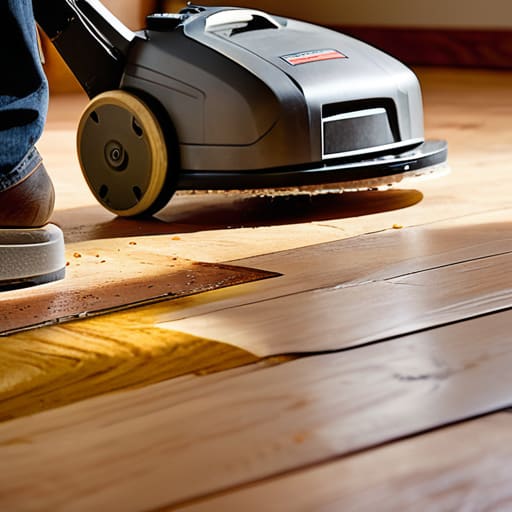
Before you even think about picking up a stain bucket, you have to deal with the wreckage of whatever previous owner left behind. Most people see a dull, scratched-up mess and think the wood is shot, but usually, it’s just layers of oxidized, yellowed junk hiding the grain. Removing old floor varnish is the most grueling part of the process, but it’s where the real value is unlocked. If you don’t strip it down completely, your new finish will look blotchy and amateur, which is a fast way to tank your resale value.
I’ve seen investors try to cut corners by choosing buffing vs sanding floors based solely on the budget, but if that old finish is cracked or peeling, a light buff won’t cut it. You need to get down to the raw, naked wood. It’s dusty, it’s loud, and it’s physically exhausting, but it’s the only way to ensure your new coat bonds properly. Think of it as clearing the slate; you can’t build equity on a shaky foundation, and you certainly can’t build a high-end aesthetic on top of decades of grime.
Buffing vs Sanding Floors Choosing Your Battle Plan
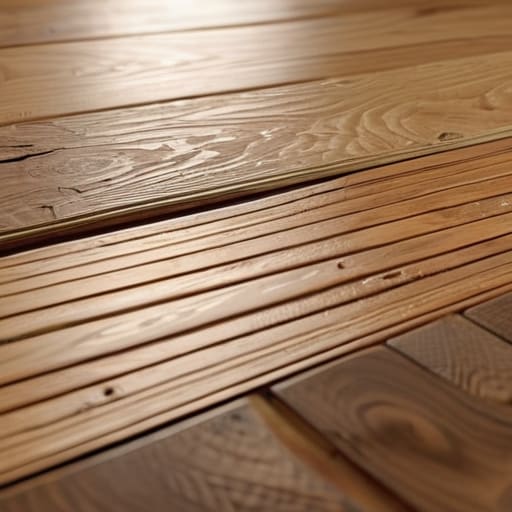
Before you rent a heavy-duty drum sander, you need to decide if you’re performing surgery or just a quick facelift. When I’m evaluating a new flip, I look at the depth of the damage to determine if we’re looking at buffing vs sanding floors. Buffing is your go-to if the wood is structurally sound but just looks dull or has light surface scuffs. It’s a much faster, less invasive process that essentially smooths out the existing topcoat. However, if you’re dealing with deep gouges, water stains, or years of mismatched DIY patches, buffing won’t cut it. You’ll need to sand down to the raw wood to truly reset the canvas.
Choosing the wrong path can wreck your margins. If you try to buff over deep scratches, those imperfections will just scream through your new hardwood floor polyurethane finish. On the flip side, if you sand a floor that only needed a light polish, you’re unnecessarily eating into your renovation budget and wasting precious wood thickness. Assess the damage, check your depth, and pick the method that protects your ROI.
Five Hard Truths for a High-ROI Refinish
- Stop obsessing over the brand of the sander and start checking the grit progression; if you skip a step in the sanding sequence, you’ll end up with swirl marks that look amateur and tank your resale value.
- Don’t go cheap on the sealer—I’ve seen too many investors try to save a few hundred bucks only to have the finish cloud up or peel within six months, turning a profit into a massive headache.
- Test your stain on a hidden corner or under a radiator first, because what looks like “warm oak” in the shop often turns into “muddy orange” once it hits your actual floorboards.
- Watch your moisture levels like a hawk; if you slap a finish onto wood that’s still holding dampness from a recent repair, you’re basically sealing in a disaster that will bubble and flake later.
- Prep the room like you’re in a clean room, not a construction zone; a single stray nail or a chunk of drywall dust trapped under your fresh coat of polyurethane is a permanent eyesore that screams “cheap renovation.”
The Bottom Line on Floor Rehab
Don’t rush the stripping process; if you leave even a thin layer of old varnish behind, your new finish will peel, and that’s money straight down the drain.
Choose your method based on your budget and the wood’s condition—buffing is a quick win for minor surface wear, but if you’re looking at deep gouges, you need to commit to a full sand to protect your ROI.
Always view floor refinishing as a value-add rather than just a cosmetic fix; well-maintained hardwoods are one of the fastest ways to boost a property’s appraisal and appeal to high-end buyers.
The Real Value of the Sanding Phase
“Don’t look at a floor full of scratches and dents as a liability; look at it as untapped equity waiting for a fresh coat of polyurethane to lock it in.”
Gareth Trelawny
The Bottom Line on Your Floors
At the end of the day, refinishing hardwood isn’t just about making a room look pretty for an open house; it’s a strategic move to protect your investment. Whether you decided to go the heavy-duty route with a full sand or opted for a lighter buff and coat to save on labor, the goal remains the same: maximizing your ROI. You’ve learned how to strip away the grime, choose the right grit, and avoid the rookie mistakes that can leave you with a wavy, uneven mess. Remember, precision matters more than speed when you’re working with natural materials. If you get the prep work right, you aren’t just fixing a floor—you are securing the value of the entire property.
I know it gets exhausting. There’s dust in your hair, your lungs feel heavy, and you’re probably questioning why you didn’t just buy a turnkey house. But trust me, that feeling of seeing the original grain pop through for the first time makes every bit of the grit worth it. Real estate isn’t about the easy wins; it’s about seeing the value where everyone else sees a disaster. Don’t let a few scratched planks intimidate you. Grab your tools, stay focused on the long-term equity, and keep building. You’ve got this.
Frequently Asked Questions
How do I know if my floors have enough structural integrity left to sand, or if I’m just throwing money into a floor that needs a total replacement?
The “depth test” is your best friend here. Grab a screwdriver and gently probe the wood; if it sinks in like butter or feels spongy, you’ve got rot or moisture damage that no amount of sanding can fix. Also, check the thickness. If you sand down and realize you’re hitting the subfloor, you’re cooked. Don’t gamble your margins on a floor that lacks the meat to take a sand; sometimes, a total replacement is the only way to protect your equity.
Is it actually worth the extra time and cash to go with a hard oil finish, or should I stick to a standard polyurethane to keep my flip timeline on track?
Look, if you’re on a tight flip timeline, stick to a high-quality polyurethane. It’s durable, dries fast, and gets buyers through the door without draining your contingency fund. Hard oils look stunning and feel incredible underfoot, but they require more maintenance and a longer curing window. In this business, time is literally money. Don’t overcomplicate the finish unless you’re building a long-term rental; for a quick flip, speed and durability win every time.
How do I deal with those inevitable gaps and deep gouges in older wood without making the whole floor look like a patchwork quilt?
Stop trying to hide the scars with a heavy hand; that’s how you end up with a floor that looks like a DIY disaster. For those deep gouges, I use a high-quality wood filler tinted to match the grain, but for the gaps, I swear by sawdust and resin. Mix the fine dust from your actual sanding with a clear binder to create a custom paste. It blends seamlessly, keeping the floor looking cohesive rather than patched.
