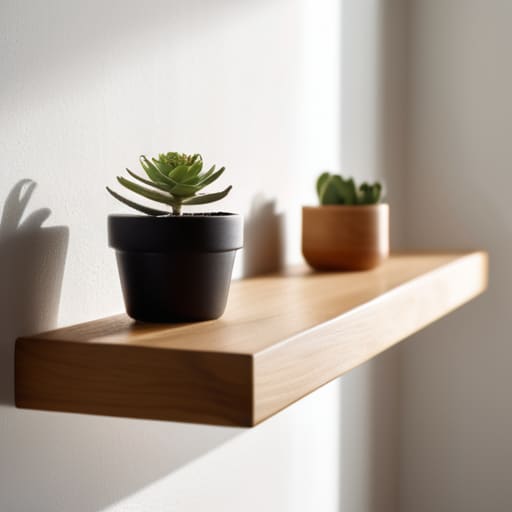
I was standing in a half-finished kitchen in a fixer-upper last Tuesday, staring at a pile of expensive reclaimed wood and a set of brackets that looked more like torture devices than hardware. I had just watched a contractor try to “wing it” with a DIY floating shelf installation, only to have the whole thing sag under the weight of a single ceramic vase. It’s a common mistake: people think these shelves are just about aesthetic magic, but if you don’t respect the physics of the wall, you’re just throwing money down the drain. In my experience, a shelf that isn’t anchored perfectly isn’t a design feature; it’s a liability.
I’m not here to give you a fluff piece on “decorating vibes.” I want to show you how to execute a professional-grade floating shelf installation that actually holds weight and increases your property’s perceived value. We’re going to skip the guesswork and get into the grit—from locating studs with precision to choosing the right fasteners for your specific wall type. By the time we’re done, you’ll have the confidence to turn those empty, wasted walls into high-value assets that look like they were installed by a pro.
Table of Contents
- Step-by-Step Instructions
- Precision Stud Finder Techniques for Rock Solid Foundations
- Drywall vs Stud Mounting Choosing Your Structural Strategy
- Pro Tips for Shelves That Won't Sag or Snap
- The Bottom Line on Floating Shelves
- ## The Golden Rule of High-End Finishes
- Final Thoughts on Your Floating Shelf Project
- Frequently Asked Questions
Guide Overview
Tools & Supplies
- Level for ensuring the shelf is straight
- Drill with bits for creating pilot holes
- Stud finder to locate wall supports
- Measuring tape for precise placement
- Screwdriver for securing hardware
- Floating shelf unit (1)
- Mounting bracket or hidden cleat (1)
- Wall anchors or screws (1 set)
- Pencil for marking holes
Step-by-Step Instructions
- 1. First things first, you need to find your studs. Don’t even think about skipping this step; if you try to anchor a heavy shelf into just drywall, you’re going to end up with a cratered wall and a broken shelf. Grab your stud finder and mark exactly where those wooden supports are. If your layout doesn’t line up with the studs, you’ll need to pick up some heavy-duty toggle bolts, but hitting wood is always the gold standard for stability.
- 2. Once you’ve located the studs, it’s time to level up—literally. Use a level and a pencil to draw a straight line where the top of the shelf will sit. I always recommend marking the center point of your bracket as well. If your line is even slightly crooked, it’s going to drive you absolutely crazy every time you walk past it, and in this business, precision is profit.
- 3. Now, let’s get to the drilling. Position your mounting bracket against the wall, aligning it with your marks, and drill your pilot holes. If you’re going directly into the studs, make sure your drill bit is sharp enough to bite into the wood without splintering it. I like to use a bit of painter’s tape over the mark to prevent the drill from slipping and scuffing your fresh paint.
- 4. Drive your screws through the bracket and into the wall. This is where you really want to feel the resistance; you’re looking for a rock-solid connection. If you feel the screw spinning freely without tightening, stop immediately—you’ve missed the stud, and you need to reposition or use the appropriate anchors. You want that bracket to feel like it’s part of the house itself.
- 5. Slide the shelf onto the bracket. Most floating shelves use a sleeve or a cleat system that slides over the mounting hardware. Give it a firm, steady push until it sits flush against the wall. If it feels wobbly, don’t just ignore it; check to see if the bracket is still level or if there’s debris caught between the shelf and the wall. A tight fit is what gives the shelf that high-end, custom look.
- 6. Finally, secure the shelf if your kit includes small set screws. Most professional-grade floating shelves have tiny holes on the underside designed to lock the shelf to the bracket. Tightening these prevents the shelf from sliding forward or tilting when you start adding weight. Once that’s done, you can finally style your space with those mid-century ceramics you’ve been eyeing.
Precision Stud Finder Techniques for Rock Solid Foundations
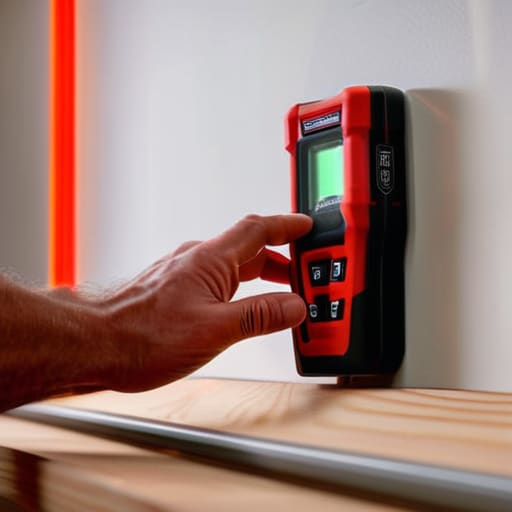
Look, I’ve seen too many beautiful, high-end shelves end up in a heap on the floor because someone got lazy with the prep work. If you’re planning on displaying anything heavier than a single dried flower, you cannot rely on drywall anchors alone. You need to master a few specific stud finder techniques to ensure you’re actually hitting wood. I always recommend a slow, methodical sweep; if you rush it, you might catch a false positive from a wire or a pipe. I keep my laser measurer handy to double-check the distance between the marks, because even a quarter-inch error can throw off your entire layout.
When you’re deciding between drywall vs stud mounting, the rule of thumb in my business is simple: if it’s meant to hold weight, find the stud. If you absolutely can’t hit a stud where you want your decor, you better be investing in heavy duty shelf hardware specifically rated for your load. Don’t gamble with your equity—or your aesthetics. Getting this foundation right is the only way to ensure you aren’t preventing shelf sag halfway through your first staging session.
Drywall vs Stud Mounting Choosing Your Structural Strategy
Here’s the reality of the job site: your choice between drywall vs stud mounting isn’t just a technicality; it’s the difference between a high-end feature and a disaster waiting to happen. If you’re planning on displaying a curated collection of heavy ceramics or thick art books, you absolutely cannot rely on the drywall alone. Even with the best anchors on the market, relying solely on plasterboard is a gamble that usually ends with your decor in pieces on the floor. If you want to avoid the nightmare of preventing shelf sag over time, you need to anchor that bracket directly into the wood.
Now, I know what you’re thinking—what if the layout you want doesn’t line up with the studs? That’s where you have to get strategic. If you’re dead set on a specific placement for measuring for wall decor, you can use specialized heavy-duty toggle bolts. They’re a solid workaround, but they aren’t a substitute for a structural connection. My rule of thumb? If the shelf is going to hold more than a few lightweight trinkets, find those studs or rethink the placement.
Pro Tips for Shelves That Won't Sag or Snap
- Stop eyeballing the level. I know it feels intuitive, but even a one-degree tilt will look amateurish once the sun hits that wall. Use a high-quality spirit level every single time you mark your holes.
- Account for the “shelf sag” before you even buy the wood. If you’re planning on displaying heavy stoneware or a collection of books, you need a thicker substrate or a heavy-duty internal bracket system to prevent that sad, bowed look.
- Check your wall type twice. I’ve seen too many rookies try to shove heavy-duty anchors into old plaster and watch the whole thing crumble. If you aren’t hitting a stud, make sure your anchors are rated for the specific weight of your decor.
- Mind the clearance. Before you drill, stand back and visualize the workflow. You don’t want a shelf installed at a height that makes the room feel cramped or, worse, makes it impossible to actually reach what you’ve placed on it.
- Don’t skimp on the finish. A floating shelf is a focal point, not an afterthought. Whether it’s a reclaimed wood slab or a sleek industrial piece, ensure the edges are sanded and sealed properly so they look like a custom built-in rather than a DIY project.
The Bottom Line on Floating Shelves
Never gamble on drywall alone; if you aren’t hitting a stud, use heavy-duty anchors, or you’ll end up with a saggy mess that kills the room’s aesthetic and its resale value.
Precision is your best friend when it comes to leveling; a shelf that’s even a fraction of an inch off will look amateur and cheap, so double-check your measurements before you even touch the drill.
Think about the long game—choose your mounting strategy based on what you actually plan to display, because a shelf meant for heavy stoneware requires a much more aggressive structural approach than one meant for light decor.
## The Golden Rule of High-End Finishes
“If you’re going to invest the time in a floating shelf, don’t let a cheap anchor or a missed stud turn your high-value design into a liability. In this business, if it doesn’t look effortless and feel rock-solid, it’s just a mistake waiting to happen.”
Gareth Trelawny
Final Thoughts on Your Floating Shelf Project
At the end of the day, a successful floating shelf installation comes down to the details you can’t see once the decor is in place. It’s about that initial precision—making sure you’ve nailed down your stud locations and chosen the right mounting strategy for the weight you intend to carry. If you skip the groundwork and try to wing it with just drywall anchors, you’re essentially setting yourself up for a structural headache down the road. Remember, the goal isn’t just to hang something pretty on a wall; it’s to ensure that every addition you make to a property is built to last and adds genuine, functional value to the space.
Don’t let the fear of a little dust or a crooked level stop you from making these upgrades. I’ve learned through countless renovations that the most significant equity often hides behind these small, tactical improvements. Every time you master a new skill or fix a neglected corner, you’re sharpening the tools you need to build a real estate empire. It might feel like a lot of work right now, but once those shelves are level and those books are lined up, you’ll see that you’re doing more than just decorating—you are investing in your future. Keep pushing, keep measuring, and keep building.
Frequently Asked Questions
How do I prevent my shelves from sagging over time if I can't find a stud exactly where I want the shelf to sit?
If you’re stuck in that awkward dead zone between studs, don’t just grab any random plastic anchor and hope for the best. That’s how you end up with a pile of broken ceramics on the floor. You need heavy-duty toggle bolts. They grip the backside of the drywall and create a much more stable anchor. It’s a bit more work to drill the hole, but it’s the only way to ensure those shelves stay level and load-bearing.
Is it worth it to use heavy-duty toggle bolts for decor, or should I stick strictly to stud mounting for anything more than a few light frames?
Look, if you’re just hanging a few lightweight frames, stick to the studs. It’s cleaner and more reliable. But if you’re trying to stage a heavy mid-century sideboard or a chunky piece of art that isn’t hitting a stud, don’t be afraid of heavy-duty toggle bolts. They’re a lifesaver for adding high-end decor where the layout doesn’t cooperate. Just make sure you’re using the right hardware; I’ve seen too many “quick fixes” turn into expensive drywall repairs.
How can I hide the mounting hardware if my shelf design doesn't have a built-in recessed bracket?
If your shelf doesn’t have a recessed bracket, you’re going to have to get a little creative to keep that minimalist look. My go-to is using heavy-duty blind shelf supports—essentially metal rods that slide directly into pre-drilled holes in the back of the wood. If you’re stuck with visible L-brackets, don’t just leave them exposed; use them as a design element by painting them a matte black to match your industrial vibe, or hide them behind a strategic layer of decor.
