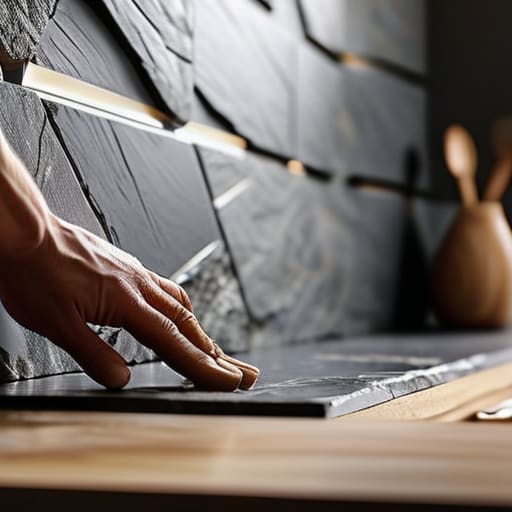
I was standing in a kitchen last Tuesday, staring at a botched backsplash stone installation that looked like it had been slapped on with a trowel and a prayer. The homeowner had spent a small fortune on premium slate, but because they didn’t account for the unevenness of the substrate, the whole thing looked cheap and amateur. It’s a classic mistake: people think buying expensive materials is a shortcut to high ROI, but if your execution is sloppy, you’re just throwing equity down the drain. A beautiful stone won’t save a renovation that lacks a solid foundation.
I’m not here to give you a polished, Pinterest-perfect fantasy; I’m here to show you how to do this right so it actually holds its value. In this guide, I’m breaking down the gritty, practical reality of backsplash stone installation, from prepping your walls to the precise moment you apply the grout. You’ll learn how to avoid the most common rookie errors that kill your margins and how to achieve that minimalist industrial look that buyers actually want to pay for. Let’s get to work.
Table of Contents
- Step-by-Step Instructions
- Mastering Kitchen Backsplash Layout Planning for Maximum Impact
- Essential Stone Backsplash Installation Tools for Every Renovation
- Pro Secrets for a Backsplash That Actually Holds Its Value
- The Bottom Line: Making Your Backsplash Work for Your ROI
- ## The ROI of the Details
- Turning Stone into Equity
- Frequently Asked Questions
Guide Overview
Tools & Supplies
- Wet saw for precise stone cutting
- Notched trowel for adhesive application
- Rubber grout float for spreading grout
- Tile spacers to maintain even gaps
- Sponge and bucket for cleaning residue
- Natural stone tiles or mosaic sheets (as needed)
- Thin-set mortar or stone adhesive (1-2 bags)
- Stone grout (color matched to preference)
- Grout sealer to protect the finish
- Painter's tape to protect countertops
Step-by-Step Instructions
- 1. Before you even touch a bag of mortar, you need to prep the surface. Scrub that wall down with a degreaser; if there’s any lingering grease from old cooking sessions, your stone won’t actually stick, and you’ll be dealing with falling rocks in six months. Once it’s dry, use my laser measurer to mark your layout so you aren’t left with awkward, tiny slivers of stone in the corners.
- 2. Next, get your materials staged. I don’t like working in fits and starts, so lay out your stones on the floor first. This lets you map out the color distribution so you don’t end up with one weirdly dark cluster in the middle of your backsplash. It’s all about visual balance if you want that high-end, designer look.
- 3. Mix your thin-set mortar in small batches. You want a consistency that’s similar to creamy peanut butter—if it’s too runny, it’ll slide right off the wall, and if it’s too thick, you’ll struggle to spread it evenly. Use a notched trowel to apply the mortar to the wall, working in small sections that you can actually manage before the stuff starts to set.
- 4. Press your stones into the mortar with a bit of intentional force. Don’t just lay them on top; you need to wiggle them slightly to ensure they are fully embedded in the adhesive. This eliminates air pockets that can cause cracking later on. Keep an eye on your level constantly—nothing kills the resale value of a flip faster than a crooked backsplash.
- 5. Once the stones are set, it’s time for grouting. Use a rubber grout float to push the grout into the crevices of the stone. Work from the bottom up, and don’t get too ambitious; just focus on filling the gaps. Avoid smearing grout all over the face of the stone, or you’ll spend hours scrubbing it off, which is a massive waste of your time and energy.
- 6. Let the grout cure for at least 24 hours before you go in with a damp sponge to clean the surface. You want to wipe away the excess residue without pulling the grout right out of the joints. After that, I always recommend applying a high-quality stone sealer. It’s a small extra step, but it protects your investment from stains and makes the whole renovation look expensive and polished.
Mastering Kitchen Backsplash Layout Planning for Maximum Impact
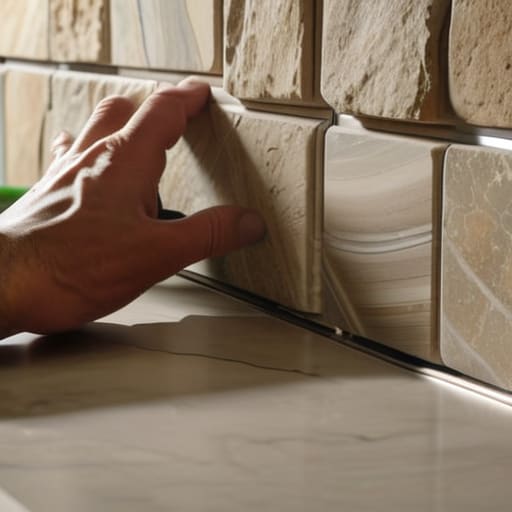
Before you even touch a trowel, you need to get your head in the game with some serious kitchen backsplash layout planning. I’ve seen too many rookies start sticking pieces of stone to the wall only to realize halfway through that they’ve ended up with a tiny, awkward sliver of rock next to the outlet. That’s a rookie mistake that kills your ROI. I always start by mapping out the center point of my focal area—usually above the range—and working outward. This ensures your pattern looks intentional and symmetrical rather than like a chaotic puzzle that someone forced together.
Once you have your map, don’t skimp on the prep. If you’re working with anything heavier than a standard subway tile, make sure you have a reliable tile saw for stone cutting to handle those precise edges. A jagged, uneven cut looks cheap, and in this business, cheap finishes are profit killers. You want clean, crisp lines that make the stone look like it was built into the house, not just tacked on as an afterthought. Take the time to visualize the flow; it’s the difference between a renovation that looks DIY and one that looks high-end.
Essential Stone Backsplash Installation Tools for Every Renovation
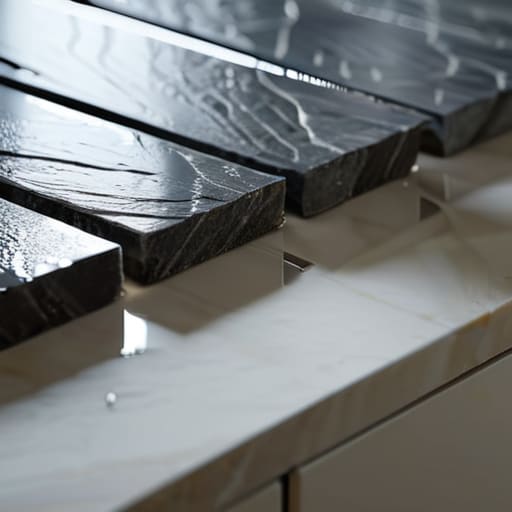
Look, you can have the most expensive slab of marble in the world, but if you show up to the job site with a cheap hardware store tile cutter, you’re going to end up with jagged edges and a massive headache. If you’re serious about a professional finish, investing in a decent tile saw for stone cutting is non-negotiable. I’ve seen too many DIYers try to wing it with a manual snapper, only to crack a beautiful piece of slate halfway through. You need precision, especially when you’re working with irregular natural shapes.
Beyond the heavy machinery, don’t overlook the chemistry of your materials. I always tell my clients that the magic is in the bond. You cannot use standard ceramic adhesive here; you absolutely need a high-quality thin-set mortar for natural stone to ensure those heavy pieces actually stay put. Also, keep a high-quality sponge and a notched trowel handy—if your spread isn’t even, you’ll face nightmare gaps during the grouting phase. Having the right stone backsplash installation tools on hand means you spend your time building equity, not cleaning up avoidable messes.
Pro Secrets for a Backsplash That Actually Holds Its Value
- Don’t get blinded by “trendy” patterns; I’ve seen too many flips fail because the owner picked a backsplash that screamed 2024. Stick to timeless textures that appeal to a broad buyer pool so you aren’t stuck with a dated kitchen when it’s time to sell.
- Always, and I mean always, dry-lay your stone before you even touch the thin-set. You need to see how those natural veins and color shifts flow across the wall so you don’t end up with a weird, clashing seam right above the stove.
- Stop skimping on the grout quality. If you’re using cheap, porous grout in a high-moisture area near the sink, it’s going to stain within six months, and that’s a massive red flag for any potential buyer during an inspection.
- Watch your spacing like a hawk. Inconsistent grout lines are the fastest way to make a high-end stone look like a DIY disaster, and nothing kills the “luxury” feel of a renovation faster than uneven gaps.
- Clean the stone as you go. Once that mortar or grout dries into the crevices of a natural stone, you’re going to spend hours scrubbing with chemicals, which can actually damage the finish and eat into your profit margins.
The Bottom Line: Making Your Backsplash Work for Your ROI
Don’t treat the backsplash as an afterthought; it’s a high-visibility feature that can either elevate the entire kitchen or make a cheap renovation look amateur.
Precision is everything—if your layout is off or your cuts are sloppy, you aren’t building equity, you’re just wasting expensive stone and your own time.
Invest in the right tools and take the extra time to plan the pattern, because a professional-grade finish is what separates a successful flip from a money pit.
## The ROI of the Details
“A backsplash isn’t just a decorative finish; it’s a strategic investment. If you pick a stone that looks cheap or install it with sloppy grout lines, you’re just burning equity. Do it right the first time so the kitchen actually sells itself.”
Gareth Trelawny
Turning Stone into Equity
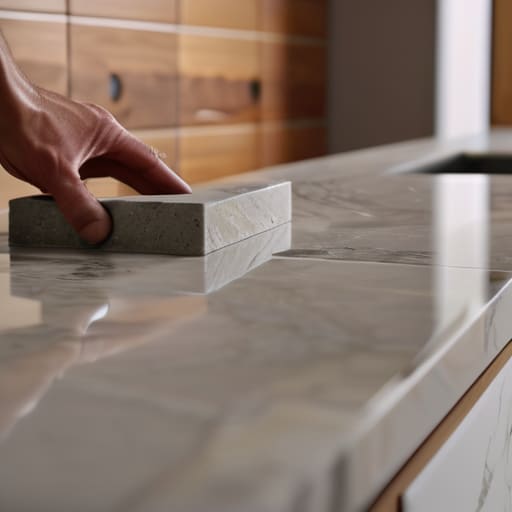
At the end of the day, a successful backsplash installation isn’t just about making a kitchen look pretty for a weekend; it’s about the precision of your layout and having the right tools to ensure that stone stays exactly where you put it. We’ve covered everything from the initial planning phase to the heavy-duty gear you’ll need on-site, and if you follow these steps, you won’t end up with a crooked mess that devalues your property. Remember, the goal is to move from a DIY project to a professional-grade finish that stands up to scrutiny during a home inspection or a final walkthrough. Don’t cut corners on the prep work, because that’s where most people lose their profit margins.
Renovating can be messy, exhausting, and occasionally frustrating, but that’s exactly why the reward is so high. Every time I walk into a kitchen where the stone is perfectly set and the grout lines are clean, I don’t just see a backsplash—I see solid equity being built right in front of my eyes. You are taking something neglected and turning it into something valuable, and that is how you build a portfolio from the ground up. So, grab your laser measurer, get your materials ready, and stop dreaming about the perfect flip. It’s time to get your hands dirty and start building your future, one stone at a time.
Frequently Asked Questions
How do I know if my kitchen walls are actually straight enough to handle heavy stone without leaving huge, ugly grout gaps?
Look, if your walls are waving like a flag in the wind, heavy stone is going to expose every single flaw. Grab that laser measurer from my bag and check your plumb and level. Run a straight edge or a level vertically and horizontally across the surface. If you’re seeing gaps wider than a quarter-inch, you aren’t ready to tile. You’ll need to skim-coat those walls with thin-set or mud first to flatten them out.
Is it worth paying extra for natural stone, or will a high-end porcelain tile give me the same ROI when I go to sell?
Look, if you’re flipping for a quick margin, high-end porcelain is your best friend. It’s durable, predictable, and mimics the look for a fraction of the cost. But if you’re aiming for that luxury buyer who wants “soul,” natural stone is the way to go. In my experience, stone adds a layer of perceived value that porcelain struggles to touch. Don’t overspend on a budget build, but don’t skimp if you’re chasing high-end equity.
How do I clean these stone surfaces long-term without using harsh chemicals that ruin the finish and eat into my profit margins?
Look, I’ve seen too many investors tank their ROI by using heavy-duty degreasers that strip the sealant right off the stone. If you want that backsplash to look high-end for years, keep it simple: warm water and a pH-neutral stone soap. Avoid anything acidic—no vinegar, no lemon, nothing. Just a soft microfiber cloth to prevent scratching. It’s a low-effort habit that protects your finish and keeps your margins intact.
