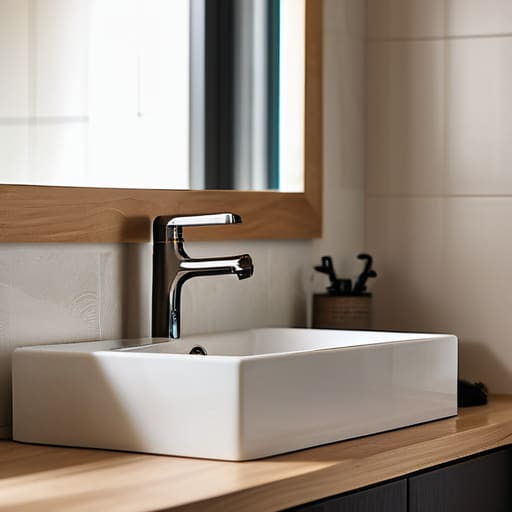
I was standing in a cramped, dimly lit kitchen in a fixer-upper I’d just picked up, staring at a cracked, stained porcelain basin that looked like it hadn’t been touched since the seventies. My contractor was hovering, quoting me a price for a full cabinetry overhaul just to accommodate a new fixture, and I knew right then that my margins were about to evaporate. Most people think a sink replacement requires a total kitchen gutting or a professional crew that charges an arm and a leg, but that’s a lie that keeps amateur investors from seeing their ROI.
In this guide, I’m stripping away the fluff and showing you how to handle a sink replacement without draining your renovation budget. I’ll walk you through the gritty, hands-on reality of swapping out old hardware, choosing materials that actually hold their value, and avoiding those expensive rookie mistakes that turn a quick weekend project into a plumbing nightmare. Whether you’re prepping a rental or just trying to salvage a flip, I’m going to show you how to make that kitchen pop without breaking the bank.
Table of Contents
- Step-by-Step Instructions
- Mastering the Cutout a Sink Countertop Cutout Guide
- Removing Old Sink Plumbing Without Breaking Your Budget
- Don't Blow Your Budget: 5 Pro Tips for a High-ROI Sink Swap
- The Bottom Line: Don't Let Small Plumbing Fails Kill Your Profit
- The Margin is in the Details
- The Bottom Line on Your Kitchen Refresh
- Frequently Asked Questions
Guide Overview
Tools & Supplies
- Adjustable wrench for loosening connections
- Basin wrench for tight nut access
- Putty knife for scraping old sealant
- Screwdriver for faucet mounting
- New sink unit (1)
- Plumber's putty or silicone sealant (1 tube)
- New drain assembly and gaskets (1 set)
- Teflon tape for threaded joints (1 roll)
Step-by-Step Instructions
- 1. Before you even touch a wrench, you need to shut off the water supply. Look under the sink for the oval shut-off valves and turn them clockwise until they stop. If you’re dealing with an older property where those valves look like they haven’t been touched since the Reagan administration, don’t risk a blowout—go straight to the main water shut-off for the whole house instead.
- 2. Clear out everything from under the cabinet and grab a bucket and some old towels. Once you disconnect the supply lines from the faucet, water is going to spill out, and trust me, you don’t want that pooling in your new cabinetry. I always keep a shop vac handy just in case things get a little more liquid than expected.
- 3. Now, you have to tackle the old sink itself. If it’s an undermount, you’ll need to carefully cut through the old silicone sealant with a utility knife. If it’s a drop-in, just unscrew the mounting clips underneath. It’s messy, and you’ll probably end up with some crusty old debris stuck to the countertop, but just scrape it clean so you have a fresh surface for the new install.
- 4. Once the old unit is out, clean the mounting surface like your ROI depends on it. Any leftover caulk or grime will prevent a watertight seal, and a leak six months from now is a nightmare for your margins. Use a putty knife and some heavy-duty cleaner to make sure that countertop is absolutely pristine before the new sink touches it.
- 5. Set your new sink into place and apply a fresh bead of high-quality silicone sealant around the rim. If you’re doing an undermount, this is where you use those mounting clips to pull the sink tight against the stone. I like to use my laser measurer here just to double-check my alignment before the sealant starts to set; there is nothing worse than a sink that looks visibly crooked in a high-end kitchen.
- 6. Reconnect your supply lines and the P-trap. When you’re tightening the nuts on the drain assembly, remember that hand-tight is usually enough to start; if you crank them down with too much force using a wrench, you risk cracking the new components or stripping the threads.
- 7. The final, most crucial step is the stress test. Turn the water back on slowly and let the faucet run for several minutes. Grab a dry paper towel and run it along every single connection point under the sink. If the towel stays bone-dry, you’ve successfully turned a liability into an asset. If it’s even slightly damp, tighten it up immediately.
Mastering the Cutout a Sink Countertop Cutout Guide
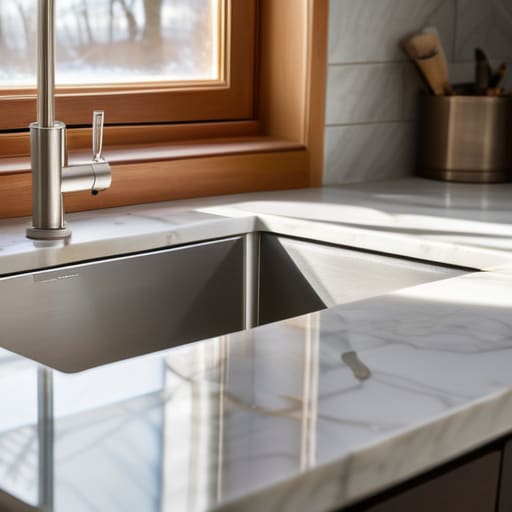
This is where most DIYers—and even some rookie contractors—lose their cool. If you’re working with stone or quartz, you aren’t just cutting a hole; you’re performing surgery on your biggest investment. Before you even touch a saw, you need a precise sink countertop cutout guide printed or traced directly onto the surface. I always tell my clients to double-check the manufacturer’s spec sheet for the new basin; if your measurements are off by even a quarter inch, you’re looking at an expensive piece of scrap material that won’t fix your margins.
Once you’ve marked your lines, take it slow. If you’re tackling an undermount setup, the precision required is next-level. I’ve seen too many people rush the plunge cut only to end up with jagged edges that ruin the aesthetic. Once the hole is cleared, don’t skimp on the prep. Applying a high-quality sealant for new sink installation around those raw edges is the only way to prevent water from seeping into your cabinetry and causing a slow-motion disaster. Measure twice, cut once, and seal it like your ROI depends on it.
Removing Old Sink Plumbing Without Breaking Your Budget

Before you even touch a wrench, you need to realize that removing old sink plumbing is where most amateur flippers lose their cool—and their cash. If you’re tackling a kitchen remodel, don’t just yank at the pipes and hope for the best. I’ve seen too many job sites turn into mini-swamps because someone ignored a corroded P-trap or a brittle shut-off valve. Check the condition of your supply lines first; if they look like they’ve been there since the Reagan administration, replace them immediately. It’s a cheap insurance policy against a flooded floor that would absolutely tank your margins.
If you’re working in a powder room, replacing a bathroom pedestal sink can be surprisingly tricky because the plumbing is often exposed and awkward. You’ll want to clear out the cabinet area or work around the base carefully to avoid cracking the porcelain. My rule of thumb? Always have a bucket and some old towels staged and ready. You want to be proactive, not reactive. Being prepared for that inevitable little drip saves you from a frantic, expensive midnight call to an emergency plumber.
Don't Blow Your Budget: 5 Pro Tips for a High-ROI Sink Swap
- Measure twice, buy once, and then measure a third time. I’ve seen too many rookies order a beautiful farmhouse sink only to realize it’s two inches too wide for their existing countertop cutout. Don’t let a simple measurement error turn into a costly custom fabrication bill.
- Prioritize the “touch points.” If you’re flipping a property, you don’t need a $500 designer faucet, but you absolutely cannot skimp on the feel. A heavy, solid-feeling handle makes the whole kitchen feel more expensive than it actually is.
- Check your plumbing alignment before you commit. If you’re switching from an under-mount to a drop-in, or moving from a single to a double basin, make sure your existing supply lines and drain pipes aren’t going to force you into a full plumbing overhaul that eats your profit margins.
- Don’t ignore the sealant. A common amateur mistake is a sloppy bead of silicone around the rim. If it looks messy, the buyer will assume the plumbing underneath is a disaster waiting to happen. Keep your lines clean and professional.
- Think about the “lifestyle” of the buyer. If you’re renovating a rental, go for a deep, durable stainless steel basin that can handle heavy pot scrubbing. If you’re aiming for a high-end resale, a clean white porcelain look will always win the aesthetic battle.
The Bottom Line: Don't Let Small Plumbing Fails Kill Your Profit
Precision is everything—if you mess up that countertop cutout, you’re not just looking at a repair, you’re looking at a total replacement that eats your renovation budget alive.
Always inspect the plumbing underneath before you even think about buying a new sink; it’s much cheaper to fix a minor valve issue now than to realize your new setup is incompatible with the existing lines halfway through a job.
Treat every sink swap as a value-add opportunity rather than just a maintenance task—pick something clean, functional, and modern to instantly elevate the kitchen’s perceived value for the next buyer.
The Margin is in the Details
“A sink replacement isn’t just about swapping out old porcelain for something new; it’s about eliminating a potential liability and instantly upgrading the perceived value of the entire kitchen without breaking your renovation budget.”
Gareth Trelawny
The Bottom Line on Your Kitchen Refresh
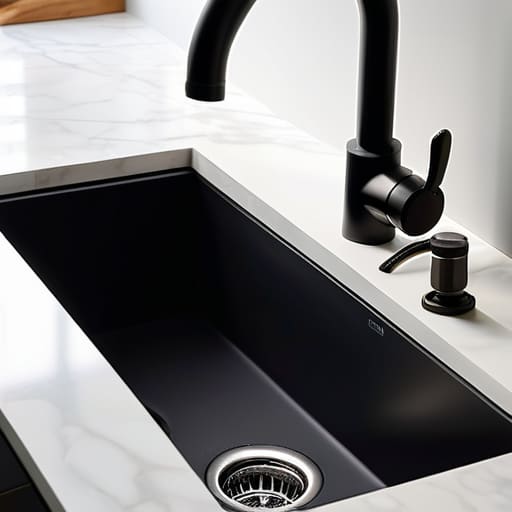
At the end of the day, a successful sink replacement isn’t just about picking a pretty basin from a showroom floor; it’s about the technical execution that protects your investment. We’ve covered everything from the precision required for a clean countertop cutout to the messy, essential work of swapping out old plumbing without blowing your entire renovation budget. If you nail the installation and don’t cut corners on the waterproofing, you aren’t just fixing a kitchen—you are securing your margins and ensuring that this upgrade actually adds to your property’s appraisal rather than becoming a future headache.
Don’t let the intimidation of a little plumbing or a dusty cutout stop you from making these high-impact changes. Real estate investing is rarely glamorous, and it’s definitely not always clean, but that’s exactly where the profit lives. Every time I walk into a house with a dated, leaking kitchen, I don’t see a problem; I see hidden equity waiting to be unlocked. Grab your tools, trust your measurements, and get to work. You’re one smart renovation away from turning a neglected space into a high-value asset.
Frequently Asked Questions
How do I know if my current countertop material can actually handle a new cutout without cracking?
Before you even pick up a saw, you need to know if your slab is going to fight you. If you’re working with natural stone like granite or marble, it’s high-risk; those materials are prone to stress fractures if the tension isn’t managed perfectly. Quartz is a bit more forgiving but still temperamental. My rule of thumb? If it’s thin, aged, or has visible hairline cracks, don’t risk the cutout. It’s better to budget for a new slab than to pay for a mistake.
Is it worth paying a plumber to swap the sink, or can I realistically DIY the drain and P-trap connections myself?
Look, if you’re comfortable with a wrench and can follow a diagram, you can absolutely handle the drain and P-trap yourself. That’s easy money saved. However, if you’re dealing with old, corroded shut-off valves or suspicious-looking supply lines, call a plumber. I’ve seen too many DIYers try to save fifty bucks only to end up with a flooded kitchen and a massive insurance headache. Know your limits so you don’t tank your margins.
When I'm choosing a new sink, should I prioritize a high-end brand or just focus on the dimensions to ensure it fits my existing plumbing layout?
Listen, if you’re flipping or trying to build equity, don’t get seduced by a designer label that doesn’t fit. I’ve seen too many investors blow their margins on a high-end brand only to realize the plumbing layout makes the install a nightmare. Prioritize the dimensions and the plumbing compatibility first. Get the fit right so you aren’t paying a plumber extra to move lines. Buy a solid, reliable sink that fits—save the luxury branding for the final staging.
