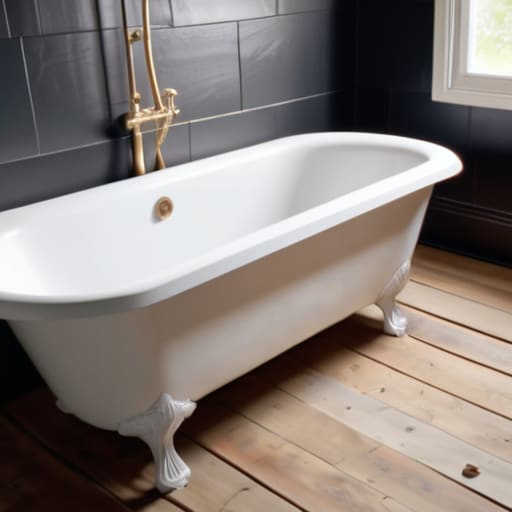
I was standing in a cramped, dimly lit bathroom in a 1970s bungalow last Tuesday, staring at a stained, avocado-green relic that looked like it belonged in a museum of bad decisions. Most people see a cracked, dated tub and think, “Ugh, that’s a massive, expensive headache I should just ignore.” But in my world, that eyesore is actually a golden opportunity. A strategic bathtub replacement isn’t just about fixing a leak or updating a color palette; it’s one of the fastest ways to wipe out that “old house” smell and inject immediate, tangible value into a property.
I’m not here to give you some polished, theoretical lecture on plumbing. I want to show you how to actually get your hands dirty without draining your entire renovation budget. In this guide, I’m breaking down the real-world logistics of a bathtub replacement, from choosing materials that actually hold their value to the messy reality of demolition. I’ll teach you how to spot the red flags before you tear out the tile and how to execute a swap that makes your next inspection—and your bank account—very happy.
Table of Contents
Guide Overview
Tools & Supplies
- Reciprocating saw for cutting old tub or pipes
- Adjustable wrench for disconnecting plumbing
- Crowbar for removing wall tiles or surround
- Caulk gun for sealing edges
- New bathtub (1 unit)
- Drain assembly and overflow kit (1 set)
- Silicone sealant (1-2 tubes)
- Plumber's putty (1 container)
- Plumbing tape (1 roll)
Step-by-Step Instructions
- 1. First, you need to clear the deck. Shut off the water supply to the entire house or at least the specific line feeding the bathroom—don’t be the person who ends up with a flooded floor because you skipped this. Once the water is off, use a crowbar and a hammer to strip away the old surround. I’m talking about ripping out the old tiles, the drywall, and the old tub itself. You want to get down to the studs and the subfloor so you can see exactly what kind of damage or rot you’re actually dealing with before you spend a dime on new materials.
- 2. Inspect the “guts” of the bathroom while everything is exposed. This is where most amateur flippers fail; they slap a new tub in without checking if the old drain or the copper piping is corroded. Check the floor for any soft spots that suggest water damage, and if you find them, replace that subfloor immediately. It’s much cheaper to fix a structural issue now than to have your brand-new, expensive tub sag or leak in six months.
- 3. Prep the plumbing and the new drain assembly. Once you’re sure the pipes are solid, position your new tub (or at least the rough-in) to ensure the drain lines align perfectly. I always keep my laser measurer handy here because if that drain is even half an inch off, you’re going to have a nightmare during installation. Secure the tub according to the manufacturer’s specs, usually involving a mortar bed underneath to prevent that annoying “flexing” sound when someone steps into the bath.
- 4. Install the new surround or tiling. If you’re going for a high-end look to boost your resale value, this is the time to lay down your tile. Make sure you use a high-quality waterproof membrane—don’t cut corners on waterproofing. I’ve seen too many “pretty” renovations ruined by mold because someone thought they could skip the proper sealing layers. Once the tile is set, get your grout ready and ensure your lines are straight and clean.
- 5. Mount the hardware and the trim kit. Now that the heavy lifting is done, it’s time for the “jewelry.” Install your new faucet, the tub spout, and the showerhead. This is where you can really lean into that minimalist industrial chic look I love. Tighten everything down, but be careful not to over-torque the fixtures; you want them secure, not stripped.
- 6. The final test and cleanup. Before you call it a day, turn the water back on and run the tub for a good ten minutes. Watch the drain, check the base of the tub, and inspect the seams of your new tile for any signs of weeping. Once you’ve confirmed there are zero leaks, clean up the debris and wipe down the fixtures. A clean, functional bathroom is a massive value-add that makes your property stand out the second a buyer walks in.
Removing Old Bathtub Safely Without Destroying Your Progress
This is where most DIYers lose their nerve, and honestly, I don’t blame them. If you’re replacing old cast iron tubs, you aren’t just dealing with a fixture; you’re dealing with a literal ton of heavy metal. Do not try to manhandle this alone. I’ve seen too many rookies try to muscle a heavy unit out of an alcove, only to end up cracking the surrounding tile or, worse, injuring themselves. My rule of thumb? Use a reciprocating saw to cut the tub into manageable sections. It’s loud, it’s messy, and it feels a bit sacrilegious, but it is the only way to ensure you aren’t destroying your progress before the new unit even arrives.
Once the tub is out, your focus needs to shift immediately to what lies beneath. This is the moment where you check for rot or mold in the subfloor. Before you even think about the next phase of your alcove bathtub installation steps, make sure you are waterproofing bathroom surfaces thoroughly. If the floor feels soft or looks suspicious, fix it now. It’s much cheaper to replace a piece of plywood today than to deal with a structural failure six months down the line.
Replacing Old Cast Iron Tubs for Maximum Return
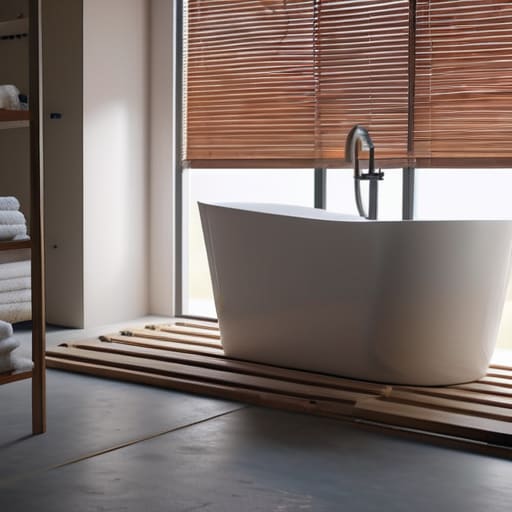
If you’re looking at a heavy, decades-old cast iron unit, don’t let the sheer weight intimidate you. While these beasts are built to last, they are often the biggest culprits behind outdated, “grandma-style” bathrooms that kill your resale value. When I’m replacing old cast iron tubs in one of my flips, I’m not just looking for a cosmetic upgrade; I’m looking for a way to modernize the entire footprint. These old units are often set into uneven subfloors, so once you get the old one out, pay close attention to bathtub leveling and support. If your new tub isn’t perfectly stable, you’re just inviting leaks and cracks down the road, which is a nightmare for your margins.
Once the heavy lifting is done, focus on the invisible stuff that actually protects your investment. I never skip the step of waterproofing bathroom surfaces before the new unit goes in. It’s a small upfront cost in time and materials, but it prevents the kind of mold issues that turn a profitable flip into a total loss. Getting the foundation right ensures that your “quick fix” actually holds up under scrutiny during a home inspection.
Pro Tips to Protect Your Profit Margin
- Don’t skimp on the valve. While it’s tempting to just swap the tub and call it a day, if you’re opening up the walls, replace that old, crusty mixing valve now. It’s a cheap fix today that prevents a massive, equity-draining leak next year.
- Check your subfloor before the new tub hits the floor. Once that old unit is out, you’re staring at the bones of the house. If the wood is soft or rotting from a slow leak, fix it immediately. Installing a heavy new tub on a compromised floor is a recipe for a disaster that will eat your entire profit.
- Go for a timeless aesthetic over “trendy” tile. I see too many flippers go overboard with crazy patterns that date the house in six months. Stick to classic subway tile or large-format neutrals; they look expensive, they’re easy to clean, and they appeal to the widest pool of buyers.
- Measure twice, buy once—and then measure a third time. I keep my laser measurer in my bag for a reason. There is nothing more soul-crushing than getting a beautiful new alcove tub delivered only to realize your framing is off by half an inch.
- Invest in a high-quality drain assembly. It’s the one part of the renovation no one sees, but it’s the one that fails most often. A solid, reliable drain kit ensures your “freshly renovated” bathroom doesn’t become a nightmare of standing water and foul smells for your new owners.
The Bottom Line on Tub Replacements
Don’t get paralyzed by a heavy cast iron tub; once you’ve mastered the demolition, it’s just a quick way to swap a dated liability for a high-value asset.
Always prioritize quality over the absolute cheapest option—investing in a solid, modern unit pays for itself the moment you see the appraisal bump.
Protect your margins by doing the dirty work yourself or supervising closely, ensuring you aren’t paying a premium for mistakes that eat into your equity.
## The Equity in the Tub
“A lot of rookie investors walk away from a house because they see a dated, stained bathtub and think ‘headache.’ I see it differently. A bathtub replacement isn’t just a plumbing job; it’s one of the fastest, most surgical ways to strip away that ‘old house’ smell and replace it with high-end perceived value.”
Gareth Trelawny
The Bottom Line on the Tub Flip
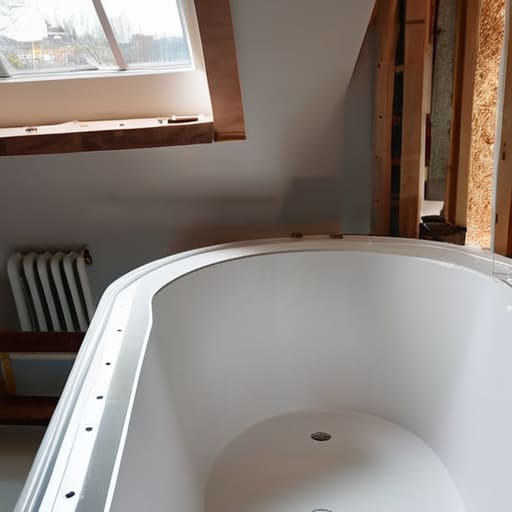
At the end of the day, replacing a bathtub isn’t just about swapping out old porcelain for something shiny; it’s about precision and protecting your investment. We’ve covered the heavy lifting—from the guts of the demolition process to the strategic decision of whether you’re dealing with heavy cast iron or a lighter acrylic unit. Remember, the goal isn’t just to make it look pretty for the listing photos, but to ensure that the plumbing and structural integrity are rock solid underneath. If you skip the prep work or rush the waterproofing, you aren’t building equity—you’re just building a future leak that will eat your profits alive.
I know that looking at a gutted bathroom can feel overwhelming when you’re standing there in the dust, but don’t let the mess intimidate you. Every crumbling tile and outdated fixture is just an opportunity to manufacture value where others only see a headache. Real estate investing is a game of grit, and mastering these mid-level renovations is exactly how you bridge the gap between a hobbyist and a professional. Take the measurements, do the work, and go turn those old, dated bathrooms into the high-margin assets your portfolio deserves.
Frequently Asked Questions
How do I know if my subfloor is actually rotted underneath the old tub before I commit to a new one?
Before you drop a dime on a new tub, you have to check the foundation. Once the old unit is out, grab a screwdriver and poke the wood around the perimeter and the drain area. If the wood feels soft, spongy, or gives way easily, you’ve got rot. Don’t ignore it—if you tile over a compromised subfloor, that beautiful new investment will crack within months. Better to fix the rot now than pay for it twice later.
Is it worth it to go with a high-end alcove tub, or should I stick to a standard acrylic model to keep my margins high?
Look, if you’re flipping for a quick exit, stick to a solid, standard acrylic model. It’s cost-effective, easy to install, and most buyers won’t blink at it. However, if you’re targeting a premium rental or a high-end resale, a high-end alcove tub can be the “wow” factor that justifies a higher asking price. My rule of thumb? Don’t over-improve for the neighborhood, but never sacrifice quality just to save a few bucks on margins.
How much should I realistically budget for plumbing surprises once the old unit is out of the way?
Look, if you’re banking on a perfect outcome, you’re already losing money. Once that old tub is out, you’re likely to find corroded valves or outdated piping that wasn’t visible before. I always tell my clients to set aside an extra $500 to $1,000 specifically for “plumbing contingencies.” It sounds painful now, but it’s much better than having your entire renovation budget stall because a single rusted pipe decided to give up the ghost.
