I was standing in the middle of a gutted colonial in South Philly, covered in a fine layer of white dust and nursing a bruised ego, staring at a corner that refused to look anything but amateur. Most people think drywall installation is just about screwing boards to studs and hoping for the best, but they’re dead wrong. If you treat it like a mindless chore rather than a precision skill, you’re essentially painting a target on your future resale value with every uneven seam and visible patch. I learned the hard way that a botched job here doesn’t just look bad—it eats your profit margins alive when you’re trying to flip a property.
I’m not here to give you some polished, theoretical lecture that works in a showroom but fails on a real job site. Instead, I’m going to walk you through the gritty, practical reality of a professional-grade drywall installation that actually holds up under scrutiny. We’re going to cover everything from the initial hanging to the secret of getting those compound joints perfectly seamless. By the time we’re done, you’ll have the confidence to turn those ugly, crumbling walls into the smooth, high-end surfaces that drive equity.
Table of Contents
- Step-by-Step Instructions
- Mastering Drywall Hanging Techniques for a Flawless Foundation
- The Taping and Mudding Process Building Your Equity Layer by Layer
- Pro Moves to Save Your Sanity (and Your Margin)
- The Bottom Line: Turning Drywall into Dollars
- ## The Hidden Value in the Walls
- Turning Dust and Mud into Real Value
- Frequently Asked Questions
Guide Overview
Tools & Supplies
- Drywall saw for cutting outlets and holes
- T-square for straight edge cutting
- Joint knife set for applying compound
- Sanding sponge for smoothing joints
- Drill/Driver for hanging screws
- Drywall sheets (size depends on room area)
- Drywall screws (1-1/4 inch)
- Joint compound (all-purpose)
- Drywall tape (paper or mesh)
- Corner bead for external edges
Step-by-Step Instructions
- 1. Before you even touch a sheet of drywall, you need to prep the skeleton. Check every single stud to ensure they are plumb and level; if your framing is wonky, your walls will look like a nightmare once you hit the paint stage. I always carry my laser measurer to double-check these dimensions because there is nothing more expensive than realizing you’re short on material halfway through a job.
- 2. Next, measure and cut your sheets. I prefer using a utility knife and a straight edge for a clean score, but if you’re dealing with a massive renovation, a drywall saw is your best friend for those tricky cutouts around electrical boxes. Make sure you leave a tiny bit of breathing room around the edges—precision at this stage saves you hours of headache during the taping process.
- 3. Now, it’s time to hang the boards. Start from the ceiling and work your way down, or start with the corners of the room to establish your perimeter. Use drywall screws, not nails, and make sure you drive them just deep enough to create a tiny dimple without tearing the paper. If you break the paper surface, you’ve compromised the strength of the sheet, and you’ll have to patch it later.
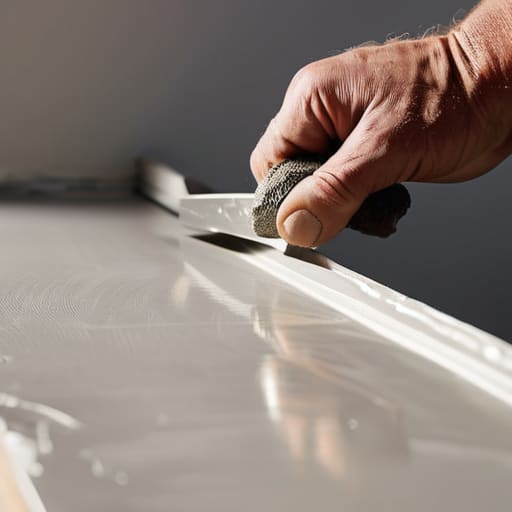
- 4. Once the boards are up, grab your joint compound and your taping knife. This is where the magic—and the mess—actually happens. Apply a thin layer of mud over the seams and press your paper tape into it, smoothing out any air bubbles. You want to be methodical and patient here; rushing the first coat is the fastest way to end up with visible ridges that scream “amateur renovation.
- 5. After that first coat dries, you’re going to need to feather out the edges. This means applying wider and wider layers of compound as you move away from the seam to create a smooth transition between the joint and the rest of the wall. I always say that wide, thin coats are infinitely better than thick, heavy ones that take forever to sand down.
- 6. The final stretch is the sanding, and trust me, you’ll want to wear a mask. Use a fine-grit sanding sponge to smooth out everything until the transitions are virtually invisible to the touch. Once you’re happy with the smoothness, wipe the walls down with a damp cloth to remove the dust. If you get the finish right now, your paint job will look like a million bucks instead of a cheap flip.
Mastering Drywall Hanging Techniques for a Flawless Foundation
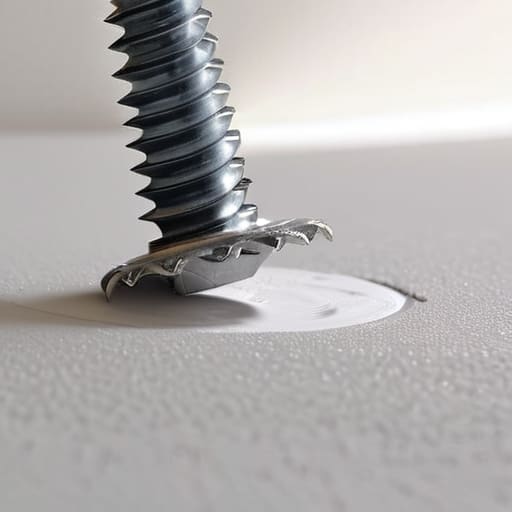
Here is the secret most rookies miss: the magic isn’t just in the hanging, it’s in the prep. When I’m walking onto a job site, I’m looking at how the sheets meet the studs. If your drywall screw installation is sloppy—meaning you’ve either driven them too deep and popped the paper or left them sitting proud—you are essentially setting yourself up for a nightmare during the finishing stage. You want those screws to sit just a hair below the surface. It’s about creating a perfectly level plane before you even touch a bucket of mud.
Once the boards are up, don’t rush the transition to the taping and mudding process. I’ve seen too many investors try to save time by slapping on thick layers of compound to hide gaps, but that’s a rookie mistake that leads to massive cracks once the house settles. Instead, focus on thin, consistent passes. If you want that high-end, designer look that commands a premium resale price, you have to invest the time in meticulous layering. A flawless foundation is the only way to ensure your final coat looks like a solid wall rather than a patchwork quilt.
The Taping and Mudding Process Building Your Equity Layer by Layer
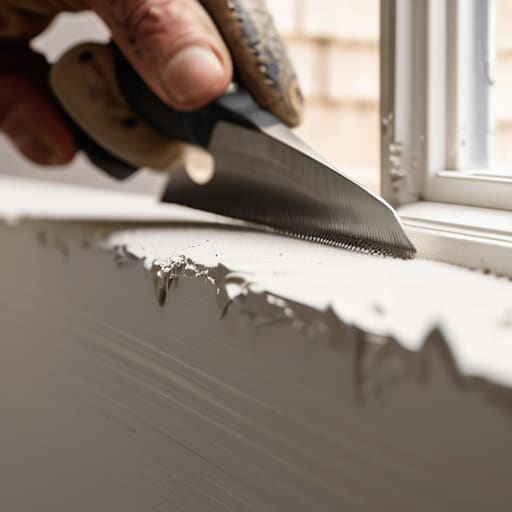
This is where the real magic—and the real frustration—happens. You can have the most perfect drywall hanging techniques in the world, but if you rush the taping and mudding process, you’re essentially painting a masterpiece over a cracked foundation. I’ve seen too many rookies try to hide imperfections with thick layers of mud, only to realize later that they’ve just created a wavy, uneven mess that screams “amateur.” The secret is patience. You need to apply your drywall joint compound in thin, manageable layers, letting each one dry completely before you even think about the next pass.
Think of this stage as building your equity layer by layer. If you want that high-end, seamless look that commands a premium resale price, you cannot skip the discipline of proper drying times. Once you’ve built up the levels, the final stretch is all about the drywall sanding for smooth finish. Don’t get aggressive with the sander; you want to be light and precise. A little extra elbow grease here ensures that when the light hits those walls in the new house, there isn’t a single shadow revealing your hard work.
Pro Moves to Save Your Sanity (and Your Margin)
- Don’t skimp on the joint compound; using a cheap, fast-drying mud might save you twenty minutes today, but it’ll cost you hours of sanding and frustration when you realize the finish is uneven.
- Invest in a high-quality sanding pole rather than trying to hand-sand everything; if you want those walls to look seamless under high-end lighting, you need a consistent, professional grit.
- Always check your studs with a high-quality stud finder before you even think about hanging a sheet; there is nothing more soul-crushing than realizing your layout is off by half an inch mid-install.
- Keep your workspace obsessively clean between coats; even a tiny bit of dried mud grit falling into your wet layer will create bumps that show up like a sore thumb once you start painting.
- Master the “light test” by holding a work light parallel to the wall; it’s the only way to catch those tiny imperfections and dips before they become expensive mistakes in your final finish.
The Bottom Line: Turning Drywall into Dollars
Don’t rush the drying process; I’ve seen too many rookies try to sand down wet mud just to save a day, only to end up with wavy walls that kill your resale value.
Invest in quality tape and joint compound because cutting corners on your foundation is the fastest way to turn a high-margin flip into a money pit of endless repairs.
Treat every seam and screw head like it’s a potential red flag for a home inspector—smooth, seamless drywall is the invisible work that proves you know how to build real equity.
## The Hidden Value in the Walls
“New investors often obsess over the high-end finishes, but I’ll tell you a secret: your profit margins are actually won or lost in the prep work. If your drywall isn’t hung straight and your mudding isn’t seamless, no amount of expensive paint is going to hide a lack of discipline, and that’s exactly where you lose your equity.”
Gareth Trelawny
Turning Dust and Mud into Real Value
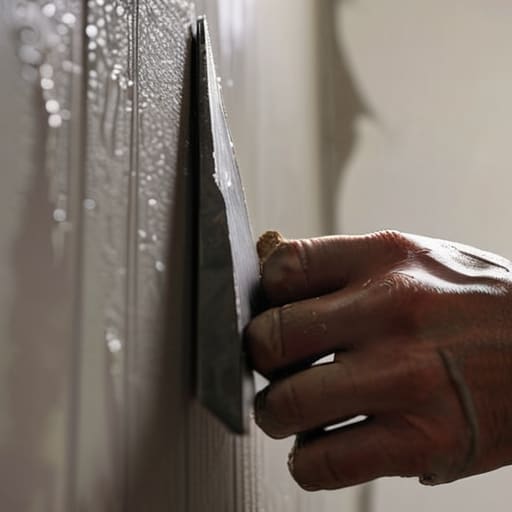
At the end of the day, a successful drywall job isn’t just about making a room look pretty; it’s about the discipline of the process. We’ve covered everything from the precision required in the initial hanging to the tedious, repetitive nature of taping and mudding. If you’ve cut corners on your measurements or rushed the drying time between coats, it’s going to show the second the sunlight hits those walls. Remember, the goal is a seamless, professional finish that doesn’t scream “DIY project.” When you master these fundamentals, you aren’t just fixing a wall; you are ensuring that your renovation stands the test of time and scrutiny.
I know there were moments during this process where you probably wanted to throw your mud pan across the room and walk away. Trust me, I’ve been there more times than I can count. But that’s where the real profit is made. While other investors are running away from the mess and the dust, you are leaning in and doing the work. Every smooth surface you create is a step closer to building tangible equity and a portfolio you can be proud of. Don’t let the grit get to you—keep sanding, keep refining, and keep building that wealth, one layer at a time.
Frequently Asked Questions
How do I know if I can actually patch these old plaster walls, or am I better off ripping everything out to start fresh with modern drywall?
Look, I’ve been there—staring at a wall, wondering if I’m saving money or just wasting time. Here’s my rule of thumb: if the plaster is just hairline cracked or has minor impact damage, patch it. It’s faster and keeps your margins high. But if you see crumbling, moisture damage, or the lath is rotting behind it? Rip it out. Don’t chase a sinking ship; sometimes a clean slate is the only way to guarantee a professional finish.
What’s the best way to handle those inevitable cracks that pop up after the first coat of mud dries?
Look, I’ve been there—standing in a half-finished living room, staring at a hairline crack that wasn’t there an hour ago. Don’t panic; it’s part of the process. First, scrape out the loose debris so you aren’t just burying the problem. If it’s a structural movement issue, you might need mesh tape. Otherwise, just apply a thin skim coat of setting-type compound. Patience is your best tool here; multiple thin layers beat one thick, cracking mess every time.
Is it worth investing in high-end joint compound for a flip, or can I get away with the cheaper stuff and just sand it more aggressively?
Look, I get the temptation to cut corners to protect your margins, but don’t make that mistake. In a flip, your finish is everything. Cheap compound is often sandier and harder to feather, meaning you’ll spend twice as much on labor and sandpaper trying to hide the flaws. Save your time and your sanity—invest in the decent stuff. A smoother application means less sanding, fewer callbacks, and a much faster path to closing.
