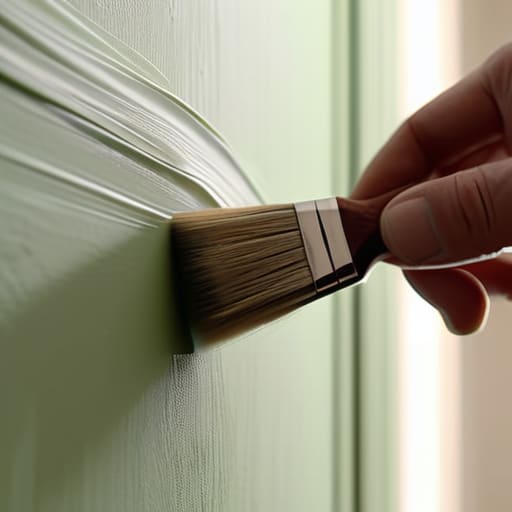
I was standing in the middle of a gutted Victorian bungalow last Tuesday, staring at a wall that looked more like a topographical map than a flat surface, realizing I’d just wasted three hundred dollars on high-end pigment. I had followed every “easy” tutorial online, yet the finish was streaky, uneven, and frankly, looked cheap. Most people think that if you buy the most expensive gallon of paint at the big-box store, you’re halfway to a professional finish, but that’s a lie that kills your margins. The truth is, your ROI isn’t determined by the brand on the can, but by mastering specific interior painting techniques that ensure a smooth, high-end look every single time.
I’m not here to give you a fluff piece on color psychology or how to pick a “cozy” shade. I’m here to show you the grit and the precision required to turn a DIY job into a professional-grade asset. In this guide, I’m breaking down the exact methods I use on my job sites—from proper edge cutting to the secret of managing drying times—so you can stop wasting money on redo’s and start forcing equity through flawless execution.
Table of Contents
- Step-by-Step Instructions
- Wall Surface Preparation Fixing the Mess Before the Magic
- Achieving a Smooth Finish With Professional Painting Tools
- Five Pro-Level Moves to Protect Your Margins and Your Finish
- The Bottom Line: Don't Skimp on the Details
- ## The Margin is in the Details
- Turning Fresh Paint Into Real Equity
- Frequently Asked Questions
Guide Overview
Tools & Supplies
- Angled brush for cutting in edges
- Roller frame and covers for large surfaces
- Paint tray for holding and loading paint
- Extension pole for high walls and ceilings
- Painter's tape for protecting trim and edges
- Sandpaper for smoothing wall imperfections
- Interior paint (1-3 gallons depending on area)
- Painter's primer (1-2 gallons)
- Drop cloths (2-3 sheets)
- Spackle (1 small container)
- Cleaning sponge (1 unit)
Step-by-Step Instructions
- 1. First, you have to get obsessive about the prep work because a cheap paint job is just a way to waste your capital. Clear the room entirely if you can, but if not, move everything to the center and cover it with heavy-duty canvas drop cloths—never use thin plastic, as it shifts and tears under your feet. Scrape off any loose flakes, sand down the rough patches, and use a high-quality caulk to seal those annoying gaps between the baseboards and the walls. If you skip this, you’re just painting over problems that will show through the second the light hits the wall.
- 2. Next, grab your painter’s tape and get surgical with your lines. I don’t care how steady your hands are; use a sharp utility knife to score the edge of the tape once you’ve applied it to ensure you don’t peel the drywall off when you’re finished. Run a damp cloth over the tape edges to press them down firmly, which prevents that dreaded paint bleed. This is where you separate the amateur look from the professional finish that actually adds value to a property.
- 3. Now, it’s time to “cut in,” which is the most tedious but vital part of the process. Instead of jumping straight to the roller, use a 2.5-inch angled sash brush to paint a border around the ceiling, the corners, and the trim. Don’t try to do the whole room at once; work in manageable sections so the “wet edge” stays consistent. If you let your cut-in lines dry before you start rolling, you’ll end up with a distracting texture mismatch that screams “DIY disaster” to any potential buyer.
- 4. Once your borders are set, grab a high-quality microfiber roller and a tray to start the heavy lifting. Start from the top of the wall and work your way down in a “W” or “M” pattern to distribute the paint evenly before filling in the gaps. Avoid the temptation to press too hard; you want to apply even pressure rather than squeezing every last drop of moisture out of the nap. This technique ensures the coverage is thick and uniform, which is the secret to high-end results.
- 5. You absolutely cannot cut corners on the second coat, even if the wall looks “good enough” after the first pass. Most high-quality paints require two coats to truly achieve the depth of color and the durability needed for a rental or a flip. Wait for the first coat to be completely dry—check the can for specific drying times—and then repeat your cutting and rolling process. This second layer is what transforms a flimsy-looking wall into a solid, premium surface that commands a higher asking price.
- 6. Finally, the most satisfying part: the reveal. Peel your painter’s tape off while the paint is still slightly tacky to avoid cracking the dried film. If you find a small drip or a missed spot, don’t panic and try to fix it with a massive brush; use a small artist’s brush or a tiny foam roller to spot-correct the error seamlessly. Once everything is clean and the tools are washed, take a step back and look at the room through the eyes of an investor—you’re looking for flawless, consistent coverage that makes the space feel brand new.
Wall Surface Preparation Fixing the Mess Before the Magic
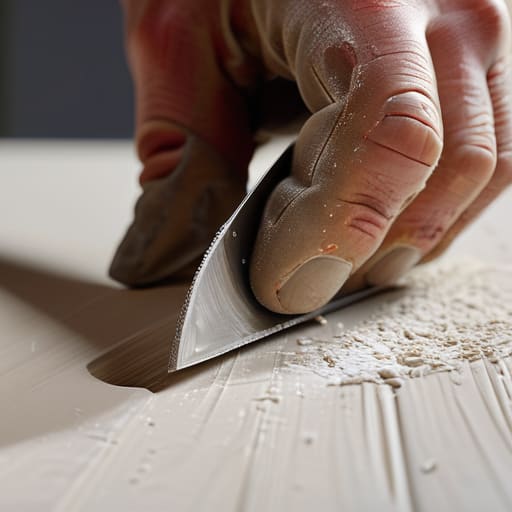
Look, I’ve seen too many rookies rush straight to the color palette only to realize their “fresh” coat looks like textured sandpaper because they skipped the prep. If you want to build real equity, you have to treat the substrate with respect. Most of the “cracks” you see in a finished flip aren’t bad paint; they are failures in wall surface preparation. Spend the extra time sanding down those old drywall patches and filling every divot with a high-quality spackle. If you don’t get the surface level, even the most expensive designer paint will highlight every single imperfection.
Once the walls are smooth, don’t underestimate the power of a solid base. My go-to primer application tips always involve using a high-hide primer if you’re covering dark colors or dealing with fresh patch jobs. This ensures your topcoat adheres perfectly and gives you that flawless, high-end look that buyers crave. It’s about creating a uniform canvas so your actual color work can shine without fighting the wall underneath. Remember, in this business, the work you do before the first drop of color hits the wall is what actually protects your profit margins.
Achieving a Smooth Finish With Professional Painting Tools
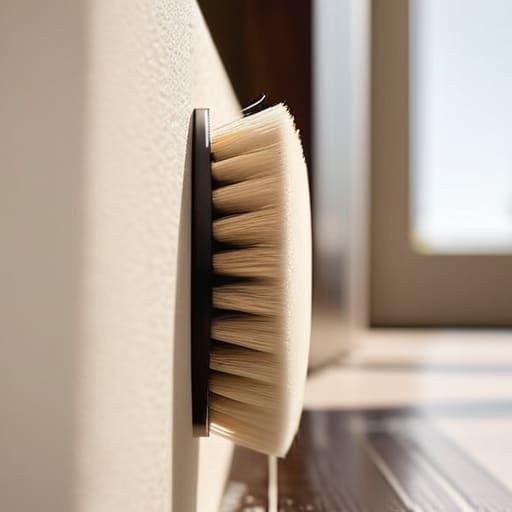
Look, you can spend all day on perfect wall surface preparation, but if you try to finish the job with a cheap, $5 brush from a big-box store, you’re going to sabotage your margins. I’ve seen too many investors lose money because their “quick flip” looked amateurish under bright lighting. To really nail achieving a smooth finish, you need to invest in high-quality synthetic brushes and high-density foam rollers. These aren’t just luxuries; they are the difference between a textured, streaky mess and a surface that looks like it was sprayed by a pro.
When you move into the actual application, pay close attention to cutting in edges before you hit the main walls with a roller. If you rush this part, you’ll end up with visible “picture framing” where the edges don’t blend with the field. I always keep a small tray and a dedicated angled sash brush handy to ensure those lines are crisp. Also, don’t skip the step of preventing paint drips by working in smaller sections; if you try to cover too much ground at once, the paint will sag, and you’ll spend more time sanding out mistakes than you would have spent just doing it right the first time.
Five Pro-Level Moves to Protect Your Margins and Your Finish
- Stop skimping on the primer; if you’re painting over a dark color or a patchy repair, a high-quality primer is the only way to ensure you aren’t wasting money on three extra coats of expensive finish paint.
- Master the “cut-in” before you even touch a roller, because if your edges are jagged and messy, no amount of high-end finish can hide the fact that the job was rushed.
- Watch your lighting like a hawk while you work; I always bring a portable work light to catch those nasty shadows and uneven patches that a standard ceiling fixture will completely miss.
- Don’t try to be a hero with cheap rollers—invest in high-density microfiber nap so you aren’t fighting texture streaks and “orange peel” effects that make a renovated house look amateur.
- Always work in small, manageable sections to maintain a “wet edge,” otherwise you’ll end up with those dreaded lap marks that scream “DIY disaster” to any potential buyer.
The Bottom Line: Don't Skimp on the Details
Never cut corners on prep work; if you try to paint over a crack or a patch of grease, you’re just wasting expensive product and risking a callback from a buyer.
Invest in high-quality rollers and brushes—it’s a small upfront cost that pays for itself in the time you save and the professional finish that actually drives up your resale value.
Master your technique to force equity; a flawless, even coat of paint is one of the cheapest ways to make a dated, neglected room look like a high-end designer space.
## The Margin is in the Details
“Anyone can slap a coat of beige over a cracked wall, but if you want to actually force equity, you have to treat painting like a structural investment—fix the imperfections first, master your technique second, and never let a sloppy finish eat your profit margins.”
Gareth Trelawny
Turning Fresh Paint Into Real Equity
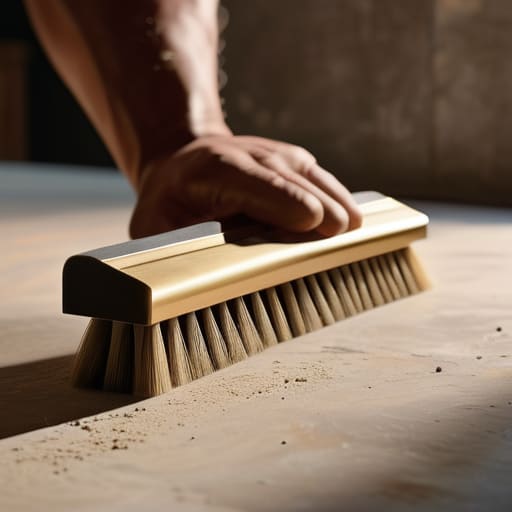
At the end of the day, a high-end paint job isn’t just about picking a trendy color; it’s about the discipline you put into the process. We’ve covered everything from the grit required for proper wall prep to selecting the right professional-grade tools that prevent those dreaded streaks and drips. If you skip the sanding or try to cheap out on a low-quality roller, you aren’t saving money—you’re just sacrificing your profit margins in the long run. Remember, the magic happens in the preparation, and the value is found in the details that make a room feel intentional rather than just “newly painted.”
Renovating can be exhausting, and there will be days when you’re covered in dust and wondering why you didn’t just stick to a desk job. But when you step back and see those clean lines and that flawless finish, you’re seeing more than just aesthetics; you’re seeing built-in equity. Every brushstroke is a step toward building that portfolio we all want. Don’t let a little mess intimidate you. Grab your tools, trust your eye, and go turn those tired walls into a high-value asset.
Frequently Asked Questions
How do I know if I should spend the extra money on premium paint or if a budget brand will still give me enough ROI on this flip?
Look, don’t let a cheap bucket of paint eat your margins, but don’t go overboard either. If you’re doing a high-end flip in a luxury zip code, buy the premium stuff; buyers in that bracket spot a patchy finish from a mile away. For a standard rental or a quick mid-market flip, a decent mid-tier brand is your sweet spot. You want high coverage so you aren’t paying for extra coats in labor.
When am I dealing with heavy water damage or old nicotine stains, what’s the best way to prime so the mess doesn't bleed through the new coat?
If you see yellow nicotine stains or water damage, standard primer is a waste of your money. It’ll bleed right through your expensive finish and ruin your margins. You need a high-quality shellac-based primer—think Zinsser BIN. It’s the heavy hitter for sealing in odors and stubborn stains. It dries fast and creates an impenetrable barrier, so you aren’t constantly repainting. Don’t skimp here; sealing that mess correctly is how you protect your equity.
How can I tell if a contractor is actually cutting corners on the prep work versus just rushing through the actual painting?
Look, I’ve seen it a hundred times: a contractor shows up, slaps on two coats of premium paint, and calls it a day while the clock is ticking. To catch them, ignore the color and watch the prep. If they aren’t sanding the walls between coats, using painter’s tape properly, or actually patching those hairline cracks I spotted during my walkthrough, they’re cutting corners. If the surface feels gritty or uneven, they skipped the most important part.
