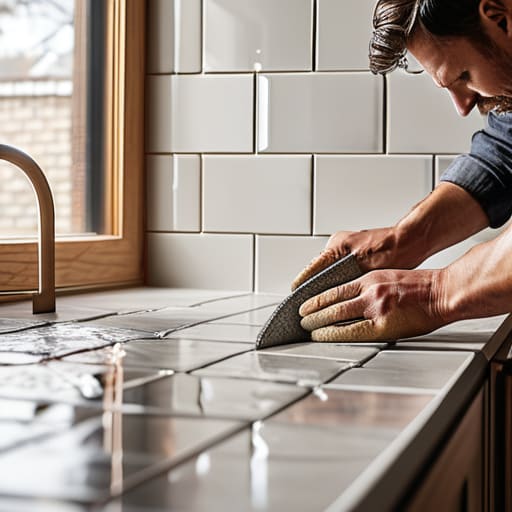
I was standing in a cramped, dimly lit kitchen in a fixer-upper I’d picked up last June, staring at a wall of stained, 1970s-era wallpaper that smelled faintly of old grease. Most people would have seen a disaster that required a full gut renovation and a massive budget, but I saw an opportunity. I knew that a strategic approach to kitchen backsplash tiling was the secret weapon needed to bridge the gap between a “distressed property” and a “high-end listing.” It’s not about how much you spend; it’s about where you place your capital to get the highest possible return on your investment.
In this guide, I’m stripping away the fluff and the expensive designer nonsense to give you a practical, boots-on-the-ground roadmap. I’ll walk you through selecting materials that actually hold their value, the exact tools you need to avoid a messy finish, and how to execute the job without breaking your bank account. Whether you’re trying to flip a house for a profit or just want to stop feeling embarrassed when guests walk into your kitchen, I’m going to show you how to turn a simple wall into serious equity.
Table of Contents
- Step-by-Step Instructions
- Choosing the Winner Ceramic vs Porcelain Tile for Maximum Roi
- The Precision Play Measuring for Tile Layout and Preventing Uneven Tiles
- The Pro Investor’s Checklist: 5 Ways to Avoid Costly Backsplash Blunders
- The Bottom Line: Making Every Square Inch Count
- The ROI of the Details
- The Final Layer of Equity
- Frequently Asked Questions
Guide Overview
Tools & Supplies
- Tile cutter or wet saw for precise cuts
- Notched trowel for applying adhesive
- Rubber grout float for smoothing grout
- Tile spacers to maintain even lines
- Sponges and buckets for cleaning
- Backsplash tiles (enough for area plus 10% extra)
- Tile adhesive or thin-set mortar
- Grout (color of choice)
- Tile sealer to protect grout lines
Step-by-Step Instructions
- 1. Before you even touch a single tile, you need to prep your workspace and your surfaces. Clear everything off the counters and lay down some heavy-duty drop cloths; I’ve learned the hard way that thin plastic won’t stop grout from ruining your expensive stone. Scrub the walls down with a degreaser to remove any lingering cooking grease, otherwise, your adhesive isn’t going to bond, and you’ll be looking at a costly repair job six months from now.
- 2. Once the walls are clean, it’s time to map out your layout. Don’t just start at a corner and hope for the best—that’s a rookie mistake that usually ends with a tiny, pathetic sliver of tile at the other end. Measure the total width and find the center point of your backsplash area. Start your first row of tiles from that center line and work your way out toward the edges to ensure your cuts are symmetrical and look intentional.
- 3. Now, grab your thin-set mortar and start applying it to the wall using a notched trowel. I prefer working in small sections rather than doing the whole wall at once, because the mortar can skin over too quickly if you’re working alone. Make sure you have consistent ridges in the mortar; these little grooves are what create the suction needed to keep your tiles from sliding down the wall mid-project.
- 4. This is where the real patience comes in: setting the tiles. Press each piece into the mortar with a slight twisting motion to ensure full coverage, and use tile spacers religiously. If you try to eyeball the gaps between tiles, your lines will look crooked, and any potential buyer will see right through it. I always keep a handful of spacers in my pocket—it’s the easiest way to ensure that professional, high-end look.
- 5. Once the tiles are set and the mortar has fully cured (usually 24 hours), it’s time to tackle the grout. Mix your grout to a peanut butter consistency and use a rubber grout float to push it into the joints at a 45-degree angle. Be sure to wipe away the excess grout with a damp—not soaking wet—sponge. If you use too much water, you’ll wash out the pigment and end up with patchy, uneven colors that scream “DIY disaster.
- 6. After the grout has dried and you’ve done a final wipe-down, apply a high-quality grout sealer. This is a non-negotiable step if you want this renovation to actually add value. A good sealer prevents stains from oil and water from seeping into the porous grout lines, ensuring your new backsplash stays looking crisp and clean long after you’ve closed the deal or moved in.
Choosing the Winner Ceramic vs Porcelain Tile for Maximum Roi
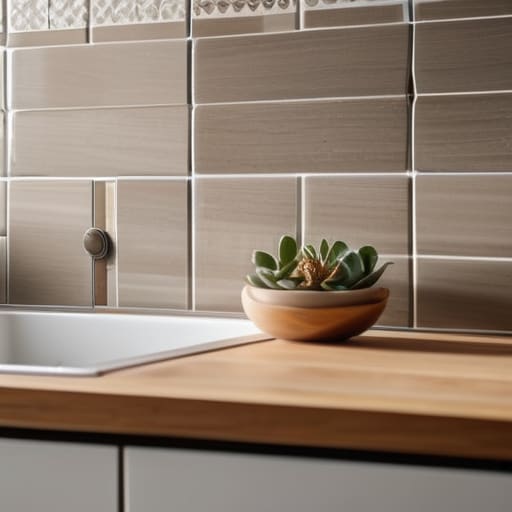
When you’re staring at a sample board, it’s easy to get caught up in the aesthetics, but as an investor, I’m always looking at the math. The debate of ceramic vs porcelain tile usually comes down to your budget versus your long-term durability goals. Ceramic is your go-to for a quick, cost-effective win; it’s easier to cut and much more forgiving on a tight renovation timeline. However, if you’re tackling a high-end kitchen where the backsplash will take a beating from heavy cooking and steam, porcelain is the heavy hitter. It’s denser and more water-resistant, which means it holds its value longer in a competitive market.
If you decide to go the porcelain route, don’t get sloppy with your prep. Because porcelain is so much harder, you’ll need to be meticulous about preventing uneven tiles by using the right notched trowel and ensuring your substrate is perfectly flat. I’ve seen too many amateur flips lose their margin because they rushed the install and ended up with lippage that looks cheap under under-cabinet lighting. Stick to the quality materials, and the equity will follow.
The Precision Play Measuring for Tile Layout and Preventing Uneven Tiles
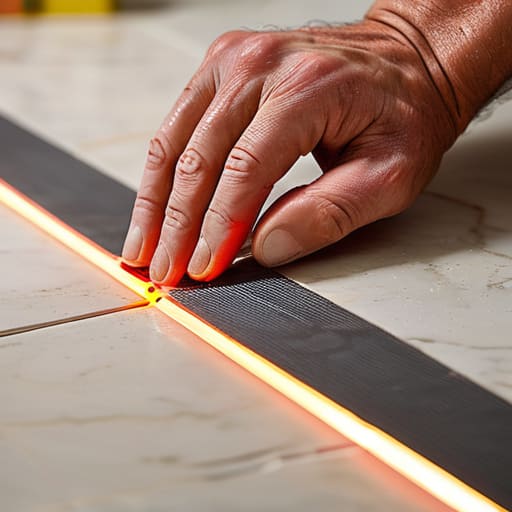
Listen, you can buy the most expensive marble slabs in the showroom, but if your lines are crooked, the whole kitchen looks cheap. I’ve seen countless flips lose their “wow factor” simply because the installer didn’t take the time to center the pattern. Before you even touch a bag of thin-set, you need to be obsessive about measuring for tile layout. Start by finding the center point of your main wall and snapping a chalk line. If you start blindly in a corner, you’ll likely end up with tiny, awkward slivers of tile on the opposite end that scream “amateur hour.”
Once you’ve mapped it out, focus on your physical setup to ensure stability. I never head onto a job site without my leveling system; it’s the only way I can guarantee I’m preventing uneven tiles across a large surface area. Even with the right backsplash installation tools, gravity and varying wall flatness are your enemies. Use spacers religiously and check your level every few rows. If you aren’t seeing a perfectly straight line, stop immediately and adjust. In this business, precision isn’t just about aesthetics—it’s about protecting your margins.
The Pro Investor’s Checklist: 5 Ways to Avoid Costly Backsplash Blunders
- Don’t skimp on the grout color; choosing a shade that closely matches your tile creates a seamless, high-end look, whereas a high-contrast grout can make a cheap tile job look busy and dated.
- Always buy 15% more tile than your measurements suggest to account for cuts, breakage, and those inevitable “oops” moments during the renovation.
- Plan your outlet placement before you start tiling; nothing kills the aesthetic of a beautiful backsplash faster than a poorly placed electrical socket cutting right through a focal pattern.
- Invest in a decent tile saw or rent a professional-grade one rather than trying to DIY it with a manual snapper; clean, straight edges are the difference between a “fixer-upper” look and a professional finish.
- Seal your grout immediately after installation, especially if you’re using a porous material; it’s a ten-minute task that prevents grease and tomato sauce from permanently staining your investment.
The Bottom Line: Making Every Square Inch Count
Don’t get distracted by high-end luxury trends; focus on durable, high-impact materials like porcelain that offer the best balance of cost and perceived value for a quick flip.
Precision is your best friend when it comes to ROI—a perfectly centered, level tile layout prevents the “cheap” look that can kill your resale value during a walkthrough.
Treat the backsplash as a strategic investment rather than a decoration; it’s one of the lowest-cost ways to modernize a kitchen and instantly boost your equity.
The ROI of the Details
“Don’t get blinded by expensive marble or high-end custom patterns; in a flip, the goal isn’t to build your dream kitchen, it’s to use a clean, strategic backsplash to signal to a buyer that the house is well-maintained and ready for move-in.”
Gareth Trelawny
The Final Layer of Equity
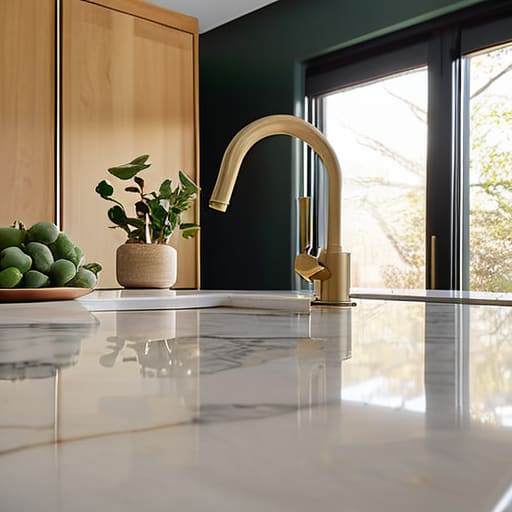
At the end of the day, a backsplash isn’t just about aesthetics; it’s a tactical decision. We’ve covered how to pick the right material—favoring the durability of porcelain when the budget allows—and why that initial precision in your layout is what separates a professional-grade finish from a DIY disaster. If you nail the measurement and choose a tile that feels intentional rather than trendy, you aren’t just decorating a kitchen; you are optimizing a high-value zone of the home. Remember, the goal is to make the space feel cohesive and expensive without draining your entire renovation budget.
Renovation is rarely a clean, linear process, and there will be moments when you’re staring at a pile of broken tiles and wondering why you didn’t just stick to a simple coat of paint. But that’s where the real profit is made. When you push through the mess and execute these small, strategic upgrades, you are building something much bigger than a pretty room. You are building tangible wealth one square foot at a time. Keep your eyes on the equity, keep your measurements precise, and don’t let a little grout dust stop you from finishing the job.
Frequently Asked Questions
Is it worth paying a pro for the tiling, or can I realistically DIY this to save on my renovation budget?
Look, if you’re trying to squeeze every cent of profit out of a flip, the temptation to DIY the tile is real. If you’re confident and have a steady hand, you can save a few hundred bucks. But honestly? Unless you’ve practiced on a scrap wall first, hire a pro. Nothing kills my margins faster than a crooked backsplash that makes a high-end renovation look amateur. Don’t risk your equity on a bad grout line.
How do I pick a grout color that won't look dated or become a nightmare to clean in six months?
Look, don’t make the mistake of picking a high-contrast grout just because it looks “trendy” on Pinterest right now. If you go with stark white in a kitchen, you’ll be scrubbing it every weekend, and it’ll look dingy in six months. Stick to mid-tone greys or “greiges.” They hide the inevitable grease splashes and discoloration, they don’t scream for attention, and they ensure your renovation stays timeless rather than dated by next season.
Should I be worried about tiling over existing old tile, or is a full strip-down to the drywall non-negotiable for a clean finish?
Look, I’ve seen both, and here’s the reality: if you want to protect your margins, don’t just slap new tile over the old stuff. It’s a recipe for a disaster that’ll haunt your resale value. If that old tile is loose or the substrate is wonky, you’re building on a lie. Strip it down to the drywall. It’s more sweat and more time, but a clean, flat surface is the only way to ensure a high-end finish.
