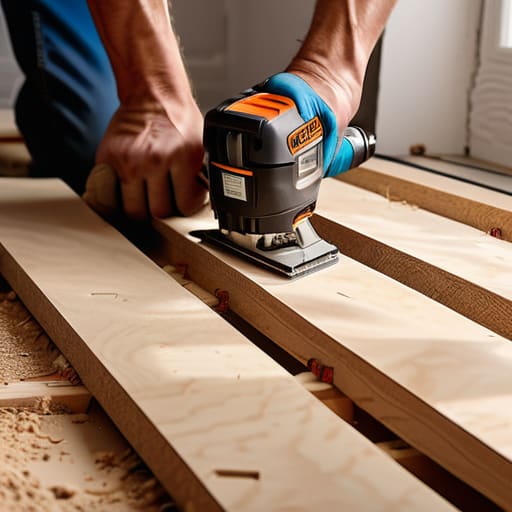
I still remember the sickening crunch of a hollow floorboard under my boot during my first solo flip. I was standing in what I thought was a “diamond in the rough,” only to realize that a slow, hidden leak had turned the foundation of the kitchen into a literal sponge. Most contractors would have looked me in the eye and quoted a figure that would make your heart stop, treating a standard subfloor repair like it was some high-stakes structural surgery. But here’s the truth: they love to overcomplicate the simple stuff to pad their margins, and if you aren’t careful, you’ll let a little moisture eat your entire profit margin before you even pick out the tile.
I’m not here to give you a textbook lecture or some sanitized, theoretical guide that ignores the grit of a real job site. I’m going to show you exactly how to identify the rot, assess the damage, and execute a subfloor repair that actually holds up under pressure. My goal is to give you the practical, boots-on-the-ground tactics you need to fix the bones of a house without draining your renovation budget on unnecessary repairs. Let’s get to work.
Table of Contents
Spotting Plywood Subfloor Damage Before It Destroys Profit
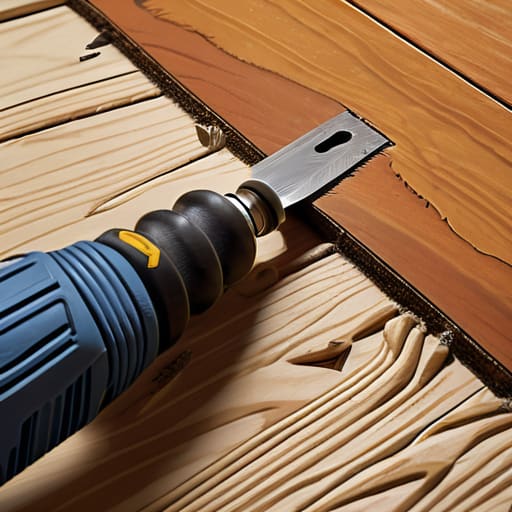
You can’t just look at a floor and assume it’s solid. I’ve walked into more “turnkey” properties only to find that the surface-level beauty was hiding a nightmare underneath. The first thing I do is grab my screwdriver and perform a quick tap test. If you hear a hollow, drum-like sound or feel a slight give when you step, you’re likely dealing with plywood subfloor damage. This is often the first red flag that moisture has been creeping in from a leaky pipe or a poorly sealed exterior, compromising the structural floor integrity before you even pull up the carpet.
Don’t ignore the subtle signs, either. If you notice your furniture wobbling or see cracks forming in the grout of a tiled area, you might be looking at a deeper issue like settling or sagging joists. I always check the corners of rooms for any slight slope; if the floor isn’t level, you aren’t just looking at an aesthetic fix, you’re looking at a potential margin-killer. Catching these issues early is the difference between a quick weekend fix and a catastrophic budget blowout.
Solving Subfloor Moisture Issues to Protect Your Investment
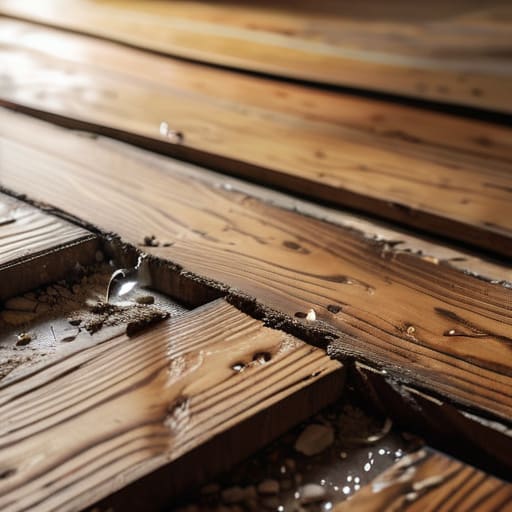
If you find moisture trapped under your feet, you aren’t just looking at a nuisance; you’re looking at a ticking time bomb for your margins. Whether it’s a slow leak from a dated bathroom fixture or hydrostatic pressure pushing up through a concrete slab, subfloor moisture issues are the silent killers of a renovation budget. I’ve seen too many investors ignore a little dampness only to realize three weeks later that the entire floor system has turned into mush. You have to find the source first—don’t just slap down new boards and hope for the best.
Once the leak is plugged, your priority shifts to restoring the structural floor integrity. This often means cutting out the compromised sections and replacing them with fresh, dry material. If the dampness has caused the wood to warp or sag, you might need to look into floor joist reinforcement to ensure the foundation is level again. I always tell my clients: it is much cheaper to spend the extra few hundred bucks on a proper moisture barrier and high-quality underlayment now than it is to tear everything out again when the new hardwood starts buckling in six months.
My Golden Rules for Subfloor Repairs Without Blowing Your Budget
- Never, ever cover up a soft spot with new flooring; if you feel a dip under your boots, you need to rip it up and see what’s happening underneath before the rot spreads.
- Source your replacement plywood in bulk from a local supplier rather than running to a big-box store every time you find a hole, because those small trips will bleed your renovation timeline dry.
- Use the right fasteners every single time—skimping on high-quality subfloor screws to save a few bucks is a rookie mistake that leads to squeaky floors and unhappy buyers later.
- Always check the joists before you lay down new sheets; there’s no point in installing pristine plywood if the structural bones underneath are bowed or compromised.
- Test your moisture levels with a meter before you seal everything up, because trapping dampness under a fresh layer of subfloor is the fastest way to turn a profitable flip into a total loss.
The Bottom Line on Subfloors
Never skim over soft spots during a walkthrough; a small patch of rot today is a massive margin-killer once you’ve already laid down expensive hardwood.
Treat the source of the moisture, not just the symptom, because slapping new plywood over a leak is just a fast way to throw your renovation budget down the drain.
Prioritize structural integrity over aesthetics every single time—you can’t stage a beautiful room if the floor feels like a sponge.
## The Hidden Margin Killer
“A subfloor is the one thing you can’t afford to ‘eye-ball’ or gloss over; if you try to hide structural rot under a fancy new layer of LVP, you aren’t renovating, you’re just setting a trap for your own profit margins.”
Gareth Trelawny
Protecting Your Bottom Line
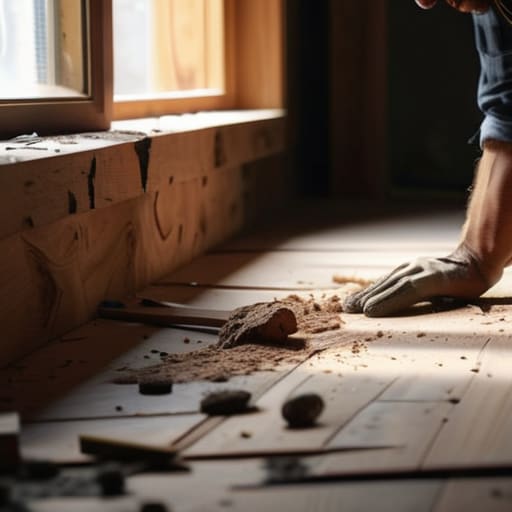
At the end of the day, subfloor repair isn’t just about fixing a squeaky plank or a soft spot in the kitchen; it’s about defending your margins. We’ve covered how to spot the early warning signs of plywood rot and, more importantly, how to tackle the moisture issues that cause the damage in the first place. If you ignore these red flags, you aren’t just looking at a minor repair cost—you’re looking at a structural nightmare that can bleed your renovation budget dry. Remember, a solid foundation is the one thing you can’t afford to cut corners on if you want your flip to actually pay off.
I know that staring down a damaged subfloor can feel overwhelming, especially when you’re already juggling contractors and budget spreadsheets. But this is exactly where the profit is made. While other investors might see a crumbling floor and run for the hills, I want you to see it as an opportunity to build real, lasting equity. Don’t let a little bit of rot intimidate you. Tackle the problem head-on, do the work right the first time, and turn that neglected mess into a high-value asset. That is how you build wealth.
Frequently Asked Questions
How do I know if I can just patch a small section of the subfloor or if the damage is too widespread to save the room?
Here’s the rule of thumb I use: if the damage is localized to a single sheet of plywood and the surrounding joists are bone-dry and structurally sound, you can patch it. But if you start seeing soft spots or “spongy” movement across multiple joist bays, stop. That’s a systemic issue. Patching a small hole in a room with widespread rot is just throwing good money after bad. Don’t gamble your margins on a quick fix.
At what point does a subfloor issue become a "deal-breaker" that should make me walk away from a property entirely?
Look, there’s a line between a “fixer-upper” and a “money pit,” and it usually involves the structural joists. If the damage is localized to a few plywood sheets, you fix it and move on. But if the rot has traveled into the main floor joists or the foundation itself, walk away. When the skeleton of the house is compromised, your renovation budget won’t just balloon—it’ll evaporate. Don’t let a structural nightmare kill your ROI.
What are the most cost-effective materials to use for a subfloor replacement that won't eat up my entire renovation budget?
Look, I’ve seen too many investors blow their entire margin on high-end materials where they don’t matter. For a subfloor, you aren’t looking for luxury; you’re looking for structural integrity. Stick with CDX plywood or OSB (Oriented Strand Board). OSB is often cheaper and performs incredibly well if the room stays dry. Just ensure you’re getting the right thickness—usually 3/4 inch—to prevent squeaks. Spend the savings on your finish flooring instead.
