I was standing in a dusty, half-finished master bath last Tuesday, staring at a crooked, builder-grade mirror that looked like it was sliding off the wall, when it hit me: most people think a high-end look requires a custom glass contractor. That is a total lie. In reality, a professional-grade bathroom mirror installation is often just a matter of having the right tools and a bit of spatial awareness. I’ve seen investors blow their margins on expensive crews for tasks that a determined homeowner can knock out in an afternoon with a little bit of grit and a level.
In this guide, I’m stripping away the fluff and giving you the straightforward blueprint I use on my own flips. We aren’t just talking about slapping glass on a wall; I’m going to walk you through how to select the right mounting hardware, avoid the dreaded “cracked corner” disaster, and ensure your placement is mathematically perfect. By the time we’re done, you’ll know exactly how to execute a flawless installation that adds immediate, tangible value to your property without draining your renovation budget.
Table of Contents
- Step-by-Step Instructions
- The Essential Mirror Installation Tools List for Real Value
- Mastering the Art of Leveling a Bathroom Mirror Perfectly
- Pro-Level Nuances: Avoiding the Rookie Mistakes That Kill Your ROI
- The Bottom Line for Your Renovation
- ## The Margin is in the Details
- The Final Polish
- Frequently Asked Questions
Guide Overview
Tools & Supplies
- Tape measure for precise sizing
- Level to ensure straight mounting
- Drill with bits for wall anchors
- Pencil for marking holes
- Bathroom mirror (1 unit)
- Wall anchors and screws (1 set)
- Mirror mounting hardware or clips (1 set)
- Construction adhesive if required (1 tube)
Step-by-Step Instructions
- 1. First, grab your laser measurer and double-check your center point. I’ve seen too many DIYers hang a mirror that looks slightly off-kilter because they eyeballed the vanity center instead of actually measuring it. Mark your center point on the wall with a light pencil, but don’t press too hard—you’ll want to be able to erase these marks once the job is done.
- 2. Next, you need to find your studs. This is where most people mess up; they rely on cheap adhesive and wonder why their expensive glass ends up in pieces on the floor six months later. Use a stud finder to locate the vertical supports, and if your mirror doesn’t line up perfectly with them, don’t sweat it. Just make sure you have a solid plan to use heavy-duty anchors if you’re mounting into drywall.
- 3. Now, let’s prep the mounting hardware. If you’re using a standard frameless mirror, you’ll likely be using J-molding or clips. Before you even touch the wall, test the hardware on a scrap piece of wood or just hold it up to ensure the spacing is even. Precision here is what separates a professional-looking rehab from a “cheap flip” vibe.
- 4. It’s time to level up—literally. Hold your mounting bracket or clips against the wall, align them with your pencil marks, and use a spirit level to ensure everything is perfectly horizontal. If your bracket is even a fraction of a degree off, the mirror will look crooked, and in the world of high-end staging, crooked is a cardinal sin.
- 5. Once your hardware is secure and level, it’s time for the heavy lifting. Carefully position the mirror against the clips or bracket. I always recommend having a second set of hands for this part; even a lightweight mirror can be unpredictably awkward when you’re trying to guide it into a tight mounting system.
- 6. Finally, give the mirror a gentle nudge to ensure it’s seated firmly in the hardware. Take a microfiber cloth and some glass cleaner to wipe away any fingerprints or dust from the installation process. A clean, perfectly leveled mirror is one of those high-impact, low-cost wins that instantly makes a bathroom feel renovated and expensive.
The Essential Mirror Installation Tools List for Real Value
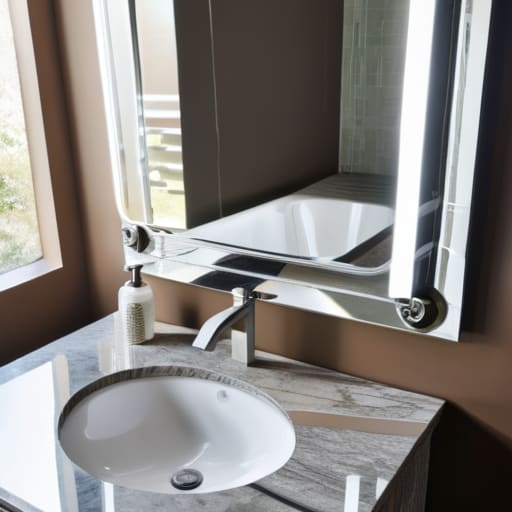
Look, I’ve seen too many DIYers—and even some amateur contractors—try to wing it with a basic screwdriver and a prayer. If you want to avoid a disaster, you need to treat your mirror installation tools list like a professional checklist. Beyond the obvious drill and driver, do not skimp on the hardware. If you’re working with a heavy, custom-cut piece, skip the cheap plastic anchors and invest in heavy duty mirror clips or high-quality French cleats. It’s a small upfront cost that prevents a massive liability later.
Precision is where the real profit is made. I never step onto a job site without my laser measurer and a high-quality spirit level. When you’re measuring for bathroom mirror placement, remember that even a millimeter of error will be glaringly obvious once the vanity lights are on. I always double-check my marks before I even think about drilling. If you aren’t meticulous about leveling a bathroom mirror against the tile line or the vanity, you’re essentially leaving money on the table by creating a visual eyesore that will kill your resale value.
Mastering the Art of Leveling a Bathroom Mirror Perfectly
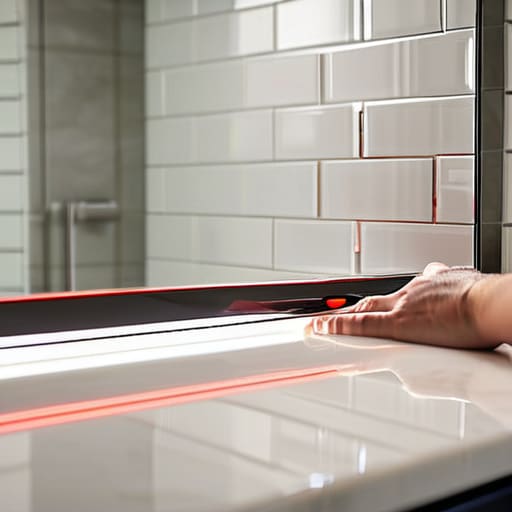
Look, I’ve seen far too many DIYers—and even a few amateur contractors—rush this part because they think a quick glance at the tile line is enough. It isn’t. If your mirror is even a fraction of a degree off, it’s going to scream “cheap renovation” to every potential buyer who walks into that room. When you’re measuring for bathroom mirror placement, don’t just rely on the vanity height. I always use my laser measurer to check the distance from the ceiling and the surrounding trim to ensure the symmetry is flawless.
Once you’re actually ready for the heavy lifting, precision is your best friend. If you’re using heavy duty mirror clips to secure the glass, make sure you aren’t over-tightening them against the edges. I can’t tell you how many times I’ve seen someone end up avoiding mirror cracks during install by being too aggressive with a screwdriver. Take a breath, double-check your level, and apply pressure evenly. A perfectly level mirror is a small detail that signals to anyone looking at your property that the job was done with professional intent.
Pro-Level Nuances: Avoiding the Rookie Mistakes That Kill Your ROI
- Check your studs before you even touch the mirror; if you aren’t hitting solid wood, you better have high-quality heavy-duty anchors ready, or that expensive glass is coming down in six months.
- Don’t forget to account for the thickness of your mounting hardware when you’re measuring your height; a half-inch error is the difference between a perfectly centered mirror and one that looks awkward and “off.”
- Use a bit of silicone sealant behind the mirror if you’re mounting it flush to the wall to prevent moisture from getting trapped behind the glass, which is a common cause of silver rot in humid bathrooms.
- Always double-check the lighting placement after the mirror is up; there is nothing worse than installing a beautiful piece only to realize your vanity lights cast harsh, unflattering shadows across the face.
- Protect your work surface with a drop cloth or a piece of cardboard; bathroom renovations are messy enough without having to scrub glass shards and adhesive residue out of your tile grout.
The Bottom Line for Your Renovation
Don’t skimp on the prep work; a perfectly level mirror is a small, low-cost win that prevents a massive, expensive headache during the final walkthrough.
Treat every measurement like it’s going on a legal document—I always pull my laser measurer out twice because a fraction of an inch is the difference between a professional finish and a DIY disaster.
Remember that high-impact, low-cost upgrades like a well-placed mirror are exactly how you build equity without blowing your entire rehab budget.
## The Margin is in the Details
“A crooked mirror is a tell-tale sign of a rushed job, and in this business, those little tells are exactly what kill your profit margins. If you want to build real equity, you treat a simple mirror installation with the same precision as a structural repair.”
Gareth Trelawny
The Final Polish
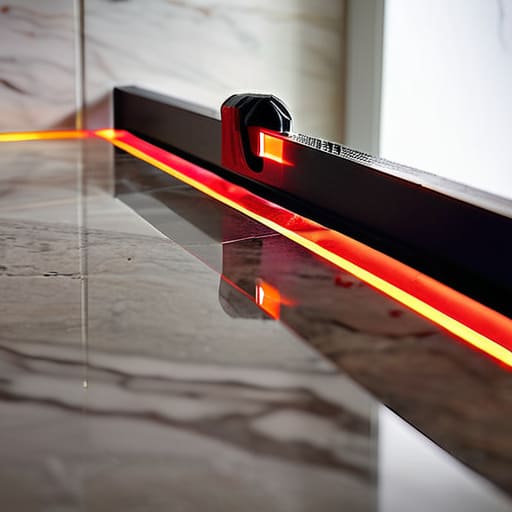
At the end of the day, a successful bathroom mirror installation isn’t just about sticking glass to a wall; it’s about the precision of your prep work and the quality of your tools. We’ve walked through the essential gear, the non-negotiable steps of the installation process, and the absolute necessity of perfect leveling to avoid a crooked, amateur look. If you’ve taken the time to measure twice and secure your anchors properly, you’ve already avoided the most common pitfalls that drive up labor costs. Remember, it’s these small, disciplined details—the ones most people try to shortcut—that ultimately protect your profit margins during a renovation.
Don’t let the dust or the minor setbacks discourage you. Every time you master a task like this, you are building the technical confidence required to scale your business. Real estate investing isn’t just about signing contracts; it’s about understanding the bones of a house and knowing how to refine them. You are learning how to transform a dated, uninspired space into a high-value asset through your own sweat equity. Keep showing up to the job site, keep your eyes on the long-term equity, and never underestimate the power of a well-executed, high-impact finish.
Frequently Asked Questions
What should I do if my bathroom wall is tiled and I don't want to drill into the grout lines?
I get it—drilling into grout is a nightmare because it’s prone to cracking, and nobody wants to fix a botched tile job later. If you’re determined to avoid the drill, your best bet is a high-quality, heavy-duty adhesive mirror mount or specialized mounting tape. Just make sure the tile is bone-dry and scrubbed clean of any soap scum first. If the mirror is massive, though, don’t risk it; stick to drilling the tile itself with a diamond bit.
How do I know if my wall studs are strong enough to support a heavy, oversized frameless mirror?
Before you even think about drilling, you need to verify your substrate. If you’re hanging a heavy, frameless beast, you can’t rely on drywall alone. I always use my stud finder to locate the wood, then I give the wall a firm tap; a hollow sound means you’re dealing with nothing but plaster or drywall. If those studs aren’t solid, you’ll need to install a blocking strip behind the wall first.
Can I use adhesive mirror clips instead of screws, or will they eventually fail and cause a mess?
Look, I get the temptation to skip the drill. Adhesive clips are tempting when you’re trying to save time on a quick flip, but I wouldn’t bet your equity on them. In a high-moisture environment like a bathroom, those adhesives can lose their grip over time. If that mirror slips, you’re looking at a shattered mess and a much bigger repair bill. Stick to screws; it’s the only way to ensure a permanent, professional finish.
