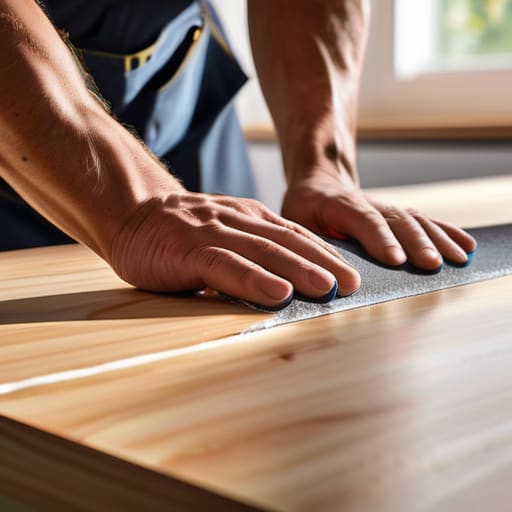
I was standing in a kitchen that smelled of damp drywall and old grease, staring at a set of jagged, mismatched counters that were single-handedly killing the property’s value. Most people see laminate and think “cheap,” but in this business, I see it as a strategic margin protector. I remember my first solo flip where I nearly botched the entire kitchen because I treated the laminate like it was stone; I learned the hard way that a sloppy laminate countertop installation is the fastest way to make a high-end renovation look like a budget disaster. If you don’t respect the seams and the substrate, you aren’t building equity—you’re just wasting your time.
I’m not here to give you a fluff piece filled with interior design jargon; I’m here to give you the grit. This guide is going to walk you through the exact, no-nonsense process of a professional-grade laminate countertop installation, from prepping your cabinets to sealing those critical edges. I’ll show you how to avoid the common pitfalls that leave you with unsightly gaps, ensuring your finish looks intentional and high-end rather than rushed. Let’s get to work.
Table of Contents
Guide Overview
Tools & Supplies
- Circular saw with fine-tooth blade for clean cuts
- Jigsaw for cutting sink holes and irregular shapes
- Router with laminate trim bit for edge profiling
- Tape measure for precise layout
- Laminate countertop slabs (per linear foot)
- Contact cement for adhesive application
- Particle board or plywood sub-top base
- Silicone sealant for seams and sink edges
Step-by-Step Instructions
- 1. First, you need to prep your workspace and the existing cabinets. Clear everything off the counters and wipe down the cabinet tops with a damp cloth to remove any dust or old adhesive residue. If your cabinets are uneven, this is the time to address it; you don’t want a wavy countertop because your base is wonky, or you’ll never get that high-end look we’re aiming for.
- 2. Grab that laser measurer from my bag and start taking precise dimensions of your cabinet layout. You’ll need to map out the length, width, and depth of every section, including any overhangs. I always tell my clients that measure twice, cut once isn’t just a cliché—it’s the difference between a profitable flip and a costly mistake that eats your margins.
- 3. Once you have your numbers, it’s time to cut the laminate sheets to size. Use a circular saw with a fine-tooth blade to prevent chipping the decorative surface. If you’re working with an L-shaped kitchen, you’ll need to handle the miter joint where the two pieces meet. This is the most intimidating part, but if you align your edges perfectly before applying any glue, the seam will practically disappear once it’s finished.
- 4. Apply a high-quality contact cement to both the underside of the laminate and the top of the particle board substrate. Spread it evenly with a notched spreader, but don’t go overboard—you don’t want a sticky mess oozing out from the edges later. Wait for the cement to become tacky to the touch before you attempt to join the pieces together.
- 5. Carefully lower the laminate onto the substrate, starting from one end and working your way across to avoid trapping air bubbles. Once it’s seated, use a heavy roller or even a clean, smooth block of wood to apply firm, even pressure across the entire surface. This ensures a permanent bond and prevents those annoying air pockets that can cause the laminate to delaminate down the road.
- 6. Now, deal with the edges. If you aren’t using pre-finished edge banding, you’ll need to trim the excess laminate using a flush-trim router bit or a fine-tooth hand saw. Be incredibly careful here; you want a seamless transition between the top surface and the edge, or the whole kitchen will look cheap regardless of how much you spent on the rest of the renovation.
- 7. Finally, install your sink and seal everything up. If you’re dropping in an undermount sink, make sure you use a heavy-duty silicone sealant to prevent any water from seeping into the substrate. A single leak can rot your new counters and destroy your ROI faster than any other mistake on this job site, so don’t skimp on the sealant.
Precision Cuts and Accurate Template Making
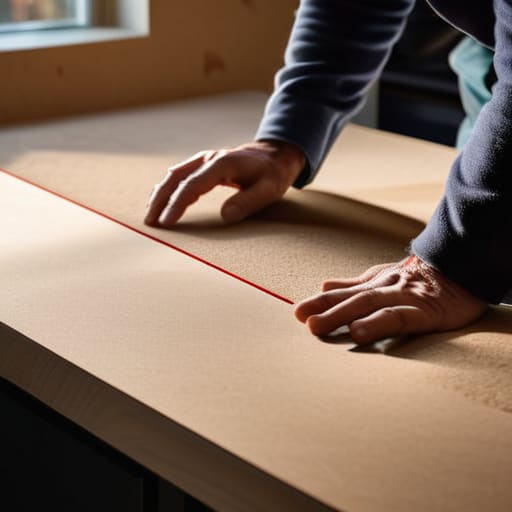
If you want to avoid that amateur, “I did this in my garage” look, you have to obsess over the layout before you ever touch a saw. I can’t tell you how many times I’ve walked into a flip and seen crooked seams that immediately tanked the perceived value of the kitchen. For me, countertop template making isn’t just a suggestion; it’s the difference between a high-end finish and a total disaster. I always grab my laser measurer and some strips of scrap wood or heavy cardboard to map out the exact footprint of the cabinets. If your template is off by even a fraction of an inch, your cuts will be too, and you’ll be staring at a gap that no amount of filler can hide.
Once you’re actually cutting laminate countertops accurately, remember that the material wants to splinter. Use a fine-tooth blade and take your time; rushing this stage is how you end up wasting expensive materials. When you finally move to the assembly, pay close attention to your seam joining techniques. You want those edges to look like a single, continuous slab, not a patchwork quilt. If you don’t get the alignment perfect during the cut, you’re essentially throwing your profit margins down the drain.
Flawless Seam Joining and Adhesive Application
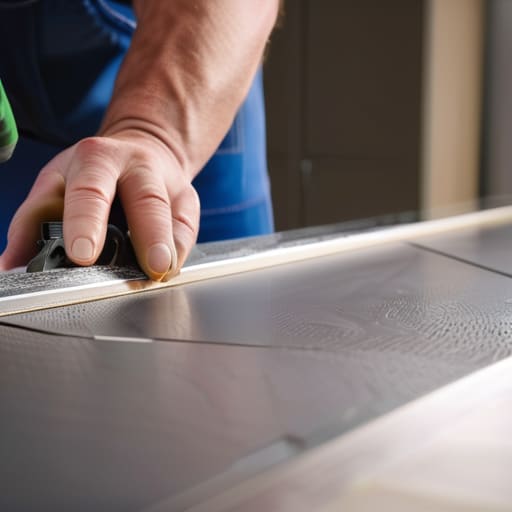
This is where most DIYers—and even some sloppy contractors—lose their shirt. If your seam looks like a canyon, you’ve failed the eye test, and in a flip, the eye test is everything. When you’re working on seam joining techniques, the goal is to make that transition virtually invisible. I always use a specialized seam setter to apply even pressure across the joint. Don’t just glob on some glue and hope for the best; you need to ensure the laminate countertop adhesive application is consistent across the entire mating surface to prevent air pockets or uneven lifting later on.
Once the adhesive is set, your next move is the cleanup. I keep a stash of high-quality silicone sealant for countertops on hand to fill any microscopic gaps that the primary adhesive missed. It’s a small detail, but it’s the difference between a kitchen that looks “budget” and one that looks strategically designed. If you leave a messy, visible line at the seam, you’re essentially telling your future buyer that you cut corners, and that’s a quick way to tank your ROI.
Pro Moves to Protect Your Margins and Your Finish
- Don’t skimp on the underlayment; if your cabinets aren’t perfectly level, a thin layer of MDF or plywood will prevent the laminate from cracking under pressure later on.
- Watch your edges like a hawk—if you aren’t using a fine-tooth blade, you’re going to end up with micro-chips that make a “budget” install look cheap rather than intentional.
- Always sand your cut edges with high-grit sandpaper before applying adhesive; a smooth, clean edge is the difference between a professional finish and a DIY disaster.
- Stop obsessing over the perfect pattern match and start focusing on the seam height; if your seam isn’t flush, you’ll feel every single bump every time someone slides a plate across the counter.
- Keep your workspace surgically clean during the glue phase; one stray bead of construction adhesive left to dry on the laminate surface is a permanent mistake that eats into your profit.
Don't Leave Your Equity to Chance
Measure twice, cut once, and then measure a third time; in this business, a fraction of an inch is the difference between a professional-grade kitchen and a costly mistake that eats your profit margins.
Prioritize the seam; if your adhesive application is sloppy or your joints aren’t perfectly aligned, the first buyer who walks through the door will see a “cheap” renovation instead of a strategic upgrade.
Focus on the details that scale; using laminate effectively isn’t about cutting corners, it’s about executing high-end looks with low-cost materials to maximize your ROI on every square foot.
The Margin is in the Millimeters
“Look, laminate isn’t a luxury material, but it can look like a million bucks if you treat the installation with respect. If you get sloppy with your cuts or rush the seam work, you aren’t just making a DIY mistake—you’re actively bleeding equity out of your renovation budget.”
Gareth Trelawny
The Bottom Line on Laminate
At the end of the day, a successful laminate install comes down to the details you can’t see once the job is done. If you took the time to nail those precision cuts, managed your templates with an obsessive eye, and ensured your seams are tight and seamless, you’ve already won half the battle. Don’t get lazy during the adhesive phase or rush the final trim; those are the exact spots where amateur mistakes turn a high-end look into a budget disaster. When you treat the installation with the same respect you’d give a granite slab, you ensure that your renovation doesn’t just look good for the walkthrough, but actually holds its value for the next owner.
Look, I know the dust and the measuring tapes can feel overwhelming when you’re staring at a gutted kitchen, but remember why you’re doing this. Every smart, calculated decision you make during a rehab is a direct deposit into your long-term wealth. You aren’t just installing countertops; you are building equity one room at a time. Real estate isn’t about having a magic wand; it’s about having the grit to handle the messy parts and the vision to see the profit hiding behind the particle board. Now, grab your laser measurer and get back to work.
Frequently Asked Questions
How can I tell if my existing cabinets are level enough to support laminate without it cracking or looking uneven?
Grab your laser level—don’t even think about starting without it. Run a line across the top of your cabinet boxes from left to right. If you’re seeing a dip or a hump greater than 1/8 of an inch over a three-foot span, you’ve got a problem. If the base isn’t dead level, the tension will eventually snap that laminate or leave you with those ugly, uneven gaps that scream “amateur job.” Shim them now or regret it later.
Is there a way to make the seams look less obvious, or is a visible line just an unavoidable part of the job?
Look, I’m not going to lie to you: a seam is a seam. If you’re looking for perfection, go buy quartz. But if you’re working with a laminate budget, you can definitely minimize the visual impact. The trick is all in the prep. Use a high-quality color-matched seam filler and sand it down until it’s flush. If you nail the alignment and the adhesive, that line becomes a shadow rather than a glaring eyesore.
What’s the best way to protect the edges from peeling or water damage once the installation is finished?
If you want to protect your margins, you have to protect the edges. Once the install is done, your best defense is high-quality, 100% silicone sealant. Don’t skimp here; run a clean bead along the backsplash and the sink rim to create a watertight barrier. If you’re dealing with high-traffic areas, consider a clear edge banding to reinforce the laminate. If water gets under that core, your “quick flip” just became a costly headache.
