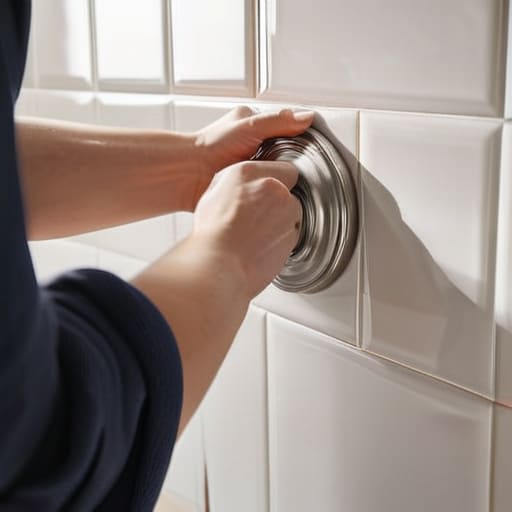
I was standing in a cramped, half-finished master bath last Tuesday, staring at a pile of drywall dust and a shower curtain rod that had just surrendered to gravity for the third time that hour. It’s one of those tiny, seemingly insignificant tasks that can absolutely drive you insane when you’re trying to wrap up a renovation. Most people think shower curtain rod installation is just a matter of twisting a tension pole or driving a few screws into the wall, but if you’re working with old plaster or cheap tile, that’s a one-way ticket to a cracked wall and a wasted afternoon.
I’m not here to give you some sanitized, DIY-fail version of the truth; I’m here to show you how to do it so it actually stays put. Whether you’re dealing with a rental-friendly tension setup or you’re ready to commit to permanent hardware that won’t budge when someone pulls on the liner, I’ve got you covered. We’re going to walk through the right tools, the exact placement to avoid those annoying crooked lines, and the professional tricks I use to ensure every small detail protects your long-term equity and looks intentional.
Table of Contents
- Step-by-Step Instructions
- Tension Rod vs Permanent Rod Choosing Your Long Term Strategy
- Drilling Into Tile Without Cracking the Professionals Precision
- Pro Tips to Save Your Walls (and Your Sanity)
- The Bottom Line: Don't Let the Small Stuff Kill Your Margin
- The ROI of the Small Details
- Don't Let the Small Details Slip
- Frequently Asked Questions
Guide Overview
Tools & Supplies
- Tape measure for measuring distance between walls
- Pencil for marking drill holes
- Power drill for creating pilot holes
- Level to ensure the rod is straight
- Shower curtain rod 1 unit
- Wall anchors and screws 1 set
- Mounting brackets 2 units
Step-by-Step Instructions
- 1. First things first, grab your laser measurer and a pencil. You need to decide exactly where those brackets are going, but don’t just eyeball it. Measure from the floor up to ensure the rod sits at a height that feels natural, and then double-check the distance between the two walls to make sure you aren’t buying a rod that’s an inch too short for the space.
- 2. Once you’ve marked your spots, it’s time to play detective with your walls. I never start drilling without knowing if I’m hitting a stud or just hollow drywall. Use a stud finder to locate the solid wood; if you can hit a stud, you’re in the clear. If you’re stuck in a “dead zone” between studs, you absolutely must use heavy-duty drywall anchors to prevent the rod from ripping right out of the wall the first time someone tugs on a shower curtain.
- 3. Now, grab your drill and make your pilot holes. I know, it’s dusty and a little bit of a pain, but if you don’t drill these small holes first, you’re going to end up with cracked tiles or splintered wood. Keep your movements steady and precise—you want a clean entry point so the hardware sits flush against the surface.
- 4. Time to seat the brackets. Push your anchors into the pilot holes until they are perfectly level with the wall. If you’re using screws, drive them through the bracket and into the anchors. I always tell my clients: don’t over-tighten once they’re snug. If you crank down too hard, you risk stripping the anchor or cracking the very finish you’re trying to preserve.
- 5. Slide your rod into the newly installed brackets. This is the part where you check for level one last time. If the rod is sitting crooked, it’s going to look amateurish, and in this business, details dictate your ROI. Adjust the brackets slightly if you need to, but ensure everything is locked in place and doesn’t wobble when you give it a firm shake.
- 6. Finally, hang your curtain and grab your rings. Before you call the job done, do a quick “stress test.” Give the rod a little tug to make sure it’s anchored deep. You want to be able to walk into a renovation and know that the small, seemingly insignificant fixes are built to last through years of daily use.
Tension Rod vs Permanent Rod Choosing Your Long Term Strategy
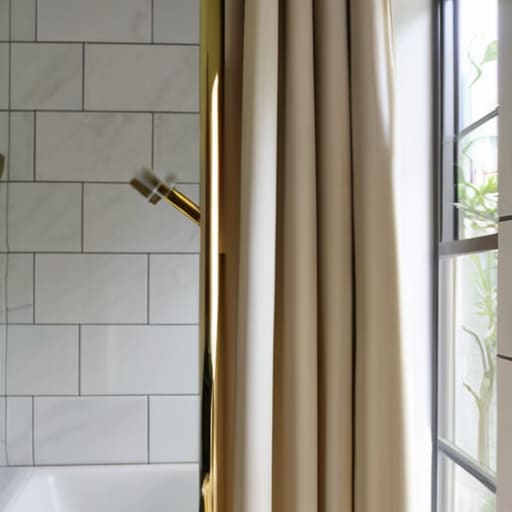
When you’re looking at a property, you have to decide if you’re playing the short game or the long game. If I’m prepping a rental or a quick flip where I don’t want to deal with permanent modifications, a tension rod is my go-to. It’s fast, requires zero tools, and won’t leave holes if the tenant decides to move. However, if you’re renovating your own primary residence or aiming for a high-end, luxury feel, you really need to commit to a permanent fixture.
The real headache with a permanent setup is the fear of drilling into tile without cracking it, which is a mistake that can instantly tank your bathroom’s aesthetic. If you go this route, don’t just wing it. Use a stud finder for bathroom walls to ensure your mounting hardware is anchored into something solid rather than just the hollow drywall. A permanent rod offers that high-end, “built-in” look that adds actual perceived value to a room, whereas a tension rod can sometimes feel a bit temporary or cheap. Choose based on your budget and how much sweat equity you’re willing to put in.
Drilling Into Tile Without Cracking the Professionals Precision
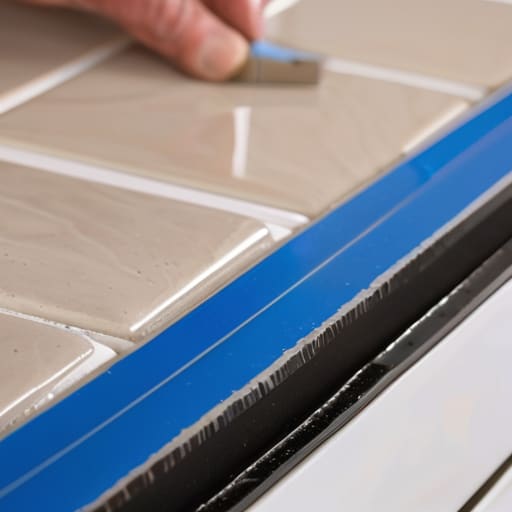
Look, I’ve seen too many rookies ruin a perfectly good $20-per-square-foot backsplash because they rushed a simple task. If you’ve decided against a tension rod and are committing to a permanent mount, you have to respect the tile. Before you even touch a drill, grab a high-quality diamond-tipped masonry bit. Standard wood or metal bits will shatter your ceramic in seconds. My pro tip? Apply a piece of painter’s tape over the spot where you intend to drill. It provides just enough friction to keep the bit from skidding across the glaze and scratching your beautiful new surface.
Once you’re ready to actually penetrate the surface, keep your speed low and your pressure even. Let the bit do the work; if you lean into it too hard, you’re asking for a crack. If you’re working with natural stone like marble, you’ll want to be even more cautious. After the holes are set and you’ve secured your mounting hardware, don’t skip the finishing touch: a tiny bead of silicone sealant for bathroom fixtures around the base of the bracket. It keeps moisture from seeping behind the tile and ensures your hardware stays looking pristine for years.
Pro Tips to Save Your Walls (and Your Sanity)
- Check your studs before you drill. I’ve seen too many rookie investors strip out a bathroom only to realize they’re mounting a heavy rod into nothing but hollow drywall. If you aren’t hitting a stud, invest in high-quality heavy-duty anchors—don’t cheap out here, or that rod is coming down mid-shower.
- Level it like your ROI depends on it. A crooked rod is a dead giveaway to a potential buyer that the renovation was rushed. Use a small level every single time; even a slight tilt screams “amateur” and kills that high-end, polished aesthetic we’re aiming for.
- Mind the grout lines. If you’re going permanent, try to position your drill bit so you aren’t splitting a tile. Aiming for the grout is much more forgiving and prevents those hairline fractures that turn a simple install into a costly tile replacement.
- Don’t forget the “Pull Test.” Once the hardware is in, give it a firm tug. I don’t care how secure it feels while you’re installing it—test it under pressure. You want to be certain that rod isn’t going to sag once you hang a heavy, high-thread-count linen curtain.
- Keep your hardware consistent with your fixtures. If you’re installing matte black faucets to nail that industrial chic look, don’t ruin the flow with a cheap, shiny chrome rod. Match your metals to maintain a cohesive design language that adds actual value to the property.
The Bottom Line: Don't Let the Small Stuff Kill Your Margin
Choose your hardware based on the long game; tension rods are fine for a quick rental refresh, but permanent, anchored rods are the move if you want to avoid constant maintenance calls and show a sense of quality to future buyers.
Precision matters more than speed when you’re working with tile; if you don’t take the extra ten minutes to mask your drill bit and use the right bit, you’re looking at a cracked tile and a much more expensive repair than a simple rod installation.
Always view every minor fix through the lens of equity; even something as trivial as a sturdy, well-installed shower rod contributes to that “turn-key” feel that helps a property stand out and hold its value during a sale.
The ROI of the Small Details
“People think real estate investing is all about the structural beams and the kitchen islands, but your equity lives in the details. A flimsy, crooked shower rod screams ‘cheap renovation’ to a buyer, while a rock-solid installation tells them you actually cared about the bones of the house.”
Gareth Trelawny
Don't Let the Small Details Slip
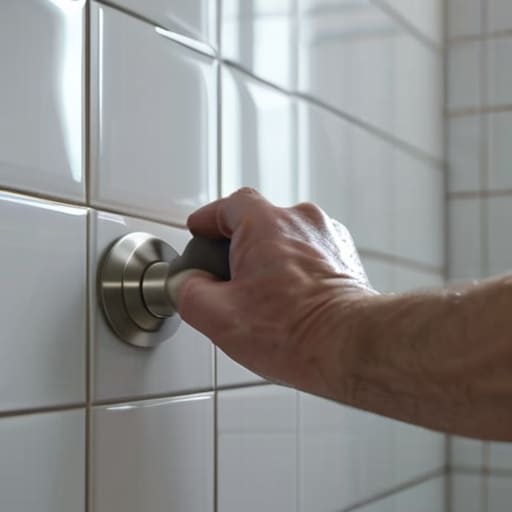
At the end of the day, installing a shower curtain rod might seem like a trivial task compared to gutting a kitchen or replacing a subfloor, but these small wins are what define a polished property. Whether you decided to go with a heavy-duty tension rod for a quick rental turnaround or opted for the permanence of wall-mounted hardware to add a touch of high-end stability, the execution matters. Remember, the difference between a DIY disaster and a professional finish comes down to precision drilling and ensuring your anchors are actually doing their job. If you take the time to do it right the first time, you’re not just hanging a curtain—you’re protecting your investment from the moisture damage and tenant complaints that eat away at your margins.
I know that when you’re staring at a pile of demolition debris or a stack of unpaid contractor invoices, a shower rod feels insignificant. But building wealth in real estate is a game of inches, and it’s built on the foundation of a thousand tiny, correct decisions. Every time you master a small fix, you are sharpening your eye for the bigger picture and proving to yourself that you have the discipline to execute. Keep pushing through the messy parts of the renovation, because that is exactly where the real equity is hidden.
Frequently Asked Questions
Is it worth the extra effort to install a permanent rod if I'm planning on flipping the property in under two years?
If you’re flipping in under two years, don’t overcomplicate it. A high-quality tension rod is fine for a quick rental, but if you want that “move-in ready” feel that triggers a higher offer, go permanent. Buyers notice when things feel flimsy. A sturdy, wall-mounted rod costs almost nothing extra in materials but signals that the renovation wasn’t just a surface-level facelift. It’s a small detail that builds confidence in your overall quality.
What should I do if my bathroom walls are made of drywall instead of tile, and will a tension rod hold up in a rental?
If you’re staring at drywall instead of tile, don’t panic—it’s actually a cleaner canvas, but you have to be smarter about your anchors. Skip the cheap plastic plugs; use heavy-duty toggle bolts so those brackets don’t rip right out of the gypsum. As for rentals, stay away from tension rods. Tenants are notoriously rough on things, and a fallen rod is a “maintenance call” you don’t need. Go permanent. Build it to last.
How do I hide those ugly, mismatched drill holes if I decide to swap out a permanent rod for something new?
If you’ve left a trail of “oops” holes in your tile, don’t panic—it’s a common headache in every rehab. First, grab some waterproof tile repair filler or a color-matched epoxy putty to plug the gaps. Once it’s set, sand it flush. If the damage is too obvious, I usually pivot to a decorative backsplash or even a small piece of peel-and-stick mosaic to mask the area. It’s all about turning a mistake into a design feature.
