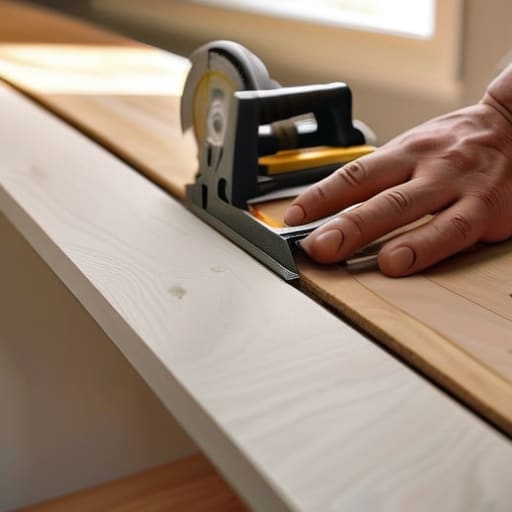
I was standing in the middle of a gutted Victorian bungalow last Tuesday, staring at a wall that looked perfectly fine until I knelt down to check the floor level. That’s when I saw it: a massive, uneven gap where the trim should have met the floor, a mistake that would have cost my client thousands in perceived value during the final walkthrough. Most people think baseboard installation is just some trivial finishing touch you can wing with a handful of nails and some caulk, but they couldn’t be more wrong. If your trim isn’t sitting tight against the floor, you aren’t creating a high-end finish; you’re just advertising a cheap renovation to every potential buyer who walks through the door.
I’m not here to give you a theoretical lecture or a list of fancy tools you don’t actually need. I want to show you how to master the technical side of baseboard installation so you can stop hiding mistakes behind heavy furniture. We’re going to walk through the real-world mechanics of mitering corners, managing uneven subfloors, and choosing the right profile to maximize your equity. Let’s get to work.
Table of Contents
- Step-by-Step Instructions
- Measuring Wall Perimeter to Avoid Costly Renovation Blunders
- Coping Joints vs Miter Joints Choosing Professional Precision
- Pro Moves to Protect Your Margins and Your Finish
- The Bottom Line: Don't Let Small Mistakes Eat Your Equity
- The Invisible Value in the Details
- The Final Polish: Turning Trim into Equity
- Frequently Asked Questions
Guide Overview
Tools & Supplies
- Miter saw for cutting angles
- Brad nailer for securing boards
- Caulk gun for filling gaps
- Tape measure for precise sizing
- Level to ensure straight runs
- Baseboard molding (linear feet based on room perimeter)
- Brad nails (small box matching nailer size)
- Wood filler (one small container)
- Paintable caulk (one tube)
- Wood glue (one small bottle)
Step-by-Step Instructions
- 1. Before you even touch a hammer, you need to prep your surfaces. I’ve seen too many rookies try to slap new trim over wonky, unlevel floors, and it’s a recipe for a headache. Grab your laser measurer and check the floor for any major dips or bumps; if the floor is uneven, you might need to shim or level those spots first so your baseboards don’t look like they’re floating.
- 2. Once the floor is ready, it’s time for the math—and trust me, you don’t want to wing this. Measure every single wall segment and add at least six inches of “oops” room to your total length. You’re going to make a few bad cuts, especially when you’re navigating tricky corners, so having that extra material is non-negotiable if you want to avoid a mid-project trip back to the hardware store.
- 3. Now, let’s talk about the cuts. If you’re working with standard corners, you’ll need to master the miter cut, but if you want that high-end, professional look that adds real value, I always recommend coping your inside corners. Instead of just slapping two 45-degree angles together and hoping they meet, you cut one piece square and then profile the second piece to fit the contour of the first—it’s a bit more work, but it hides gaps like a pro.
- 4. Once your pieces are cut, it’s time to get them on the wall. Use a construction adhesive on the back of the trim and a brad nailer to secure it. Aim your nails into the wall studs whenever possible, rather than just the drywall, to ensure that trim stays rock-solid for the next owner. If you’re hitting nothing but hollow space, just make sure you’re driving the nails deep enough to grab the plaster without blowing out the face of the wood.
- 5. After the nails are in, don’t go straight to the paint. Take a look at your nail holes and any small gaps where the trim meets the floor; you’ll need to fill those with a high-quality wood filler or caulk. I like to use a flexible caulk for the gap between the baseboard and the wall because houses settle, and you want that seamless line to stay looking clean even as the building shifts.
- 6. The final step is the most satisfying, but also the most critical for that “polished” feel: sanding and painting. Sand down your filler until it’s completely flush with the wood, then wipe away the dust so your paint job doesn’t look gritty. When you apply your finish, remember that a clean, crisp line between your baseboard and the wall is exactly what separates a cheap flip from a high-equity renovation.
Measuring Wall Perimeter to Avoid Costly Renovation Blunders
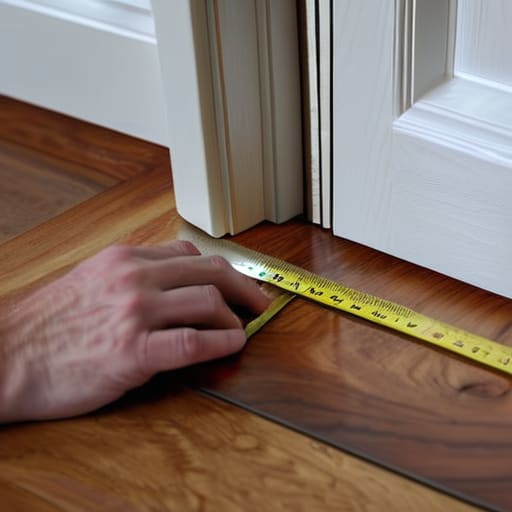
Before you even think about grabbing your saw, you need to get your numbers right. I’ve seen too many rookies walk into a hardware store, buy exactly what they think they need, and end up back there an hour later because they’re short three feet of material. When you’re measuring wall perimeter, don’t just eyeball the long stretches. Account for every single corner, door casing, and architectural bump-out. If you’re working on a flip, every extra trip to the supplier is just money bleeding out of your renovation budget.
My pro tip? Always add a 10% waste factor to your total linear footage. You’re going to have offcuts, mistakes, or knots in the wood that make a section unusable. It’s much better to have a single piece of trim left over in the garage than to be stuck halfway through a room with a gap you can’t fill. If you’re dealing with a tricky layout, I also suggest sketching it out on paper first. It helps you visualize where the long runs are and where you’ll need to plan for more complex cuts, ensuring your material list is dead on before you spend a dime.
Coping Joints vs Miter Joints Choosing Professional Precision
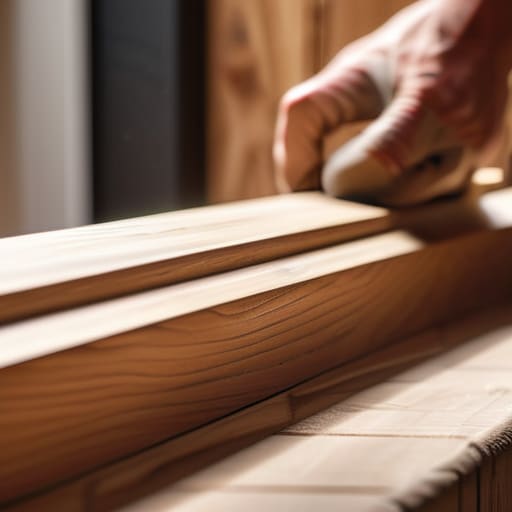
When you’re standing in a room looking at those raw, unfinished edges, you’ll eventually face the big question: do you miter or cope? Most DIYers default to miter joints—those 45-degree angles you see in most basic tutorials—because they’re easy to visualize. But here’s the reality of working in older, neglected properties: walls are rarely perfectly square. If you rely solely on miters, those gaps will open up the second the house shifts or the humidity changes, making your hard work look amateur.
If you want that high-end, custom look that adds real value, you need to master coping joints vs miter joints. Instead of cutting an angle, you’re actually trimming the profile of one board to fit over the face of the other. It takes more patience and a sharper saw, but it’s the only way to ensure the joint stays tight even when the walls move. If you’re feeling lazy, you can try to hide your mistakes with heavy caulking baseboard gaps, but if I’m being honest, nothing beats the structural integrity of a properly coped corner. It’s the difference between a “flip” and a professional renovation.
Pro Moves to Protect Your Margins and Your Finish
- Don’t skimp on the adhesive; even the best miter cuts can pull apart over time if you’re relying solely on nails, so use a high-quality construction adhesive to lock everything in place.
- Check your floor for level before you even pull out the saw, because if your subfloor is wonky, you’ll spend more time fighting gaps than actually installing.
- Use a scrap piece of your actual baseboard to test your miter saw angles first; there is nothing more expensive than wasting a premium run of trim because your saw was off by half a degree.
- Invest in a decent caulk gun and high-quality paintable caulk, because those tiny hairline gaps between the wall and the trim are what separate a DIY hack job from a high-end renovation.
- Always buy 10-15% more material than your measurements suggest to account for mistakes and awkward corner cuts—running out of trim mid-job is a rookie mistake that kills your momentum and your budget.
The Bottom Line: Don't Let Small Mistakes Eat Your Equity
Stop guessing on your measurements; use your laser measurer to get exact numbers so you aren’t wasting money on extra trim or making mid-job runs to the hardware store.
Choose your joints based on the vibe of the house—use coping joints for a high-end, seamless look that screams professional quality, especially in rooms where you’re aiming for a premium resale value.
Patience pays off in the finish; never rush the installation or cover up sloppy work, because clean, tight baseboards are one of the simplest ways to make a cheap renovation look like a high-end designer build.
The Invisible Value in the Details
You can spend fifty thousand dollars on a high-end kitchen remodel, but if your baseboards are gapped, uneven, or poorly cut, the whole room feels cheap. In this business, equity isn’t just about the big-ticket items; it’s about the precision of the finish that tells a buyer you actually cared about the bones of the house.
Gareth Trelawny
The Final Polish: Turning Trim into Equity
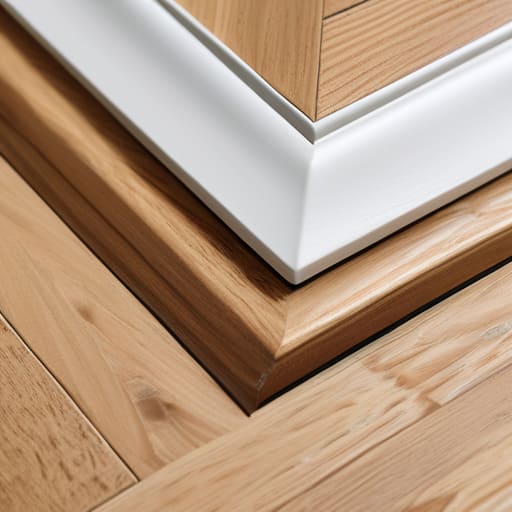
At the end of the day, baseboard installation isn’t just about covering up the gap between your floor and the wall; it’s about creating the visual boundaries that make a room feel finished. If you’ve taken the time to measure your perimeter accurately and you’ve made the smart call between coping and mitering your joints, you’ve already avoided the most common amateur mistakes that drain a renovation budget. Remember, those tiny gaps or sloppy cuts are exactly what buyers notice when they’re scanning a room for quality. By focusing on these precision details and ensuring your measurements are spot on, you aren’t just installing wood—you are protecting your profit margins and ensuring the craftsmanship holds up under scrutiny.
Renovating can be exhausting, and there will be moments when you’re staring at a pile of sawdust wondering if it’s worth the headache. But trust me, when you step back and see how a clean, crisp line of trim transforms a chaotic construction zone into a sophisticated, high-value space, it all clicks. Every bit of sweat equity you pour into these finishing touches is a direct investment in your future. Keep your eyes on the long game, stay disciplined with your execution, and never underestimate the power of a flawless finish to build lasting wealth one room at a time.
Frequently Asked Questions
Should I install my baseboards before or after I finish painting the walls?
Paint the walls first. I’ve seen too many rookies try to cut corners by installing baseboards and then struggling to get a clean coat of paint behind them. It’s a nightmare for your margins. If you paint the walls before the trim goes up, you get a flawless finish right up to the edge. Once the walls are dry, nail in your baseboards and finish with a quick caulk and trim paint. It’s cleaner, faster, and looks much more professional.
Is it worth spending the extra cash on MDF, or should I stick to real wood for a better resale value?
Look, if you’re flipping for a quick turnaround, MDF is your best friend. It’s stable, cheap, and holds paint beautifully without the headache of warping. But if you’re holding this property long-term or targeting a high-end buyer, go with real wood. High-net-worth buyers can spot cheap trim from a mile away. For my projects, I use MDF for standard rentals to protect my margins, but I save the solid wood for the “wow” factor rooms.
How do I deal with uneven floors or walls that aren't perfectly straight without it looking like a DIY disaster?
Look, I’ve walked into enough “fixer-uppers” where the walls lean like the Tower of Pisa. If your floors or walls are wonky, don’t try to force a rigid piece of trim to follow them—that’s how you get those ugly, widening gaps. Instead, use a slightly thicker baseboard to mask the floor gap, and always keep a tub of high-quality caulk and wood filler handy. It’s about hiding the imperfections to protect your equity.
