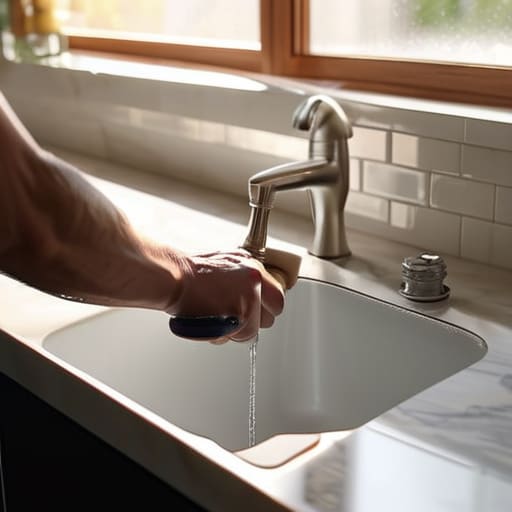
I was hunched over a damp sink in a fixer-upper last Tuesday, my designer bag tossed haphazardly on a pile of debris, staring at a rusted-out fixture that looked like it belonged in a museum of plumbing failures. Most people see a leaking spout and immediately call a plumber, thinking they’re out a few hundred dollars in service fees, but that’s a massive mistake if you’re trying to build real equity. I’ve learned the hard way that a botched or overpriced kitchen faucet installation can eat into your margins faster than a bad renovation plan, but a successful DIY swap? That’s just pure, unadulterated profit sitting right under your nose.
I’m not here to give you a sanitized, textbook lecture on plumbing theory; I’m here to show you how to get it done without flooding your kitchen or breaking your spirit. We are going to walk through the gritty, real-world steps of a kitchen faucet installation so you can stop overpaying contractors for tasks you can handle yourself. I’ll share my personal checklist for choosing the right hardware and the exact mistakes I’ve made on job sites so you don’t have to. Let’s get to work.
Table of Contents
- Step-by-Step Instructions
- Shutting Off Water Valves and Avoiding Costly Floods
- Mastering Sink Hole Diameter and Plumbers Putty Usage
- Pro Tips to Keep Your Renovation From Becoming a Disaster
- Don't Sweat the Small Stuff: My Golden Rules for a Successful Install
- ## The ROI of the Small Details
- From Leaky Sink to Solid Equity
- Frequently Asked Questions
Guide Overview
Tools & Supplies
- Adjustable wrench for tightening nuts
- Basin wrench for tight spaces under the sink
- Screwdriver for mounting hardware
- Plumber's putty or silicone sealant for sealing
- New kitchen faucet kit
- Plumber's tape (Teflon tape) 1 roll
- Replacement supply lines 2 units
Step-by-Step Instructions
- 1. First things first, you need to clear out the area under your sink. I’ve seen so many DIYers get frustrated because they’re fighting with half-empty cleaning bottles and tangled sponges while trying to work. Pull everything out, lay down a towel to catch any residual drips, and make sure you have a clear path to the shut-off valves.
- 2. Locate your water supply valves and turn them clockwise until they’re tight. If you’re working on an older fixer-upper, these valves can be temperamental, so don’t force them if they feel stuck—you don’t want a flood on your hands before you’ve even started. Once the water is off, open the old faucet to drain any remaining pressure left in the lines.
- 3. Now, get underneath that sink and disconnect the supply lines. You’ll likely need a basin wrench for this part, which is one of those tools I wish I’d learned to use sooner in my career. Once the lines are disconnected, unscrew the mounting nuts holding the old faucet in place and lift the entire old unit out of the sink hole.
- 4. Before you even think about bringing the new faucet into play, take a moment to clean the sink surface thoroughly. There’s almost always a layer of grime, old plumber’s putty, or mineral buildup around the mounting holes. If you don’t get that surface pristine, your new faucet won’t sit flush, and you’ll be dealing with annoying leaks down the road.
- 5. Position your new faucet through the mounting holes, making sure the alignment is perfect before you tighten anything. Most modern kits come with a base plate or gasket to help seal the connection, so follow those instructions closely. I always double-check the orientation of the spout to ensure it’s centered exactly where I want it for the kitchen’s workflow.
- 6. From underneath the sink, thread the mounting hardware onto the faucet shanks and tighten them down. You want these to be firmly secure so the faucet doesn’t wiggle when you’re using it, but be careful not to over-tighten and crack the sink material, especially if you’re working with a delicate stone countertop.
- 7. Finally, connect your new supply lines to the shut-off valves. Hand-tighten them first, then give them a slight extra turn with a wrench to ensure a watertight seal. Turn your water valves back on slowly, check for any immediate leaks, and run the water for a minute to flush out any air or debris from the lines.
Shutting Off Water Valves and Avoiding Costly Floods
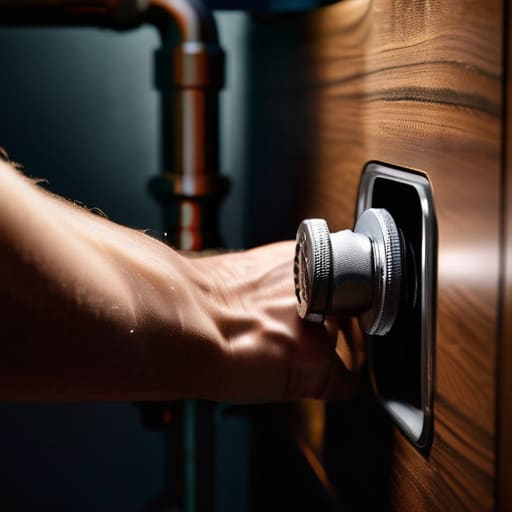
Before you even think about reaching for a wrench, you need to address the most nerve-wracking part of any renovation: the potential for a literal flood. I’ve seen too many rookies dive straight into the project only to realize their local shut-off valves are seized or, worse, completely non-functional. Shutting off water valves isn’t just a preliminary step; it’s your primary insurance policy. If those small valves under your sink won’t budge, don’t force them with pliers—you’ll likely snap the stem and turn a simple upgrade into a midnight emergency call to a plumber. If they feel stuck, find your main water shut-off for the entire house first.
Once the water is dead, take a moment to dry everything out thoroughly. I always keep a stack of old towels nearby because moisture is the enemy of a clean install. When you’re prepping the area, pay close attention to the condition of the supply lines. If they look corroded or feel brittle, replace them now. It’s much cheaper to spend twenty bucks on new lines today than to deal with a slow drip behind your cabinetry six months from now. Always prioritize leak prevention tips by double-checking every connection before you turn the water back on.
Mastering Sink Hole Diameter and Plumbers Putty Usage
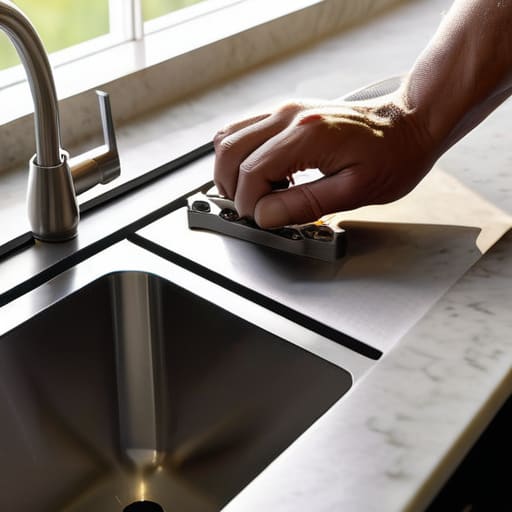
Before you even pull that new fixture out of the box, you need to double-check your sink hole diameter. I’ve walked into enough fixer-uppers where a “standard” faucet was paired with a sink that had a hole just a hair too small, and let me tell you, that frustration is not worth the headache. If the holes don’t align, you’re looking at a much more expensive trip to the hardware store than you planned. Measure twice, install once—it’s the simplest rule in this business for a reason.
Once you’re sure everything fits, let’s talk about the real unsung hero of a dry kitchen: plumber’s putty usage. I see way too many DIYers skimping here, thinking a little less is better. In reality, you want a consistent, pea-sized bead around the base of the faucet to create that watertight seal. If you don’t get the placement right, you’re essentially inviting a slow drip to rot out your new cabinetry from the inside out. Don’t cut corners on the sealant; it’s the difference between a professional-grade finish and a massive headache six months down the line.
Pro Tips to Keep Your Renovation From Becoming a Disaster
- Don’t trust the old valves blindly; even if they look solid, give them a quick test before you start pulling things apart so you aren’t left staring at a geyser in your kitchen.
- Always check your faucet’s footprint against your existing sink holes before you even unbox it; there is nothing more frustrating than buying a beautiful piece only to realize it doesn’t cover the old mounting holes.
- Use a little bit of Teflon tape on the threaded connections, but don’t overdo it—too much tape can actually cause a leak rather than preventing one, and we are looking for equity, not a plumbing bill.
- Keep a bucket and some old towels within arm’s reach during the entire process; you’re going to deal with some residual water in the lines, and catching it early saves your new cabinetry from water damage.
- Once the new hardware is in, don’t just walk away—run the water for a few minutes and then dry everything off completely so you can inspect for tiny, slow drips that could rot your vanity over time.
Don't Sweat the Small Stuff: My Golden Rules for a Successful Install
Treat your water shut-off valves like they’re made of glass; taking an extra five minutes to verify they’re actually closed can save you from a catastrophic (and expensive) flood that kills your profit margins.
Don’t cheap out on the basics like plumber’s putty or high-quality gaskets; those tiny, inexpensive components are the only thing standing between a high-end kitchen look and a slow, structural leak.
View every minor DIY hurdle—from tricky sink diameters to tight clearance issues—as a way to keep more equity in your pocket rather than handing it over to a contractor for a twenty-minute job.
## The ROI of the Small Details
A high-end faucet isn’t just a luxury; it’s a strategic play. When you’re flipping a kitchen, you don’t need a full remodel to change the vibe—sometimes, all it takes is swapping out a dated, crusty fixture for something sleek and modern to signal to buyers that the house has actually been cared for.
Gareth Trelawny
From Leaky Sink to Solid Equity
At the end of the day, a successful faucet installation comes down to the details you didn’t think mattered. It’s about ensuring those water valves are bone-dry before you even touch a wrench, getting that sink hole diameter exactly right, and not being stingy with the plumber’s putty to prevent a slow, expensive leak down the line. If you’ve followed these steps, you haven’t just swapped out a piece of hardware; you’ve successfully navigated a crucial technical hurdle that keeps a kitchen functional and high-value. Remember, the goal isn’t just to make the water flow—it’s to do the job so cleanly that you never have to worry about it again.
I know that staring at a pile of tools and a disassembled sink can feel overwhelming when you’re trying to manage a larger renovation, but don’t let the small stuff intimidate you. Every time you master a task like this, you are building the muscle memory required to handle much bigger, more profitable projects. Real estate isn’t about luck; it’s about the discipline of execution. Keep showing up to the job site, keep getting your hands dirty, and keep turning those minor upgrades into measurable equity. You’ve got this.
Frequently Asked Questions
How do I know if my existing supply lines are compatible with a new faucet, or am I going to need to buy new ones?
Don’t gamble on old lines. If your existing supply lines look corroded, feel stiff, or have any fraying on the braided steel, toss them immediately. I always swap them out during a renovation—it’s a cheap insurance policy against a midnight flood. Check if your new faucet uses standard 3/8″ compression fittings; if they don’t match your shut-off valves, grab new lines while you’re at the hardware store. Better to spend twenty bucks now than thousands on water damage later.
What’s the best way to deal with a rusted or stuck mounting nut under the sink without stripping the hardware?
Nothing kills my momentum on a job site faster than a seized mounting nut. If it’s rusted solid, don’t just white-knuckle it with a wrench; you’ll only strip the hardware and end up with a much more expensive headache. Grab some penetrating oil—like WD-40 Specialist or PB Blaster—and let it sit for twenty minutes. If that fails, use a basin wrench for better leverage, or even a heat gun to expand the metal slightly. Patience wins here.
If I’m upgrading to a pull-down sprayer model, how do I ensure there's enough clearance under my cabinet for the weight and hose?
This is where most people trip up and end up with a tangled mess under the sink. Before you commit to that high-end pull-down model, grab that laser measurer of mine and check your clearance. You need enough vertical room for the weight of the spray head to drop naturally, but more importantly, you need space for the hose loop. If your cabinet is packed with cleaning supplies, the hose will snag, killing that premium feel you’re paying for.
