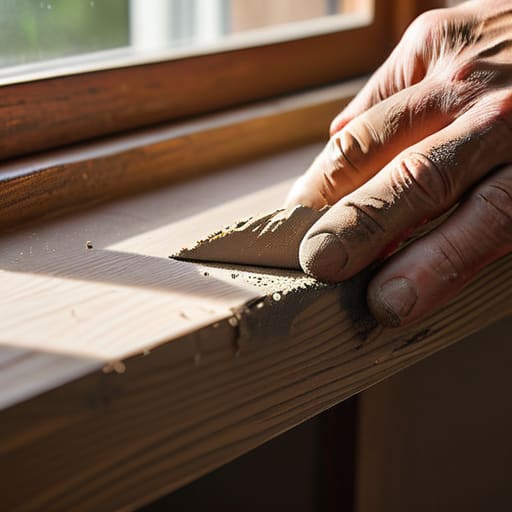
I was standing in the middle of a drafty Victorian fixer-upper last Tuesday, staring at a piece of wood that looked more like wet cardboard than a structural component. Most rookies see a soft, crumbling ledge and immediately start calling expensive contractors, thinking they need a full window replacement to save the house. But here’s the truth: that rot isn’t a death sentence for your budget, and a proper window sill repair is often the difference between a massive headache and a massive profit margin. I’ve seen too many investors walk away from goldmines just because they were intimidated by a little moisture damage.
I’m not here to give you some polished, theoretical lecture that works in a textbook but fails on a real job site. Instead, I’m going to walk you through the gritty, hands-on reality of identifying rot, stripping it back, and sealing it up so it actually lasts. We’re going to cover the exact tools you need—and the ones you don’t—to tackle window sill repair without blowing your renovation budget. By the time we’re done, you’ll know how to stop the decay in its tracks and turn that crumbling detail into solid, protected equity.
Table of Contents
- Step-by-Step Instructions
- Fixing Rotten Wood Window Sills Before They Sink Your Roi
- Waterproofing Window Frames to Stop Future Decay in Its Tracks
- Pro Tips for Keeping Your Sills Sharp and Your Equity High
- The Bottom Line on Window Sill Repairs
- The Hidden Cost of Neglect
- Don't Leave Your Equity to Rot
- Frequently Asked Questions
Guide Overview
Tools & Supplies
- Putty knife for scraping and applying filler
- Sandpaper (various grits) for smoothing surfaces
- Caulking gun for sealing gaps
- Wood filler or epoxy putty (1 tube/container)
- Exterior grade caulk (1 tube)
- Sandpaper pack (medium and fine grit)
- Paint or wood stain (small can)
Step-by-Step Instructions
- 1. First, you need to grab your scraper and a screwdriver to get aggressive with the rot. Don’t just skim the surface; you need to dig out every single bit of soft, crumbling wood until you hit something that actually feels solid. If you leave even a tiny pocket of moisture-soaked timber behind, you’re basically inviting the decay to come back for a second helping in six months.
- 2. Once you’ve cleared the debris, take a shop vac and suck up every speck of dust, then wipe the area down with a damp cloth. You want a surface that is bone dry and completely clean before you move on. Any lingering sawdust or grit will prevent your repair materials from bonding properly, and in this business, a bad bond is a waste of money.
- 3. Now, if the damage is significant—and let’s be real, in these older fixer-uppers, it usually is—you might need to swap in a new piece of wood. Measure twice with that laser measurer of mine, cut your replacement piece to fit snugly, and secure it with exterior-grade screws. You want a tight, seamless fit because gaps are just open invitations for water infiltration.
- 4. For the smaller divots and surface-level damage, it’s time to break out the high-quality wood filler or two-part epoxy. I always prefer the epoxy for window sills because it acts more like a structural replacement than just a cosmetic patch. Spread it on firmly, smoothing it out with a putty knife until it’s flush with the surrounding wood, and then let it cure completely according to the package directions.
- 5. Once everything is hard and level, grab some medium-grit sandpaper and start smoothing out the transitions. You’re looking for a surface that feels as continuous as the original wood; if you can feel a bump with your fingertip, the buyer will definitely notice it during their walkthrough. Aim for a flawless, seamless finish that won’t scream “cheap patch job” once it’s painted.
- 6. Before you even think about touching a paintbrush, apply a high-quality, penetrating wood primer. This is the most underrated step in the whole process, but it’s what actually seals the wood and prevents future moisture issues. If you skip this, you’re just painting over a ticking time bomb of rot.
- 7. Finally, seal the deal with a durable, exterior-grade paint that can handle the elements. Don’t skimp here; use a premium product that offers superior UV and moisture protection. A well-executed sill isn’t just a repair; it’s a way to show any future buyer that you actually take care of the bones of the house.
Fixing Rotten Wood Window Sills Before They Sink Your Roi
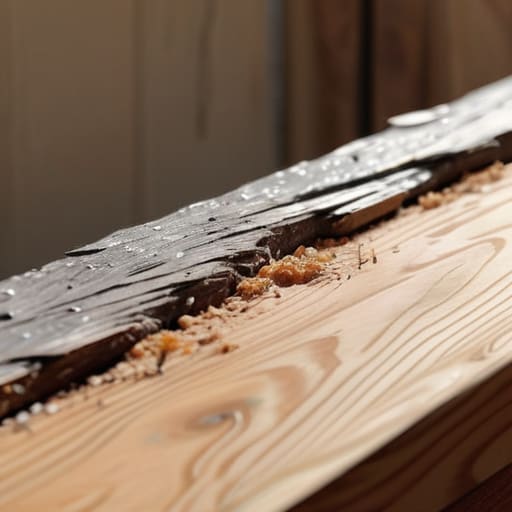
When I’m walking a property during a walkthrough, I’m not just looking at the layout; I’m looking at the edges. A soft, spongy window sill is a massive red flag that tells me the previous owner likely skipped basic exterior window maintenance. If you find rot, don’t just slap some caulk over it and hope for the best—that’s how you end up with a much bigger structural headache six months later. You need to dig in, scrape out the decayed sections, and ensure you’re working with solid, healthy substrate before you even think about applying any patches.
If the damage is localized, using a high-quality wood filler for windows can be a lifesaver for your margins. However, my rule of thumb is to always prioritize preventing window sill decay through proper sealing. Once you’ve stabilized the wood, invest in a high-grade sealant. It’s a small upfront cost that acts as insurance for your renovation. If you neglect this, you aren’t just losing a piece of trim; you’re potentially inviting moisture into the wall cavity, which is a fast track to eroding your hard-earned equity.
Waterproofing Window Frames to Stop Future Decay in Its Tracks
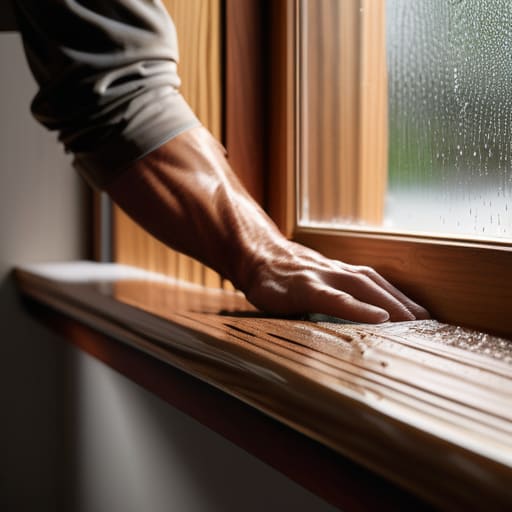
Once you’ve finished the heavy lifting of fixing rotten wood window sills, you can’t just walk away and hope for the best. If you don’t seal the deal, you’re basically inviting the next rainstorm to start the decay process all over again. I’ve seen too many investors pour money into a beautiful rehab only to watch moisture creep back into the frame because they skipped the final defense. True waterproofing window frames isn’t just about slapping on a coat of paint; it’s about creating a continuous, impenetrable barrier between the elements and your newly repaired wood.
I always recommend a multi-layered approach. Start by ensuring your caulk lines are pristine—use a high-quality, solar-resistant sealant where the frame meets the siding. If you’re working with natural wood, don’t skimp on a high-grade exterior stain or a marine-grade sealant. This is the core of smart exterior window maintenance. It might feel like an extra step when you’re exhausted from a long day on the job site, but protecting your investment now is much cheaper than replacing a whole unit in two years.
Pro Tips for Keeping Your Sills Sharp and Your Equity High
- Don’t just patch the surface; use a moisture meter to find the hidden rot deep inside the wood before you even touch a scraper, or you’ll be paying for the same repair twice in six months.
- When you’re replacing sections, always opt for rot-resistant wood like cedar or even composite materials—it costs a little more upfront, but it’s a massive win for long-term maintenance costs.
- Stop treating caulk like a magic wand; if your substrate is crumbling, the caulk won’t hold, so make sure you’ve stabilized the wood structure first to ensure a seamless, professional finish.
- Invest in high-quality, exterior-grade wood filler for those smaller divots, but never use it as a structural fix for a sill that’s lost its integrity—know when to swap the wood and when to just skin it.
- Always check your window’s “slope” after a repair; if the sill isn’t angled slightly outward to shed water, you’re basically building a little pond that will rot your new work out from under you.
The Bottom Line on Window Sill Repairs
Don’t just slap some putty over a soft spot; if the wood is compromised, you need to strip it back to the healthy stuff or replace it entirely to protect your investment.
Prevention is cheaper than a full-scale rehab, so prioritize high-quality waterproofing and sealant application to stop moisture from turning a minor fix into a structural nightmare.
Treat every repair as an opportunity to build equity—fixing these small, neglected details correctly ensures you aren’t leaving money on the table when it’s time to sell.
The Hidden Cost of Neglect
“A rotting window sill isn’t just a maintenance headache; it’s a leak in your profit margin. If you ignore the small stuff like wood rot, you’ll eventually find yourself paying for much bigger, much more expensive structural failures.”
Gareth Trelawny
Don't Leave Your Equity to Rot
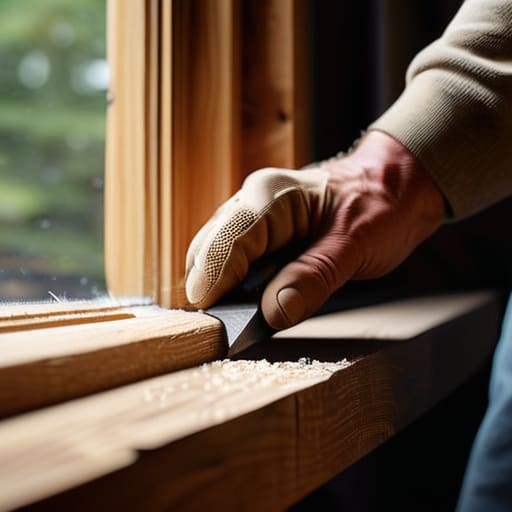
At the end of the day, window sill repair isn’t just about aesthetics; it’s about protecting the structural integrity of your investment. We’ve covered how to identify the early signs of decay, the right way to tackle rotten wood before it spreads, and the essential waterproofing steps needed to ensure your hard work actually lasts. If you skip these steps or try to slap a layer of paint over a soft spot, you aren’t saving money—you’re just delaying a much more expensive disaster down the road. Treating these small details with the respect they deserve is what separates a successful flip from a money pit.
I know that staring down a crumbling window frame can feel overwhelming when you’re in the middle of a renovation, but don’t let it shake your confidence. These are the exact moments where you separate the amateurs from the pros. Every time you patch a sill or seal a frame, you are actively building equity one inch at a time. Real estate investing is a game of patience and precision, and mastering these “unsexy” repairs is precisely how you turn a neglected fixer-upper into a high-performing asset. Grab your tools, get to work, and let’s get that ROI where it belongs.
Frequently Asked Questions
At what point should I stop patching the wood and just bite the bullet on a full window replacement?
Look, I’ve been there—staring at a patch job and wondering if I’m just masking a disaster. Here’s my rule of thumb: if you’ve scraped away the rot and the remaining structural wood is soft, spongy, or crumbling like a stale biscuit, stop patching. If the damage compromises the window’s ability to seal or hold weight, you’re just throwing money into a black hole. Bite the bullet and replace it. Protecting your ROI means knowing when a fix is just a band-aid.
How can I tell if the rot is just surface-level or if it’s actually compromised the structural integrity of the entire frame?
Here’s how I vet it on-site: grab a flathead screwdriver and give the wood a firm poke. If it sinks in like butter or the wood flakes away in chunks, you’re dealing with deep rot. If it’s just a little soft on the surface but feels solid underneath, you can likely save it with wood filler. But if the whole frame feels spongy or the window won’t even sit level, walk away—that’s a structural nightmare.
Which specific wood filler or epoxy works best for a seamless finish that won't crack after the first seasonal temperature shift?
If you’re looking for something that won’t crack the moment the temperature drops, skip the cheap hardware store wood putty. You need a two-part wood epoxy—I personally swear by Abatron LiquidWood and WoodEpox. It’s a bit more expensive, but it actually bonds to the fibers rather than just sitting on top. It expands and contracts with the wood, meaning you won’t be back there sanding and re-filling the same spot next spring.
