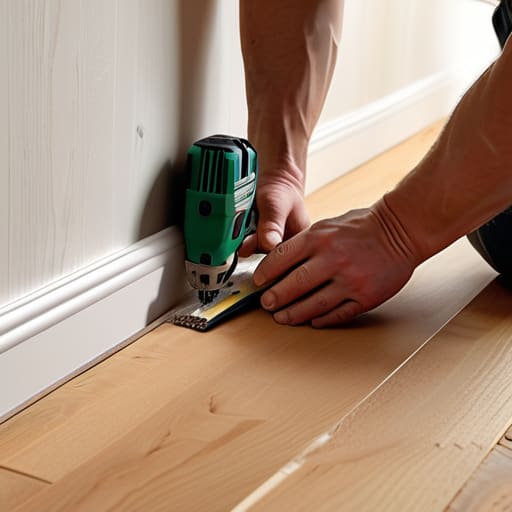
I was standing in a dusty, half-finished hallway of a Victorian fixer-upper last Tuesday, staring at a gap between a freshly plastered wall and a piece of cheap timber, when it hit me: most people think skirting boards are just a way to hide messy floor edges. That’s a massive mistake. In my experience, a botched skirting board installation is one of the fastest ways to make a high-end renovation look like a budget DIY disaster. You can spend thousands on designer flooring, but if your trim is uneven or poorly fitted, you’re essentially flushing your potential equity down the drain.
I’ve spent years on job sites learning that the difference between a “flip” and a “flop” lies in these exact finishing details. In this guide, I’m stripping away the fluff to give you the pragmatic, step-by-step process I use on my own investment properties. We’re going to cover everything from choosing the right profile to mastering the cuts, ensuring your skirting board installation adds real, tangible value to your home rather than just covering up a mistake.
Table of Contents
- Step-by-Step Instructions
- Preparing Walls for Trim to Avoid Costly Mistakes
- The Secret to Miter Saw Corner Joints and Mitre Cutting Techniques
- Pro Tips to Protect Your Profit Margins and Finish Like a Pro
- Bottom Line: Don't Let the Small Details Drain Your ROI
- ## The Equity in the Details
- The Final Polish
- Frequently Asked Questions
Guide Overview
Tools & Supplies
- Mitre saw or hand saw for cutting angles
- Hammer or nail gun for fastening
- Spirit level to ensure straightness
- Measuring tape for accurate lengths
- Skirting boards (length depends on room perimeter)
- Wood adhesive or construction adhesive
- Finishing nails or brad nails
- Wood filler to cover nail holes
Step-by-Step Instructions
- 1. Before you even touch a saw, you need to prep your surfaces. I’ve seen too many investors try to hide bad plasterwork under expensive timber, and it’s a waste of money. Use your laser measurer to check for any significant bows in the walls and sand down any major lumps in the plaster. If your walls are wonky, your skirting will follow that line and look amateur.
- 2. Once the walls are smooth, it’s time to measure and cut. Don’t just eyeball it; grab your tape measure and mark out every single run of wall. When you hit a corner, you’re going to need to master the mitre cut. I prefer using a sharp mitre saw for clean, crisp edges, because a jagged corner is a dead giveaway of a DIY job that’s cutting into your resale value.
- 3. Now, let’s get those boards onto the wall. I usually opt for a high-quality construction adhesive paired with a few headless nails for extra security. Apply the adhesive in a zigzag pattern along the back of the board, then press it firmly against the wall. If you’re working on an older property with uneven walls, you might need to use a rubber mallet to gently tap the board into place without denting the wood.
- 4. If you’re using nails to secure the boards, make sure you’re hitting the studs or using appropriate wall plugs if you’re dealing with masonry. I always aim to drive the nail heads just slightly below the surface of the wood. This creates a tiny indentation that we can easily hide later, rather than having a protruding nail head that makes sanding an absolute nightmare.
- 5. Once the boards are physically attached, you need to address the gaps. No matter how precise your cuts are, there will always be tiny hairline cracks where the board meets the wall or the floor. Grab some high-quality decorators’ caulk and run a thin bead along these junctions. Use a damp finger to smooth it out—this is the secret to making the skirting look like it’s part of the architecture rather than just something stuck on top of it.
- 6. The final step is the most satisfying: filling and sanding. Use a fine-surface wood filler to plug any nail holes or minor imperfections in the timber itself. Once it’s dry, give everything a light sand with a fine-grit sandpaper until the transitions are seamless. If you skip this, your paint job will highlight every single flaw, and nobody wants that when they’re trying to present a polished, high-end finish to a potential buyer.
Preparing Walls for Trim to Avoid Costly Mistakes
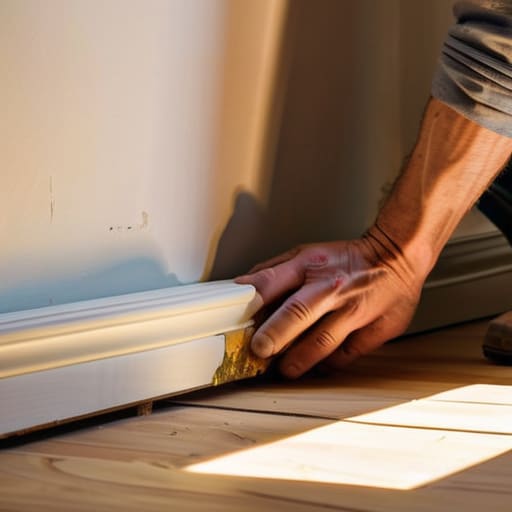
Before you even touch a saw, you need to address the reality of most fixer-uppers: walls are rarely as straight as they look on a blueprint. I’ve seen too many investors rush into a job only to realize their new trim looks like a wavy mess because they ignored the substrate. Preparing walls for trim means more than just a quick wipe-down; it means checking for bowing or uneven plaster that will fight your boards every step of the way. If your walls are significantly out of plumb, you’ll spend more time fighting the material than actually installing it.
Once the surface is prepped, don’t overlook the transition points. If you aren’t confident with your mitre cutting techniques, you’re going to end up with unsightly gaps at the corners that scream “amateur hour.” Even with a perfect cut, you should always budget time for gap filling and caulking to create that seamless, high-end look that drives up property value. It’s these tiny, meticulous details that separate a quick flip from a professional-grade renovation that actually builds long-term equity.
The Secret to Miter Saw Corner Joints and Mitre Cutting Techniques
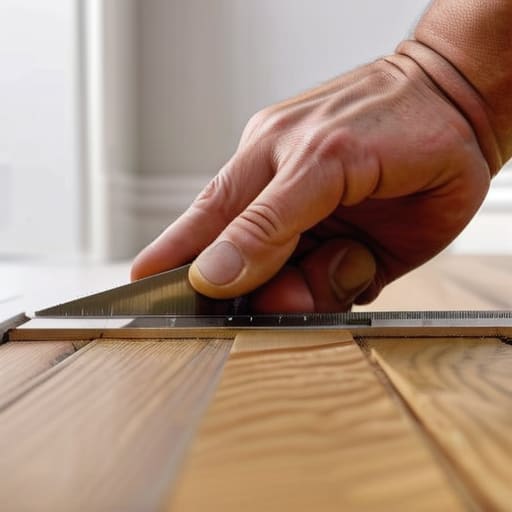
If you want your renovation to look like a high-end designer did it rather than a DIY weekend warrior, you have to master your angles. I’ve seen so many investors lose money on “cheap” looking finishes because they rushed the corners. When you’re working with mitre cutting techniques, precision is everything. Don’t just trust the markings on your saw; I always double-check my angles with a protractor first. Even a half-degree error might look fine on one wall, but by the time you hit the third corner, that tiny mistake compounds into a massive, ugly gap that no amount of putty can hide.
The real pro move for seamless miter saw corner joints is to cut slightly “long” rather than too short. It is much easier to shave a hair off a piece of timber with a fine-tooth blade than it is to fix a gap in a corner that’s already nailed in. If you’re dealing with older, wonky walls in a fixer-upper, remember that your angles won’t always be a perfect 90 degrees. You have to adapt to the house, not the other way around.
Pro Tips to Protect Your Profit Margins and Finish Like a Pro
- Don’t skimp on the adhesive; I’ve seen too many cheap renovations where the trim starts pulling away from the wall six months later, and nobody wants to deal with a callback or a devalued property.
- Invest in a high-quality nail gun rather than relying solely on a hammer; it saves your hands and prevents those annoying, unsightly hammer marks that you’ll just end up having to sand out anyway.
- Always check your floor level before you start; if your subfloor is wonky, you’ll need to scribe the bottom of the skirting to ensure a tight fit, otherwise, you’re just leaving gaps that scream “amateur job.”
- Use a bit of flexible caulk in the expansion gaps between the trim and the wall; it hides those inevitable little imperfections and makes the entire installation look seamless and high-end.
- Keep your eye on the scale—if you’re working on a room with high ceilings, don’t try to save a few bucks with flimsy, short skirting boards; go for something with more presence to actually add perceived value to the space.
Bottom Line: Don't Let the Small Details Drain Your ROI
Never rush the wall prep; if your plaster is uneven, no amount of expensive trim is going to hide those gaps, and you’ll end up wasting money on caulk and filler just to mask poor workmanship.
Master your miter cuts before you start nailing anything down, because nothing screams “amateur flip” like visible gaps in your corners that kill the high-end feel of a room.
Treat skirting boards as more than just decoration—they are a strategic finishing layer that protects your walls and adds that final layer of perceived value that buyers actually notice.
## The Equity in the Details
“You can spend fifty grand on a kitchen remodel, but if your skirting boards are gapped or poorly mitred, you’re essentially telling every potential buyer that you cut corners. In this business, the details aren’t just aesthetics—they’re the difference between a quick sale and a massive headache.”
Gareth Trelawny
The Final Polish
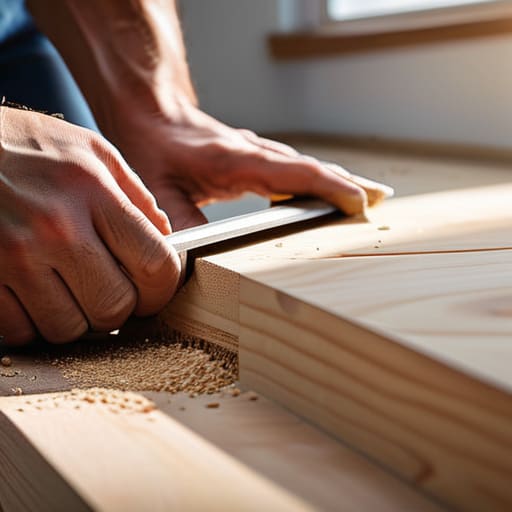
At the end of the day, successful skirting board installation comes down to the details you can’t see as much as the ones you can. It’s not just about nailing wood to a wall; it’s about the prep work you did to ensure the surface was level, the precision of those mitered corners, and the patience required to get the spacing just right. If you’ve taken the time to prep your walls properly and mastered your saw techniques, you’ve already avoided the most common pitfalls that lead to expensive callbacks or a cheap-looking finish. Remember, those small, technical steps are exactly what separate a DIY disaster from a professional-grade renovation that holds its value.
I know that staring at a pile of trim and a messy job site can feel overwhelming when you’re in the thick of it, but don’t lose sight of why you’re doing this. Every perfectly fitted piece of molding is a step closer to turning a neglected space into a high-value asset. Real estate investing isn’t always glamorous, and it definitely isn’t easy, but there is nothing quite like the feeling of seeing a room transform because you had the grit to do it right. Keep pushing through the messy parts; that’s exactly where the real equity is built.
Frequently Asked Questions
Should I use construction adhesive or just nails to secure the boards to my walls?
If you want a finish that actually lasts, don’t choose one or the other—use both. I always recommend a “hybrid” approach. Apply a bead of high-quality construction adhesive to the back of the board to prevent it from ever pulling away, then use a nail gun to tack it in place while the glue sets. The nails act as your temporary clamps, while the adhesive provides the long-term bond that protects your equity.
How do I deal with uneven floors so my skirting doesn't have those annoying gaps at the bottom?
Look, uneven floors are the bane of every renovation, but they don’t have to ruin your margins. If the gap is minor, a bead of color-matched caulk is your best friend. If it’s a disaster, don’t fight it—scribe the bottom of the board. Trace the floor’s contour onto your trim and cut along that line. It takes more time, but it’s the only way to ensure a seamless, high-end finish.
Is it better to install the skirting before or after I've finished painting the walls?
Look, if you want to save your sanity and your margins, paint the walls first. I’ve seen too many renovators struggle to get a clean line between a fresh coat of paint and newly installed trim. It’s a nightmare of masking tape and wasted time. Get your walls finished, then nail in the skirting. It makes the final touch-up much easier and ensures you aren’t fighting a losing battle against messy edges.
