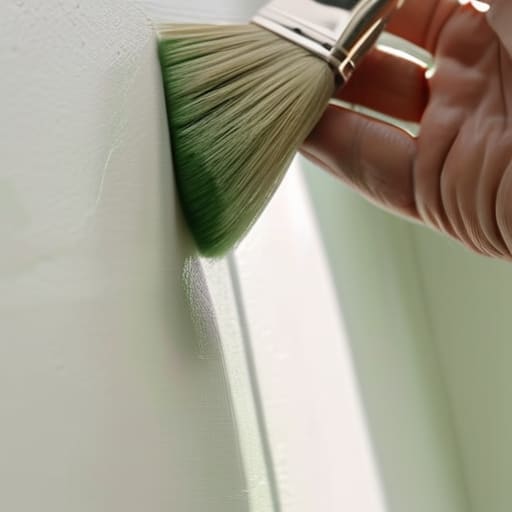
I still remember standing in the middle of a gutted Victorian in East London, the smell of damp plaster and stale cigarettes clinging to my hair, staring at a wall that looked more like a topographical map than a flat surface. I had just spent three hours trying to fix a patchy finish, only to realize that my expensive designer brushes were useless against the shoddy prep work of the previous owners. That’s when it hit me: most people treat painting techniques like they’re just about picking a pretty color from a swatch book, but in the real world of flipping houses, it’s about structural aesthetics and hiding the scars of a building’s past.
I’m not here to give you a lecture on the “artistry” of color theory or sell you on some overpriced, boutique equipment you don’t need. Instead, I’m going to show you the gritty, practical methods I use on my own job sites to turn a disaster of a room into a high-value asset. We’re going to cover the no-nonsense applications that actually hold up under scrutiny, ensuring you don’t just slap on a coat of paint, but instead build real equity through a flawless finish.
Table of Contents
- Surface Preparation for Painting Building Equity From the Ground Up
- Brushstroke Styles for Beginners Making Crumbling Walls Look Brand New
- Pro-Level Moves: How to Paint Like You’re Building Equity, Not Just Covering Walls
- The Bottom Line: Painting for Profit
- ## The ROI of the Final Coat
- Turning Paint into Profit
- Frequently Asked Questions
Surface Preparation for Painting Building Equity From the Ground Up
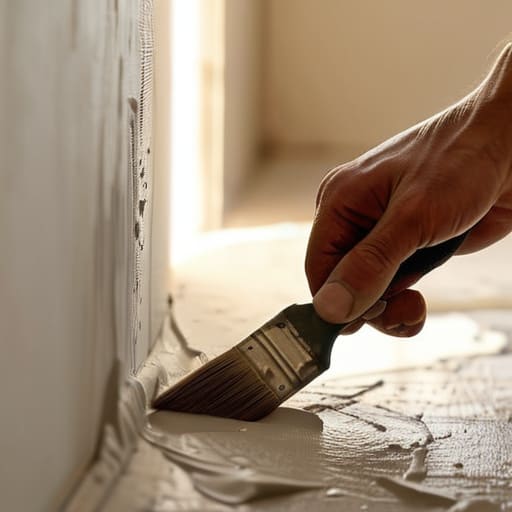
Look, I’ve seen more money wasted on expensive premium paint than on actual structural repairs, and it’s usually because someone got lazy with the prep work. You can buy the most expensive designer pigment on the market, but if you apply it to a wall covered in dust, grease, or old, flaking latex, it’s going to look like a cheap DIY disaster within six months. Proper surface preparation for painting isn’t just about making things look pretty; it’s about protecting your investment. If you’re flipping a house, you want that finish to look professional and last long enough to survive a move-in.
Start by getting aggressive with the cleaning. I’m talking about sanding down those rough patches and using a degreaser on kitchen walls where cooking oils have built up. If you skip this, you’ll end up with bubbling or peeling that screams “amateur.” Once the surface is smooth and clean, pay attention to understanding paint viscosity. If your paint is too thick or too thin because of the temperature or poor quality, it won’t lay down flat, and you’ll be fighting streaks all day. Treat the prep like the foundation of a house—if it’s shaky, everything built on top of it is doomed.
Brushstroke Styles for Beginners Making Crumbling Walls Look Brand New
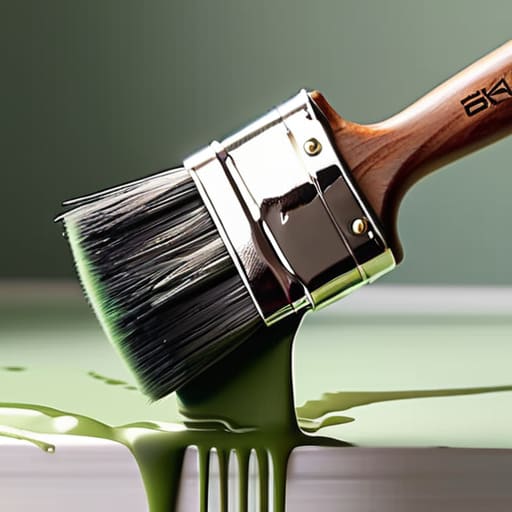
Once you’ve nailed the surface preparation for painting, it’s time to actually pick up the tool and start moving. If you’re a beginner, don’t feel like you need to master complex murals; focus on brushstroke styles for beginners that prioritize a clean, professional finish. I always tell my clients that the goal isn’t just to cover the wall, but to create a uniform texture that looks intentional rather than accidental. Start with long, sweeping vertical strokes to establish your base. This prevents those dreaded “lap marks” that can make a high-end renovation look like a DIY disaster.
As you move into the second coat, pay close attention to blending and layering methods. This is where you transition from just “covering” a space to actually adding depth. If you’re working with a matte finish, you want to ensure your strokes are consistent to avoid blotchiness. I’ve seen too many investors lose money because they rushed the finish, leaving a room looking patchy under recessed lighting. Take your time; a controlled, steady hand is what turns a basic coat of paint into a high-value asset.
Pro-Level Moves: How to Paint Like You’re Building Equity, Not Just Covering Walls
- Stop the “Dry Rolling” Trap: I’ve seen so many rookies try to squeeze every last drop out of a roller, and it leaves behind a textured mess that looks cheap. Keep your roller loaded with enough paint to maintain a consistent “wet edge”—this is the only way to avoid those ugly lap marks that scream amateur hour.
- Master the “W” Pattern for Even Coverage: Don’t just roll up and down in straight lines like you’re cleaning a window. Load your roller and move it in a large ‘W’ or ‘M’ pattern across the wall first, then fill it in. It distributes the paint much more evenly and prevents those heavy patches that catch the light in all the wrong ways.
- Cut In with Purpose: If you want a high-end finish, you can’t rely on a messy brush line. Use a high-quality angled sash brush to “cut in” the edges around the ceiling, baseboards, and corners before you hit the main wall with the roller. It’s tedious work, but it’s the difference between a DIY look and a professional renovation.
- Don’t Skimp on the Primer: I know, it feels like an extra step and an extra expense, but if you’re working on a fixer-upper with stained walls or fresh drywall, you need a dedicated primer. A good primer seals the surface so your expensive topcoat actually sticks and looks uniform, rather than soaking into the wall and leaving you with patchy colors.
- Layering for Depth: Instead of trying to get perfect coverage in one thick, gloopy coat, go for two thin, even layers. Thick coats lead to drips and runs, which are a nightmare to fix once they dry. Two light layers will give you that smooth, professional sheen that makes a room feel expensive and well-maintained.
The Bottom Line: Painting for Profit
Never skip the prep work; a cheap paint job on a poorly sanded wall is just a waste of your renovation budget and will kill your resale value.
Master your application technique to ensure even coverage, because visible brush marks or drips scream “amateur” to potential buyers.
View every coat of paint as a strategic investment in equity rather than just a cosmetic fix to hide the scars of a fixer-upper.
## The ROI of the Final Coat
“In this business, a cheap paint job is just a mask for poor workmanship, but a mastered technique? That’s how you bridge the gap between a house that looks ‘fixed’ and a property that commands a premium.”
Gareth Trelawny
Turning Paint into Profit
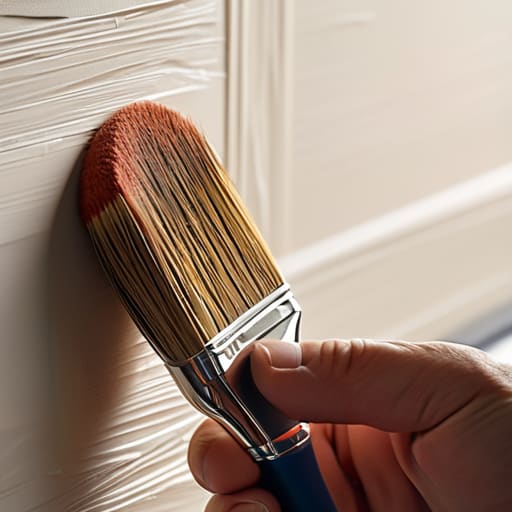
At the end of the day, mastering these painting techniques isn’t just about making a room look pretty for a walkthrough; it’s about the technical execution that protects your investment. We’ve covered everything from the non-negotiable grit of surface preparation to the specific brushstroke styles that can mask a lifetime of wear and tear. Remember, you can’t skip the prep work if you want to avoid a callback or a peeling finish six months down the line. When you invest the time to do it right—layering your colors and choosing the right application method—you aren’t just applying pigment, you are building equity through high-quality craftsmanship.
Renovating a property can feel overwhelming when you’re staring at cracked plaster and outdated colors, but don’t let the mess intimidate you. Every layer of paint you apply is a step closer to turning that neglected fixer-upper into a high-value asset. Real estate investing is a marathon, not a sprint, and sometimes the most significant gains come from the smallest, most tactical details. So, grab your brushes, trust your eye for potential, and start transforming those crumbling walls into the solid wealth you’re working so hard to build.
Frequently Asked Questions
How do I figure out if a wall needs a full skim coat or if a high-quality primer can hide those minor imperfections?
Here’s the rule of thumb I use: grab that laser measurer—or just your eyes—and look at the light. Turn on a side light or use a flashlight to graze the wall. If you see deep gouges, bubbling, or uneven textures that shadows highlight, a primer won’t save you; you need a full skim coat to level the playing field. But if it’s just minor scuffs or old color, a high-quality, heavy-bodied primer will do the trick without wasting your time or budget.
When I'm flipping a property, is it better to stick with neutral, safe colors or should I take a risk with a bold accent wall to stand out in the market?
Look, I get the temptation to go bold—I love a good statement piece as much as the next person—but when you’re flipping for profit, you have to think like an investor, not an artist. Stick to high-end neutrals for the bulk of the house. You want buyers to see themselves in the space, not feel like they’re walking into your personal gallery. If you must use an accent, keep it tasteful and sophisticated, never polarizing.
How can I tell if a professional painter is cutting corners with cheap paint versus using a premium product that will actually last through a tenant's lease?
Don’t just take their word for it; demand the spec sheet. If they won’t show you the exact brand and line they’re ordering, that’s your first red flag. I always look for high-build, washable acrylics—the kind that can survive a tenant’s scuff marks. If the price seems too good to be true, they’re likely using contractor-grade “washable” paint that actually peels after one cleaning. Check the coverage; cheap paint requires more coats, which eats your profit in labor.
