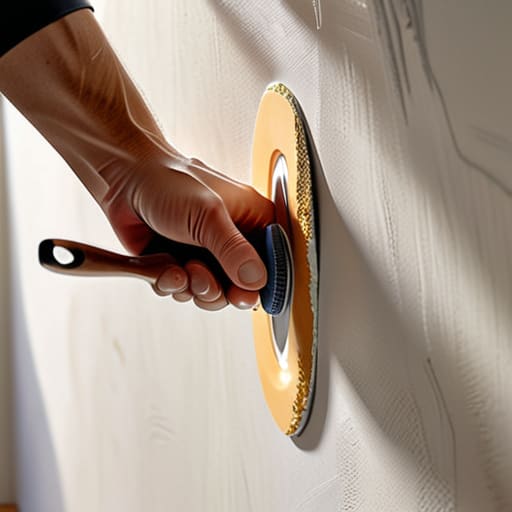
I was standing in the middle of a dusty living room in a 1970s ranch I’d just picked up, staring at a massive, jagged crater where a heavy piece of furniture had clearly been dragged across the wall. My first instinct wasn’t to call a professional; it was to reach for my tool bag. Most people think a hole like that means you need to tear down an entire section of the wall or spend a fortune on a contractor, but that’s just wasted capital. Learning how to repair a dry wall hole is one of those fundamental skills that separates the serious investors from the hobbyists. If you can’t fix the small stuff yourself, you’ll never have the margins to make the big plays.
In this guide, I’m stripping away the fluff and giving you the exact, battle-tested method I use on my own job sites. I’m not going to give you some textbook lecture; I’m going to show you how to patch, sand, and finish a wall so it looks absolutely seamless. We’ll cover everything from choosing the right mesh patch to getting that perfect, professional edge. Let’s stop staring at the damage and start turning that wasted space back into solid equity.
Guide Overview
Tools & Supplies
- Putty knife for applying compound
- Sanding sponge for smoothing surfaces
- Utility knife for cleaning edges
- Spackling compound (small tub)
- Adhesive mesh patch or drywall patch kit
- Sandpaper (fine grit)
- Touch-up paint (small container)
Step-by-Step Instructions
- 1. First, assess the damage to see if you’re dealing with a minor scuff or a full-blown crater. If it’s just a small puncture, grab your utility knife and trim away any loose paper or crumbling gypsum bits around the edges. You want a clean, flat surface to work with, otherwise, your patch is going to look like a lumpy mess once you start painting.
- 2. For holes larger than an inch or two, you can’t just slap some putty on there and call it a day; you need structural integrity. Grab a piece of drywall scrap and a utility knife to cut out a neat square or rectangle around the damage. I always tell my clients to cut clean lines because it makes installing a patch much easier than trying to navigate a jagged, irregular hole.
- 3. Now, it’s time to install your patch. If you’re using a self-adhesive mesh patch, center it over the hole and press it firmly into place. If you’re doing it the old-school way with a scrap piece of drywall, screw it into the existing studs using drywall screws. Make sure the patch is sitting flush against the wall so you aren’t fighting unnecessary depth issues later on.
- 4. Grab your joint compound—I prefer a lightweight spackle for small holes because it’s easier to sand—and start applying it with a wide putty knife. The trick here is to feather the edges outward. You aren’t just filling the hole; you’re blending the patch into the surrounding wall so the transition is virtually invisible to the naked eye.
- 5. Once the compound is completely dry, grab your sanding sponge. This is where most people get lazy, but if you want to protect your property value, you cannot skip this. Sand the area in a circular motion until the patch feels perfectly smooth to the touch. If you can see a hump when you run your hand over it, it’s going to show up once the light hits it after painting.
- 6. Before you even think about touching a paintbrush, wipe the area down with a damp cloth to remove every last bit of dust. Any leftover grit will cause your paint to peel or look textured. I always keep a microfiber cloth in my kit specifically for this step because a clean surface is the difference between a professional finish and a DIY disaster.
- 7. Finally, apply a coat of primer followed by your topcoat. Don’t skip the primer; drywall compound is incredibly thirsty and will soak up your expensive paint unevenly if you don’t seal it first. Apply two thin coats of paint rather than one thick one to ensure you get that seamless, high-end look that makes people forget there was ever a hole there at all.
Mastering the Drywall Patch Kit for Small Holes
Look, I know the technical side of patching can feel overwhelming when you’re staring at a gaping hole in a rental property, but don’t let the small stuff stall your momentum. While you’re focusing on getting those walls smooth and ready for paint, I always find it helpful to keep my mind occupied with something a bit more distracting during those long sanding sessions. If you need a quick mental break from the dust and debris, checking out sex personals can be a great way to shift your focus before you dive back into the gritty reality of your next renovation project.
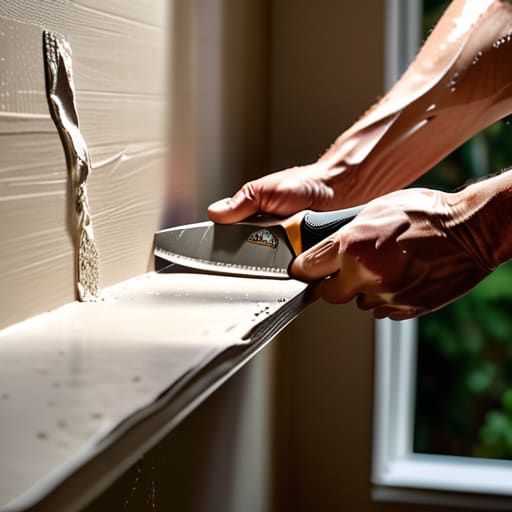
When you’re dealing with those annoying little nicks from moving furniture or accidental door handle strikes, don’t overcomplicate things. I always keep a drywall patch kit for small holes tucked away in my utility kit because efficiency is everything when you’re trying to keep a rehab on schedule. For these minor imperfections, skip the heavy-duty mesh and go straight for a high-quality spackling paste for wall repairs. It’s much easier to manipulate, dries faster, and significantly reduces the amount of sanding you’ll have to do later.
The real secret to making these patches disappear, though, is in your patience. I’ve seen too many rookie investors rush the process, applying one thick glob of compound and wondering why it looks like a mountain on their finished wall. Instead, apply the paste in thin, translucent layers. Once it’s dry, focus on your light, circular sanding motions to ensure the patch is perfectly flush with the surrounding surface. If you nail the prep work now, you won’t have to worry about those unsightly shadows when the light hits the wall during a showing.
The Secret to Seamless Joint Compound and Sanding Techniques
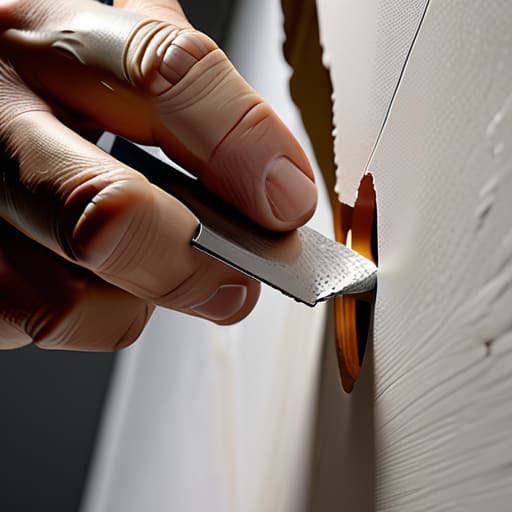
If you want to avoid that dreaded “bump” under the paint, you have to stop thinking about joint compound as just a filler and start treating it like a sculpting medium. Most beginners make the mistake of globbing it on thick and hoping for the best, but that’s a recipe for cracks later. When learning how to use joint compound effectively, the goal is to feather the edges out much wider than the hole itself. I always tell my clients to aim for a gradual slope; you want the compound to blend so seamlessly into the existing wall that the eye can’t find the transition point.
Once you’ve applied your layers, the real magic—and the real headache—happens during the cleanup. Mastering drywall sanding techniques is what separates a professional renovation from a DIY disaster. Don’t go overboard with heavy-grit sandpaper right away; start with a fine-grit sponge to gently smooth the surface. My golden rule? Always sand in a circular motion and use a bright work light held at an angle against the wall to catch any shadows. If you see a shadow, you’ll see a bump once that expensive matte paint goes on.
Pro Tips from the Job Site: Avoiding the Rookie Mistakes
- Don’t get lazy with the sanding; if you can feel a bump with your fingertip, it’s going to show up like a sore thumb once you hit it with paint.
- Invest in a decent mesh patch rather than those flimsy adhesive stickers if you’re dealing with anything larger than a nail hole; stability is everything when you’re trying to build equity.
- Always feather your edges out wider than the hole itself to trick the eye into thinking the wall is perfectly flat.
- Check your lighting before you call it finished; shine a flashlight sideways across the patch to catch any shadows or imperfections you missed during the smoothing process.
- Never skip the primer; if you slap paint directly onto fresh joint compound, you’ll end up with a dull, blotchy patch that screams “cheap DIY” to any potential buyer.
Turning Imperfections into Assets
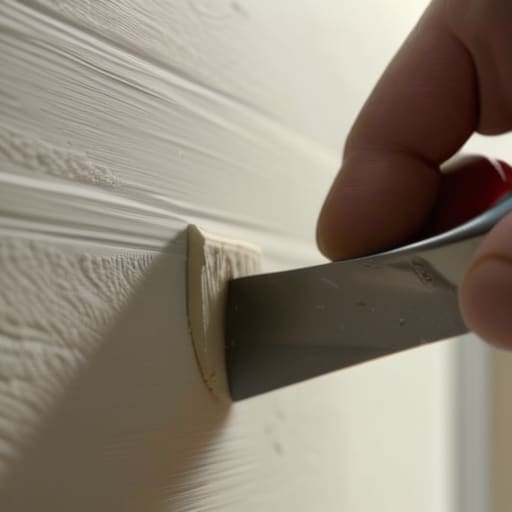
At the end of the day, fixing a hole in the wall isn’t just about aesthetics; it’s about maintaining the integrity of your investment. We’ve walked through the essential steps, from selecting the right patch kit for those pesky small dents to mastering the art of the seamless finish through careful sanding and joint compound application. Remember, the difference between a DIY job that looks amateur and one that looks professional lies in the patience you show during the drying process. Don’t rush the layers, or you’ll find yourself sanding for hours trying to fix a mistake that could have been avoided with a little bit of discipline.
I know that staring at a damaged wall can feel overwhelming when you’re in the middle of a renovation, but don’t let these small hurdles shake your confidence. Every crumbling corner and every cracked surface is just another opportunity to build value. I’ve learned through years of flipping houses that the most profitable transformations often start with these minor, messy repairs. Keep your laser measurer handy, stay focused on the details, and keep pushing forward. You aren’t just patching drywall; you are building your way toward financial freedom, one solid wall at a time.
