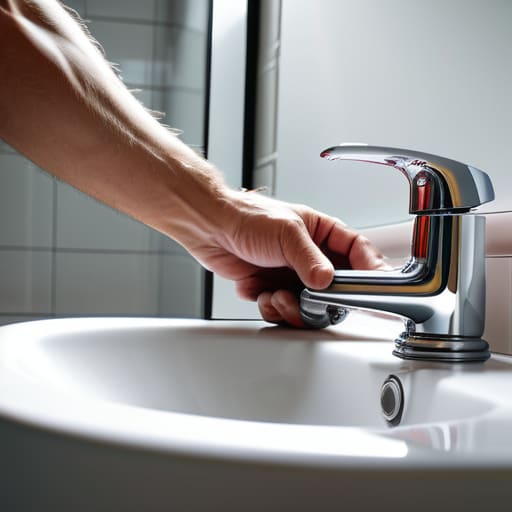
I was standing in the middle of a kitchen remodel last Tuesday, staring down at a puddle of grey, stagnant water pooling under a mid-century vanity, when it hit me: most people treat a sink drain replacement like a catastrophic plumbing emergency that requires a $300 emergency call-out fee. But here’s the truth—if you aren’t sweating over a corroded P-trap, you’re likely just throwing away your profit margins. I’ve learned the hard way that these little mechanical failures are nothing more than minor speed bumps on the road to a high-yield flip, provided you know exactly which parts to swap before the rot sets in.
In this guide, I’m stripping away the technical jargon and giving you the straight talk on how to tackle a sink drain replacement without losing your mind or your budget. I’ll walk you through the essential tools you actually need, how to spot a failing assembly before it causes water damage, and the exact steps to get everything sealed tight. My goal isn’t just to help you fix a leak; it’s to help you protect your equity by mastering the small, gritty details that turn a house into a professional-grade asset.
Table of Contents
- Step-by-Step Instructions
- Removing Old Sink Drain Without Damaging Your Investment
- The Precision of Replacing Kitchen Sink Strainer for Maximum Value
- Five Pro Moves to Keep Your Renovation on Track and Your Margins High
- Protecting Your Margins: The Bottom Line on Drain Replacement
- The Hidden Cost of Neglect
- Protecting Your Bottom Line
- Frequently Asked Questions
Guide Overview
Tools & Supplies
- Tongue-and-groove pliers for tightening slip nuts
- Basin wrench for reaching mounting nuts behind the sink
- Bucket to catch excess water from the trap
- Replacement sink drain assembly (1 unit)
- Plumber's putty (1 small tub)
- Teflon tape (1 roll)
Step-by-Step Instructions
- 1. First, clear out everything from under the sink so you actually have room to move. You can’t perform a precision rehab if you’re fighting against old cleaning supplies and half-empty bottles. Once the space is clear, grab a bucket and place it directly under the P-trap; you’re going to deal with a fair amount of standing water the moment you loosen those connections.
- 2. Loosen the slip nuts on the existing P-trap and the tailpiece using your tongue pliers or a large adjustable wrench. If you’re working on an older fixer-upper, these parts might be crusty with mineral buildup, so you might need to apply a little extra elbow grease to get them moving. Once the old trap is off, take a moment to inspect the pipes coming out of the wall to ensure they aren’t too corroded to reuse.
- 3. Now, tackle the sink strainer assembly itself. This is the part that actually connects to the sink basin, and it’s usually where the most stubborn leaks hide. Unscrew the large mounting nut underneath the sink, push the old strainer up through the hole, and scrape away any old, gummy plumber’s putty left behind. If you don’t get that surface perfectly clean, your new seal is going to fail, and a failed seal is just money down the drain.
- 4. Prep your new strainer by applying a fresh, even bead of plumber’s putty around the underside of the flange. Drop it into the sink hole, align it, and tighten the mounting nut from below. Don’t go overboard with the pressure—you just want a watertight seal without cracking the porcelain or stainless steel. Wipe away the excess putty that squeezes out around the top for a clean, professional finish.
- 5. Assemble your new tailpiece and P-trap components. I always recommend using new washers and slip nuts every single time; never try to “make do” with the old ones just to save five minutes. Thread the pieces together by hand first to avoid cross-threading, which is a rookie mistake that can ruin your new hardware instantly.
- 6. Give the slip nuts a final snugging with your wrench, but remember: hand-tight is often enough for plastic components. If you over-tighten, you risk cracking the nut, and suddenly your quick fix has turned into a costly replacement project.
- 7. The moment of truth: turn the water back on and run the faucet at full blast. Don’t just look at it; run your hand along the joints and the underside of the sink to feel for even the slightest hint of moisture. If it stays bone-dry, you’ve successfully protected your margins and can get back to the real work of flipping the property.
Removing Old Sink Drain Without Damaging Your Investment
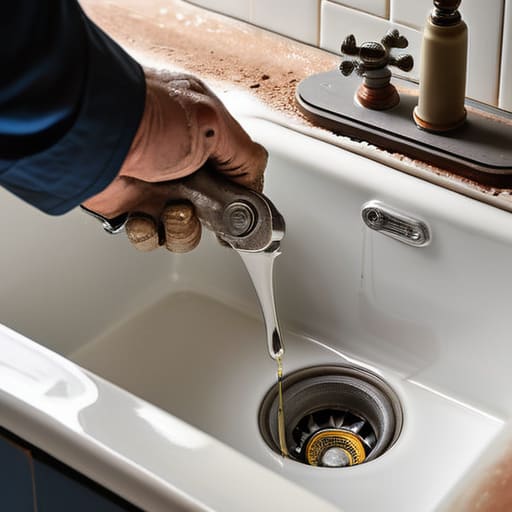
When you’re in the middle of a renovation, it’s easy to get impatient and just start cranking on a wrench, but that’s how you end up with a cracked porcelain basin or a mangled underside of a high-end sink. When it comes to removing old sink drain components, I always tell my clients to take a breath and assess the situation first. If the hardware is rusted or seized, don’t just force it; use a penetrating oil and let it sit. You aren’t just fixing a pipe; you’re protecting the integrity of the fixture you just spent a chunk of your budget on.
If you find yourself replacing kitchen sink strainer assemblies in an older unit, watch out for the old, crusty buildup around the flange. I’ve seen too many investors rush this step, only to realize they’ve left behind old sealant that will ruin their new installation. Use a plastic putty knife to scrape the surface clean until it’s smooth. If you don’t get that surface perfectly pristine, you’re essentially setting yourself up for a headache later when you try to figure out how to seal the drain properly.
The Precision of Replacing Kitchen Sink Strainer for Maximum Value
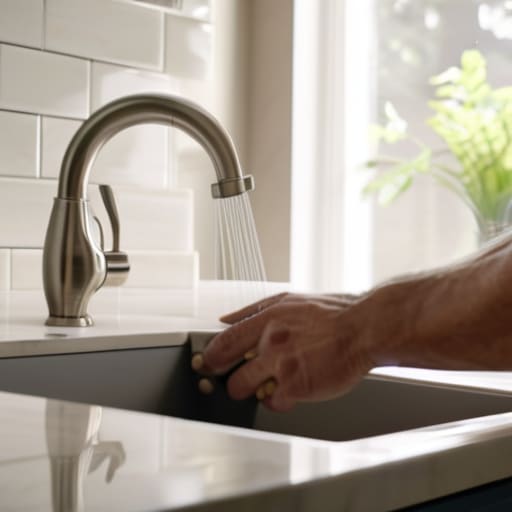
When you’re flipping a kitchen, people tend to focus on the quartz countertops or the custom cabinetry, but they often overlook the small, functional details that actually prevent future headaches. Replacing kitchen sink strainer components isn’t just about aesthetics; it’s about ensuring your high-end finishes aren’t ruined by a slow, hidden leak behind the cabinet. If you’re cutting it close on your renovation budget, don’t skimp here. A cheap, poorly seated strainer is a ticking time bomb for mold and structural rot.
I always tell my clients that the real secret to a professional-grade finish is knowing how to seal sink drain assemblies so they look as clean as they function. You need to ensure the plumber’s putty or the included rubber gasket is seated perfectly flush against the sink surface. If you rush the sink drain installation steps, you’re essentially inviting a callback from a frustrated buyer. Take the extra ten minutes to tighten everything down evenly; it’s a small investment of time that protects your margins and keeps your equity from literally leaking away.
Five Pro Moves to Keep Your Renovation on Track and Your Margins High
- Don’t skimp on the plumber’s putty; it’s a cheap material, but a poorly sealed strainer is a fast track to water damage that’ll eat your profits alive.
- Always inspect the underside of the sink for any signs of structural rot before you start swapping parts, because a new drain won’t fix a compromised basin.
- Grab a high-quality basin wrench from the hardware store instead of trying to muscle it with standard pliers; you’ll save your knuckles and avoid stripping the old hardware.
- Treat your P-trap like a litmus test for the rest of the plumbing; if it’s heavily corroded, don’t just patch it—plan for a more extensive pipe overhaul to protect your investment.
- Keep a bucket and some old rags within arm’s reach at all times, because nothing kills my momentum like a sudden puddle of stagnant water mid-repair.
Protecting Your Margins: The Bottom Line on Drain Replacement
Don’t let a cheap, poorly installed drain become a recurring headache; invest in quality components now to avoid costly water damage and lost equity later.
Precision is everything—whether it’s a kitchen strainer or a bathroom pop-up, a tight, professional seal is the difference between a polished renovation and a messy liability.
Treat every small plumbing fix as a strategic move to protect your asset, because small leaks are exactly how “minor” renovations turn into budget-killing disasters.
The Hidden Cost of Neglect
“In this business, people obsess over the granite countertops and the backsplash, but they forget that a $20 drain assembly is what actually protects your investment. Don’t let a cheap, corroded pipe turn a minor renovation into a catastrophic water damage claim that eats your entire profit margin.”
Gareth Trelawny
Protecting Your Bottom Line
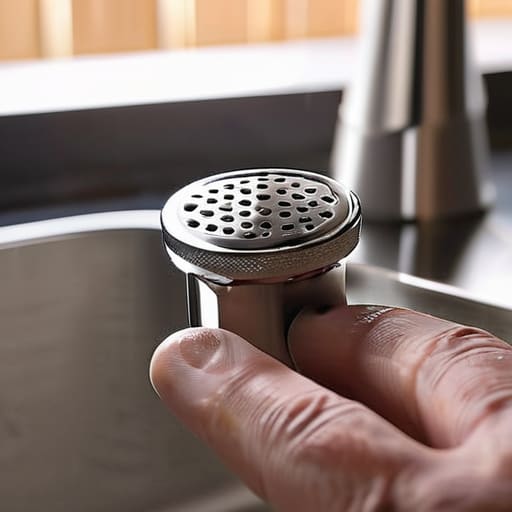
At the end of the day, replacing a sink drain isn’t just about stopping a leak; it’s about maintaining the integrity of your renovation. We’ve covered how to strip out the old, corroded hardware without causing a headache for your plumber, and how to install a high-quality strainer that actually looks like it belongs in a modern kitchen. Remember, the goal is to ensure every small repair contributes to the overall value of the property. If you cut corners on the plumbing, you’re just inviting a costly water damage claim that will eat directly into your projected profit margins before you even hit the market.
Don’t let these small, technical tasks intimidate you. I know it feels a bit daunting when you’re standing over a sink with a pile of parts, but these are the exact moments where real investors are made. Every time you master a task like this, you’re gaining a new tool in your kit to build your empire. Keep your eyes on the prize and stay focused on the long-term equity you are creating with every single fix. You aren’t just swapping out pipes; you are building a legacy, one solid renovation at a time.
Frequently Asked Questions
How do I know if I can just swap the drain assembly or if I'm looking at a much more expensive plumbing overhaul?
Here’s the deal: if the leak is coming from the flange or the gasket, a simple assembly swap will save your margins. But if you see water pooling inside the cabinet or notice the floorboards feeling soft, stop immediately. That’s not a drain issue; that’s a pipe failure behind the wall. Don’t guess—if the actual copper or PVC lines are corroded, you’re looking at a plumber and a much bigger budget hit.
Are there specific types of gaskets or sealants I should prioritize to ensure I'm not dealing with a leak six months after the flip?
Look, I’ve seen too many flippers cut corners with cheap silicone only to deal with a callback six months later. Don’t do that to yourself. Prioritize high-quality plumber’s putty for the strainer flange—it’s a classic for a reason. For the slip joints, stick to thick, tapered rubber washers. If you’re dealing with uneven surfaces, a bead of high-grade, non-shrinking sealant is your best friend. Do it right once; protect your margins.
When am I hitting the point of diminishing returns where I should stop DIYing the plumbing and just call in a professional to protect my margins?
Look, I’m all for getting your hands dirty to save a buck, but know your limits. If you’re staring at a corroded shut-off valve that won’t budge, or if you realize the issue is deep inside the wall rather than just a simple P-trap, stop. Once a “quick fix” threatens to turn into a flood or requires tearing out more drywall than you budgeted for, call a pro. Protecting your margins means knowing when to outsource.
