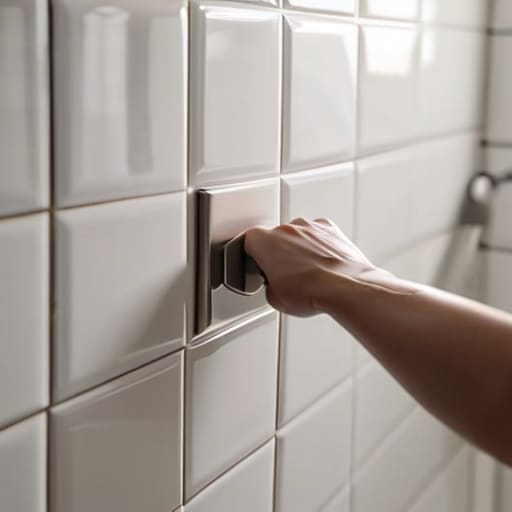
I was standing in a half-gutted master bath last Tuesday, staring at a crooked, flimsy piece of chrome that looked like it was held up by nothing but hope and a prayer. It’s a classic mistake I see in every “lipstick on a pig” flip: the owner spends thousands on custom tile but treats the towel bar installation like an afterthought, slapping it onto drywall with cheap plastic anchors that pull out the second a damp towel touches them. If you want to build real equity, you have to stop treating the small hardware like it’s optional; those tiny details are exactly what make a space feel expensive rather than just renovated.
In this guide, I’m stripping away the fluff and giving you the actual, boots-on-the-ground method for getting it right the first time. I’ll show you how to locate your studs, which anchors won’t fail you when the humidity hits, and how to ensure your hardware is perfectly level every single time. No fancy contractor jargon here—just the straightforward, practical steps you need to turn a basic bathroom into a polished, high-value asset.
Table of Contents
- Step-by-Step Instructions
- Precision Matters Mastering Stud Finder Usage and Securing Racks
- Avoiding the Mess Drywall vs Tile Installation Secrets
- Pro Tips for a Finish That Actually Holds Up
- The Bottom Line: Turning Hardware into Equity
- ## Why the Little Things Are Actually Big Things
- The Final Polish
- Frequently Asked Questions
Guide Overview
Tools & Supplies
- Drill and drill bits for creating pilot holes
- Level to ensure the bar is straight
- Screwdriver to tighten mounting screws
- Pencil to mark drilling locations
- Towel bar kit including bar and mounting hardware
- Wall anchors if not installing into studs
- Measuring tape for precise placement
Step-by-Step Instructions
- 1. Grab your laser measurer and a level—you’re going to need them. First, decide exactly where that bar is going to live. I always aim for about 48 inches from the floor, but you need to check the surrounding fixtures first. You don’t want a towel bar hanging awkwardly high next to a vanity or too low where it’s just going to get hit by the kids. Once you’ve picked the spot, use a pencil to mark the center point of where the bar will sit.
- 2. This is where most DIYers mess up: finding the studs. Don’t just wing it and hope for the best. Use a stud finder to locate the vertical wood supports behind your drywall. If you can hit a stud, you’re golden, and you won’t have to worry about the bar ripping out of the wall the first time someone grabs a heavy bath towel. If the layout doesn’t line up with your studs, you’ll need to grab some heavy-duty drywall anchors to ensure everything stays secure.
- 3. Once you’ve found your mounting points, mark the exact holes. Take your mounting template (if the manufacturer provided one) or just use the brackets themselves to mark the screw locations. I highly recommend using a spirit level here. There is nothing more amateur than a crooked towel bar in a high-end renovation, and once that hole is drilled, there’s no easy way to undo the damage.
- 4. Time to get a little dusty. Drill your pilot holes into your marks. If you’re going into a stud, use a bit that’s slightly smaller than your screw to prevent the wood from splitting. If you’re using anchors because you missed a stud, make sure you drill a hole that perfectly fits the diameter of the anchor. If the hole is too big, the anchor will just spin in the wall like a loose tooth, and you’ll be back at the hardware store.
- 5. Now, screw in your mounting brackets. If you’re using anchors, tap them into the holes with a hammer until they’re flush with the wall. Then, drive your screws through the brackets. I always check the tension here; you want them tight against the wall but not so forced that you crack the ceramic tile or the drywall.
- 6. The home stretch: attaching the bar itself. Most modern hardware comes with a small set screw on the bottom of the decorative flange. Slide the bar onto the mounting brackets, and once it’s seated flush against the wall, use a screwdriver (or an Allen wrench) to tighten that set screw. This keeps the bar from wobbling or sliding off when someone uses it.
- 7. Finally, do a quick “stress test.” Give the bar a firm tug to make sure it’s not budging. If it feels solid, you’re done. In a flip, these little details are what make a buyer feel like the house was built with intention rather than just slapped together. Check the alignment one last time, and move on to the next task on your list.
Precision Matters Mastering Stud Finder Usage and Securing Racks
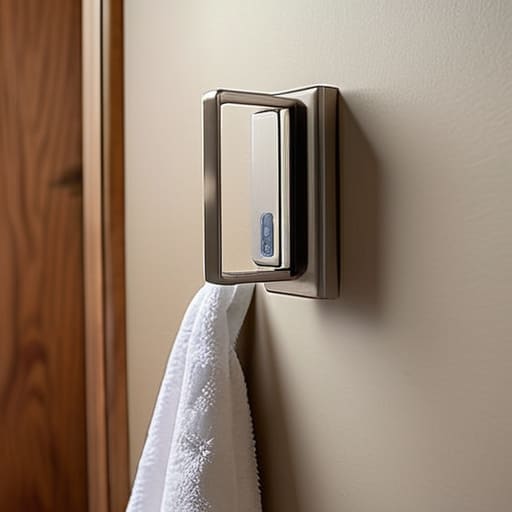
Look, I’ve seen too many beautiful, high-end flips ruined by a single piece of hardware ripping out of the wall six months after closing. If you’re just hanging a towel bar in your own master bath, maybe you can get away with plastic anchors, but if you’re prepping a property for market, you need to play for keeps. Proper stud finder usage is the difference between a professional finish and a DIY disaster. I never trust my eyes or a “feeling” when it comes to what’s behind the surface; I find the studs, mark them clearly, and ensure I’m hitting solid wood every single time.
When you’re dealing with the nuances of drywall vs tile installation, the stakes get even higher. Drilling into tile is nerve-wracking for anyone, but if you miss the mark or fail at securing towel racks to wall properly, you’re looking at expensive cracks and a massive headache. I always keep my laser measurer handy to ensure my measuring mounting height is consistent across the entire suite. It sounds obsessive, but consistency is what creates that high-end, custom feel that buyers crave.
Avoiding the Mess Drywall vs Tile Installation Secrets
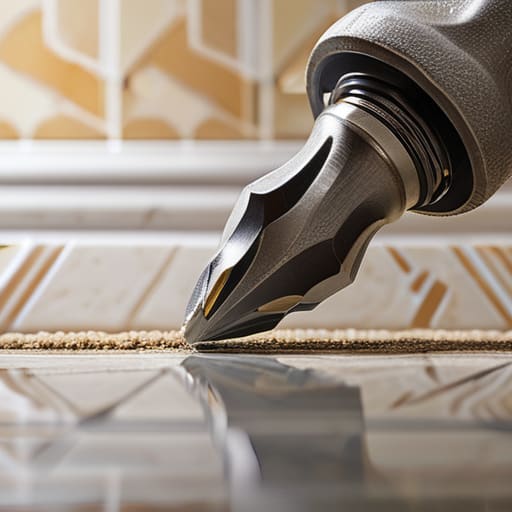
Here’s the real truth: the approach you take depends entirely on what’s hiding behind that surface. When you’re dealing with drywall vs tile installation, the margin for error shrinks significantly once you hit the tile. On a standard drywall wall, you have a bit of breathing room to reposition if your measurements are off by a fraction. But once you’re drilling into ceramic or porcelain, there is no “undo” button. One slip of the bit and you’ve cracked a beautiful, expensive tile, which is a nightmare for your renovation budget and your timeline.
To avoid a costly mistake, I always recommend using a masonry bit and a piece of painter’s tape over the drill site to prevent wall damage and keep the bit from skidding. If you’re securing towel racks to wall surfaces that are tiled, don’t just wing it. Take the time to mark your holes precisely. I’ve seen too many rookies rush through a flip only to realize they’ve ruined a fresh backsplash because they didn’t respect the material. Slow down, steady your hand, and treat that tile with respect.
Pro Tips for a Finish That Actually Holds Up
- Don’t just eyeball the height. I always pull my laser measurer out to ensure the bar is perfectly level and sits at a consistent height across the entire bathroom; nothing screams “cheap flip” like a crooked towel rack.
- If you aren’t hitting a stud, don’t you dare use those cheap plastic plugs that come in the box. Grab some heavy-duty toggle bolts instead—they’ll actually hold the weight of a thick, damp bath towel without ripping a hole in your drywall.
- Plan your layout around the vanity and the shower exit. A towel bar is useless if it’s positioned in a way that makes grabbing a towel a gymnastic feat, so measure the “reach” before you drill any holes.
- Watch your spacing when working near tile. If you’re mounting near a tiled backsplash, use a diamond-tipped drill bit and a bit of painter’s tape to prevent the bit from skidding and cracking your expensive new tile.
- Always check your hardware for “play” before you call the job done. Give the bar a firm tug; if it wobbles even a millimeter, it’s going to feel flimsy to a potential buyer, and you want every detail to scream quality and stability.
The Bottom Line: Turning Hardware into Equity
Never trust a drywall anchor alone if you can help it; if you’re looking to avoid a “callback” or a broken fixture during a walkthrough, always aim for the studs or use heavy-duty toggles.
Don’t let a $20 piece of hardware look cheap—spend the extra few minutes ensuring it’s perfectly level, because in a high-end flip, crooked details signal a sloppy renovation to potential buyers.
Plan for the surface before you drill; knowing whether you’re hitting drywall or tile dictates your entire approach, and nothing kills my momentum like a cracked tile because I rushed the prep work.
## Why the Little Things Are Actually Big Things
“When you’re flipping a house, buyers don’t care about the expensive marble if the towel bar is wobbling every time they touch it. It’s those tiny, tactile details—the stuff that feels solid and intentional—that turn a house into a high-value asset.”
Gareth Trelawny
The Final Polish
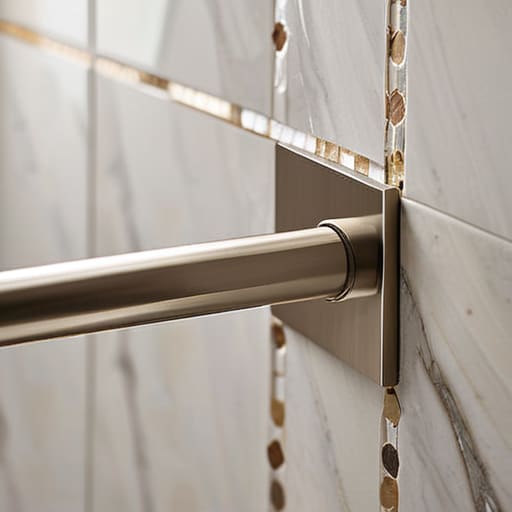
At the end of the day, a successful towel bar installation isn’t just about sticking a piece of metal to a wall; it’s about the discipline of the details. We’ve covered the heavy lifting—from the non-negotiable necessity of hitting those studs to ensure the hardware doesn’t rip out of the drywall, to navigating the tricky transition between tile and plaster. If you take the time to measure twice and anchor deep, you avoid the cheap, flimsy feel that screams “amateur renovation.” Remember, these small, functional touches are exactly what separate a high-end flip from a mediocre rental. When a potential buyer walks into a bathroom and sees hardware that feels solid and intentional, they stop seeing a fixer-upper and start seeing a home.
Don’t let these minor tasks intimidate you. I know it can feel tedious to obsess over a few inches of placement or the specific type of anchor required, but that is where the real equity is built. Real estate investing is a game of margins, and those margins are found in the precision of your execution. Every time you master a small task like this, you’re adding another tool to your kit and another layer of confidence to your portfolio. Stop looking at the crumbling walls and start seeing the finished product. Grab your laser measurer, get to work, and let’s turn those small details into measurable profit.
Frequently Asked Questions
My walls are just thin drywall and I can't find a stud anywhere; should I use heavy-duty anchors or just skip it?
Look, don’t skip it, but don’t just wing it either. If you’re staring at thin drywall and no studs in sight, skip the cheap plastic plugs—they’ll pull right out and leave a crater. Grab some heavy-duty toggle bolts instead. They grip the back of the drywall to distribute the weight. It’s a bit more work, but in this business, we build for longevity, not just for today.
Is it worth spending the extra cash on a premium brushed nickel finish, or will a cheaper hardware set look just as good once the renovation is done?
Look, I’m all about maximizing ROI, not wasting money on vanity. If you’re doing a quick rental flip, go with the budget option—nobody’s inspecting the finish under a magnifying glass. But if you’re building equity in a high-end resale, spend the extra cash on that premium brushed nickel. Cheap hardware looks “shiny” in a bad way and peels after a year. In a polished renovation, those small, tactile details are what sell the dream.
If I'm installing these in a rental property, how do I make sure they stay secure enough for heavy, wet towels without constant maintenance?
If you’re managing a rental, you can’t afford to be fixing loose hardware every three months. Forget those flimsy adhesive strips; they’re a nightmare for long-term maintenance. You need to find the studs. If the layout doesn’t line up perfectly with your framing, use heavy-duty toggle bolts rather than cheap plastic anchors. It’s a bit more work upfront, but it ensures those heavy, damp towels won’t rip the fixture right out of the drywall.
