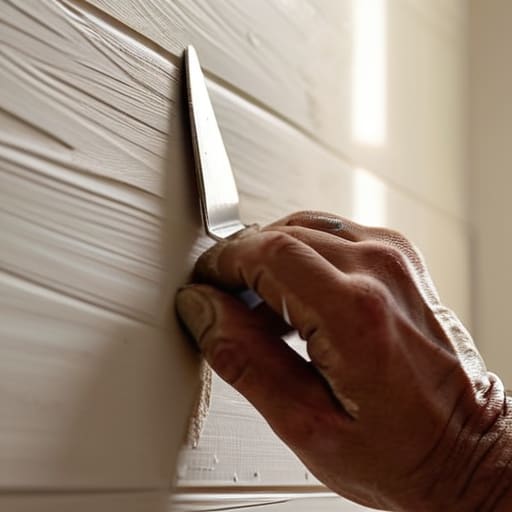
I was standing in the middle of a fixer-upper in East Austin last July, staring at a wall that looked fine under the dim light of a single bulb, only to watch it look like a total disaster once the afternoon sun hit it. I had just spent three days’ worth of profit on premium eggshell paint, but because I’d rushed the wall painting prep, every single hairline crack and patch job was screaming for attention. It was a heartbreaking moment of realization: you can buy the most expensive designer pigment on the market, but if your foundation is garbage, your finish will be too. You aren’t just painting a room; you are protecting your investment.
I’m not here to give you some fluff-filled, Pinterest-perfect tutorial that ignores the grit and the grime. Instead, I’m going to walk you through the exact, unglamorous workflow I use on my own job sites to ensure a flawless finish every single time. We’re going to cover everything from the right way to sand down old textures to the specific cleaning steps that prevent peeling. By the time we’re done, you’ll know how to turn a cracked, dingy surface into a professional-grade canvas that actually adds value to your property.
Table of Contents
- Step-by-Step Instructions
- A Brutal Wall Surface Inspection to Find Hidden Flaws
- Degreasing Wall Surfaces and Removing Old Paint Flakes
- Don't Cut Corners: 5 Prep Hacks to Save Your Profit Margin
- The Bottom Line: Don't Let Lazy Prep Kill Your ROI
- ## The Cost of Cutting Corners
- Don't Cut Corners on the Foundation
- Frequently Asked Questions
Guide Overview
Tools & Supplies
- Sandpaper (medium to fine grit for smoothing surfaces)
- Painter's tape (to protect edges and trim)
- Putty knife (for applying filler to holes)
- Microfiber cloth (for removing dust)
- Drop cloth (to protect flooring)
- Spackle (1 small tub for hole repair)
- All-purpose cleaner (1 bottle for washing walls)
- Tack cloth or damp sponge (1 unit for dust removal)
- Painter's tape (1-2 rolls)
Step-by-Step Instructions
- 1. First things first, you need to clear the deck. I can’t stress this enough: move every single piece of furniture out of the room if you can. If you’re dealing with heavy pieces, drag them to the center and cover them with heavy-duty plastic sheeting. Don’t just throw a thin sheet over them; you want to actually protect your investment from the inevitable paint splatter that happens when you’re working fast.
- 2. Next, grab a vacuum with a brush attachment and get those baseboards, corners, and crown moldings spotless. If you try to paint over a layer of dust, your new finish is going to look like sandpaper by next week. I always keep a high-powered shop vac on my job sites because dust is the enemy of a professional-grade finish.
- 3. Now we get into the real work: patching the scars. Take your putty knife and go over every nail hole, hairline crack, and dent left by previous tenants. I prefer using a lightweight spackle for small holes, but if you’re dealing with deep gouges in old plaster, you’ll need something more substantial. Once it’s on, let it dry completely before you even think about sanding it down to a flush, seamless surface.
- 4. Once your patches are dry, it’s time to sand. Use a fine-grit sanding sponge to smooth out those patches and any rough spots on the wall. This is the part where most amateurs get lazy, but if you don’t sand those transitions until they’re invisible to the touch, they will show up like a sore thumb once the light hits the fresh paint. Keep a damp microfiber cloth handy to wipe away the sanding dust immediately after you’re done.
- 5. Don’t skip the tape, but do it right. Apply high-quality painter’s tape along your baseboards, window frames, and ceiling edges. I’ve seen too many people try to save a few bucks on cheap tape, only to end up with jagged, bleeding lines that make a room look amateurish. Press the edge of the tape down firmly with your finger or a plastic tool to ensure a perfect, airtight seal before you dip your brush.
- 6. Finally, if you’re working on a wall that’s had a major color change or has stubborn stains, you need to prime. Priming isn’t just an extra step; it’s the foundation of your entire project. It seals the surface and ensures your expensive topcoat goes on evenly. If you skip this on a dark-to-light transition, you’ll find yourself doing three extra coats of paint, and that is just throwing your profit margins in the trash.
A Brutal Wall Surface Inspection to Find Hidden Flaws
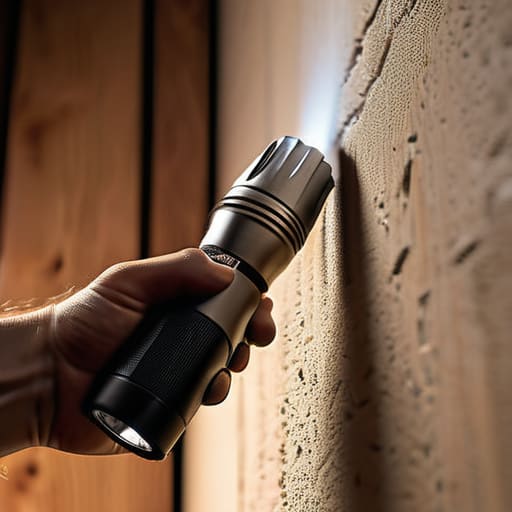
Before you even think about opening a can of premium satin finish, you need to get up close and personal with those walls. I’m talking about a deep, manual wall surface inspection that goes way beyond a casual glance from the doorway. Grab a high-lumen flashlight and shine it at an angle across the surface; this is the only way to catch those subtle undulations or hairline fractures that will look like absolute canyons once the new paint hits them. If you’re working in a kitchen or a high-traffic hallway, don’t skip the step of degreasing wall surfaces with a mild solution. Any lingering oils or fingerprints will act like a repellent, causing your new coat to bead up or peel within months—and trust me, nobody wants to pay for a redo.
While you’re hunting for flaws, keep a sharp eye out for any loose bits. You’ll spend a good chunk of time removing old paint flakes that have lost their grip, otherwise, you’re just painting over a disaster waiting to happen. It’s tedious, gritty work, but it’s the difference between a professional-grade finish and a DIY nightmare.
Degreasing Wall Surfaces and Removing Old Paint Flakes
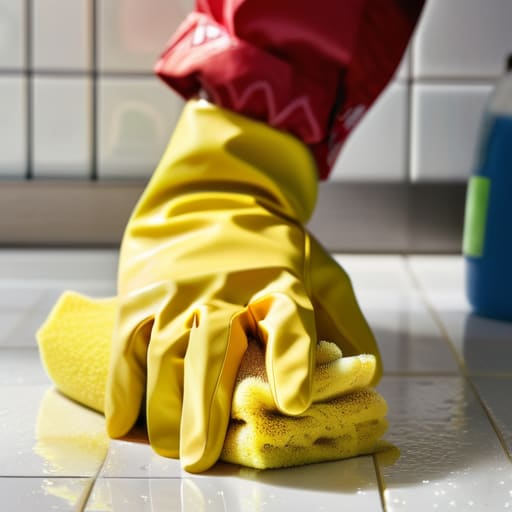
Once you’ve finished your inspection and identified the damage, it’s time to get your hands dirty. If you’re working in a kitchen or a high-traffic hallway, you can’t just sail over the grime. I’ve seen too many rookies try to paint directly over a layer of cooking grease or finger oils, only to watch their expensive new finish bubble and peel within six months. You need to prioritize degreasing wall surfaces with a heavy-duty TSP solution before you even think about a roller. If the surface isn’t chemically clean, your new coat is basically just sitting on top of a film rather than bonding to the structure.
While you’re at it, don’t ignore the loose bits. Removing old paint flakes is tedious, but it’s non-negotiable. Use a stiff putty knife to scrape away anything that’s losing its grip; if you leave those flakes, they’ll eventually pull your new paint down with them. Once the surface is stripped and scrubbed, make sure you’re using proper dust removal techniques like a vacuum with a HEPA filter or a damp microfiber cloth. Leaving grit behind is the fastest way to ruin a smooth finish and waste your profit margins.
Don't Cut Corners: 5 Prep Hacks to Save Your Profit Margin
- Stop treating caulk like an afterthought; run a bead along every single corner and trim line to seal those gaps, or you’ll be staring at ugly black cracks the second the new paint dries.
- Get a high-quality primer that actually does the heavy lifting, especially if you’re covering up stains or dark colors—skipping a good primer is the fastest way to watch your expensive finish coat fail.
- Sanding isn’t just for smoothing out bumps; you need to lightly scuff up any existing glossy paint so your new layer actually has something to grab onto instead of just sliding off in sheets.
- Protect your investment by being aggressive with painter’s tape and drop cloths; I’ve seen too many rookies ruin a perfectly good hardwood floor because they thought a single sheet of paper was “enough” protection.
- Check your lighting before you call it a day—use a high-lumen work light to sweep across the walls at an angle so you can catch the imperfections and divots that your eyes naturally want to ignore in normal daylight.
The Bottom Line: Don't Let Lazy Prep Kill Your ROI
If you skip the deep clean and the heavy sanding, your expensive new paint job will look like a cheap DIY disaster within six months, and buyers will smell the lack of quality from a mile away.
Treat wall inspection like a forensic investigation; finding a hidden crack or a patch of moisture now saves you from a massive, profit-eating repair job after you’ve already closed the deal.
View prep work as the foundation of your equity—you aren’t just “cleaning walls,” you’re ensuring the finish is flawless enough to command a premium asking price.
## The Cost of Cutting Corners
If you think you’re saving time by skipping the sanding and the degreasing, you aren’t being efficient—you’re being reckless. In this business, your profit lives in the details, and nothing kills your ROI faster than a peeling, uneven finish that screams ‘amateur’ to every potential buyer.
Gareth Trelawny
Don't Cut Corners on the Foundation
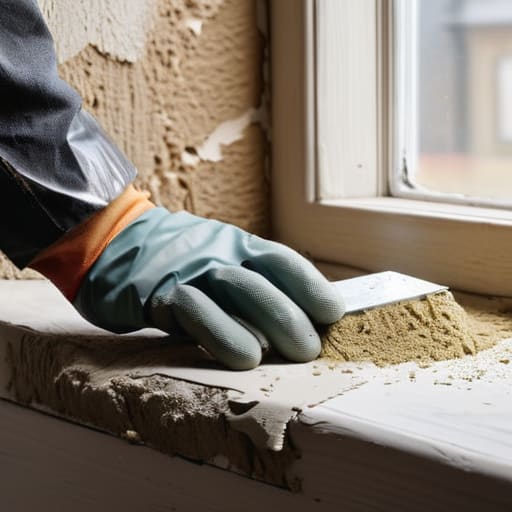
Look, I know it’s tempting to skip the heavy lifting and jump straight to the fun part—the color. But if you haven’t scrubbed the grease away, patched those deep cracks, or sanded down the old flakes, you’re essentially building a house on sand. All that time and money you spend on high-end designer paint won’t mean a thing if the finish starts peeling in six months because you were too lazy to do the prep. Treat your wall preparation like a non-negotiable investment; it’s the difference between a professional-grade renovation and a DIY disaster that eats away at your margins.
At the end of the day, real estate isn’t about luck; it’s about the discipline to do the unglamorous work that others overlook. Every minute you spend meticulously prepping a surface is a minute spent protecting your equity. When you walk into a room that you’ve transformed from a crumbling mess into a polished, high-value asset, you’ll realize that the sweat equity was worth every second. Stop looking for the easy way out and start building something that actually lasts. You’ve got the vision—now go out there and execute.
Frequently Asked Questions
If I find deep cracks or holes while I'm inspecting, should I use standard spackle or do I need something heavy-duty to prevent them from reappearing?
If you reach for standard spackle for a deep crack, you’re essentially setting yourself up for a callback. Spackle is fine for tiny nail holes, but it shrinks as it dries, which means that crack will be staring back at you in a month. For anything substantial, grab a lightweight joint compound or a setting-type compound. It’s more work, but it stays structurally sound so your equity doesn’t literally crack under pressure.
How do I know if the old paint is actually stable enough to paint over, or am I looking at a full-scale scraping job to avoid a disaster?
Grab a putty knife and give the wall a firm scrape. If the paint peels off in large, stubborn chunks or leaves a powdery residue behind, it’s failing. That’s not a “quick coat” situation; that’s a full-scale scraping job. If the paint stays put and only gives way under real pressure, you’re likely safe to prime and paint. Don’t gamble on a cheap fix—if the base layer is flaky, your new finish will follow suit.
Is it worth my time and money to sand down the entire wall after cleaning it, or can I just move straight to priming once the grease is gone?
Look, I get the temptation to skip this to save a few bucks and an afternoon, but don’t do it. If you jump straight from degreasing to priming, you’re essentially building a house on sand. You need to sand. It’s about creating “tooth”—that microscopic texture that allows the primer to actually bite into the surface. Skip the sanding, and you’ll be watching your expensive new finish peel off in sheets six months from now.
