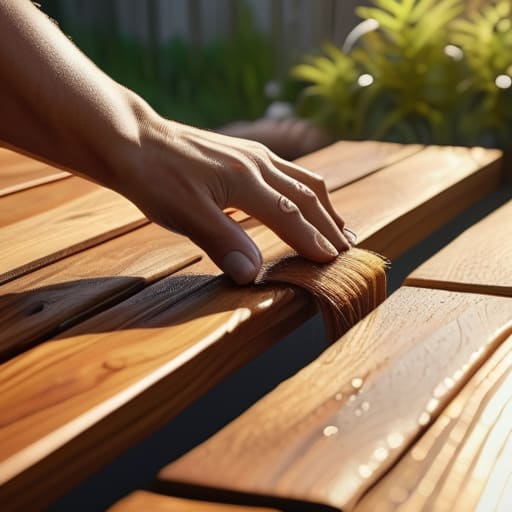
I was standing on a fixer-upper in the suburbs last June, staring at a backyard that looked more like a graveyard for splintered wood than an outdoor oasis. The previous owner had clearly thought they could skip the prep work, leaving a gray, weathered mess that was actively eating away at the property’s resale value. Most people think deck staining is just a weekend cosmetic fix you can slap on to hide some age, but if you don’t respect the process, you’re just painting over a disaster. I’ve seen too many investors lose money because they treated a structural maintenance task like a quick DIY craft project.
In this guide, I’m cutting through the fluff to show you how to do this the right way—the way that actually protects your equity. I’m going to walk you through the gritty details of cleaning, sanding, and choosing the right products so you don’t end up with a peeling nightmare in six months. We aren’t just looking for a pretty color; we are looking for long-term durability. If you want to turn a neglected outdoor space into a high-value asset, you need to follow these steps.
Table of Contents
- Step-by-Step Instructions
- How to Prep Deck for Staining and Avoid Costly Mistakes
- Choosing the Best Wood Stain for Decks to Prevent Wood Rot
- Pro Tips to Protect Your Margin and Your Deck
- The Bottom Line: Protect Your Equity, Not Just Your Wood
- The ROI of a Good Stain
- Protecting Your Investment from the Ground Up
- Frequently Asked Questions
Guide Overview
Tools & Supplies
- Pressure washer to clean wood surfaces
- Brushes and rollers for application
- Sandpaper for smoothing rough spots
- Wood stain (2-3 gallons depending on area)
- Deck cleaner or brightener (1 gallon)
- Painter's tape for edges
Step-by-Step Instructions
- 1. First, you have to be brutally honest with yourself about the condition of the wood. Grab a screwdriver and try to poke it into the surface; if it sinks in easily, you aren’t looking at a staining project, you’re looking at a total replacement. If the wood is solid but just looks tired, grab a pressure washer and clean the hell out of it to remove all that built-up grime and old, peeling sealer.
- 2. Once the deck is clean, you need to give it time to breathe. I never, ever try to stain a deck while it’s still damp from a wash. You need to wait at least forty-eight hours of dry weather to ensure the moisture levels are low enough for the stain to actually bond with the fibers, otherwise, you’re just wasting your money and your time.
- 3. Now comes the tedious part: sanding. If you want that high-end, professional finish that actually drives up property value, you can’t skip this. Use a random orbital sander to smooth out the grain and open up the pores of the wood. It’s a massive pain in the neck, but it’s the difference between a finish that lasts three years and one that lasts ten.
- 4. Before you even touch a brush to the wood, take a piece of masking tape and apply it to a small, inconspicuous area. This is your “test patch.” Apply the stain and see how it reacts; you might find that the color looks way darker once it actually hits the grain. It’s much better to realize the color is too aggressive now rather than halfway through a fifty-foot deck.
- 5. When you’re ready to go in, start with the railings and any intricate trim work before moving to the main floorboards. I prefer using a high-quality brush for the edges to avoid drips, but for the large flat surfaces, a roller or a sprayer can save you a lot of sweat. Always work with the grain of the wood to prevent those ugly streaks that scream “amateur hour.
- 6. Don’t get greedy with the application. One of the biggest mistakes I see rookie flippers make is trying to glob on thick layers of stain to get more coverage. That’s a recipe for a sticky, peeling mess. Apply thin, even coats, and if the manufacturer says you need two, don’t try to cut corners by only doing one.
- 7. Finally, keep the kids and the pets off the deck until it is completely cured. Check the weather forecast like it’s your job; if you see even a hint of rain in the next 24 hours, abort the mission. You want that finish to set perfectly so you can start thinking about how to stage the space and maximize your ROI.
How to Prep Deck for Staining and Avoid Costly Mistakes
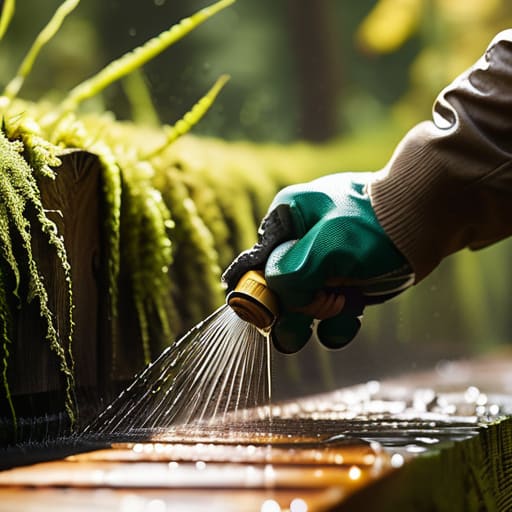
Listen, I’ve seen too many investors blow their margins because they rushed the prep work. You can buy the most expensive cans on the market, but if you slap them over dirt and loose fibers, you’re just throwing money down the drain. Learning how to prep deck for staining is actually more important than the application itself. Start by giving the wood a deep clean with a dedicated deck cleaner to kill those mold spores. If you skip this, you aren’t just staining a deck; you’re essentially sealing in rot.
Once it’s clean and bone-dry, it’s time to talk about texture. I always recommend a light pass with a random orbital sander to open up the wood grain. Using proper deck sanding techniques ensures the pigment actually penetrates the fibers rather than just sitting on top like a cheap film. If the surface is too smooth, the stain won’t bite; if it’s too rough, it’ll look amateur. Get that surface consistent, and you’ll ensure your finish looks intentional, not accidental.
Choosing the Best Wood Stain for Decks to Prevent Wood Rot
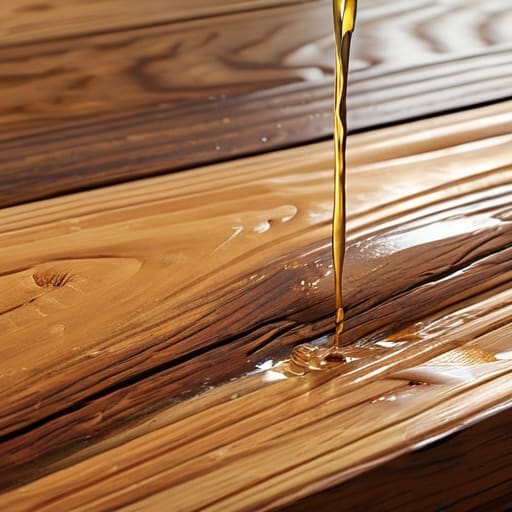
When you’re standing in the middle of a hardware aisle, the sheer volume of options can feel overwhelming, but don’t let choice paralysis stall your project. If your goal is long-term protection, you need to understand the fundamental difference between stain vs sealer for wood. A sealer is essentially a topical shield that sits on the surface, while a stain actually penetrates the fibers. For most of my flips, I lean toward semi-transparent oil-based stains. They soak deep into the grain, which is crucial for preventing wood rot on decks by stopping moisture from getting trapped underneath the finish.
If you’re dealing with a high-traffic area or a property you plan to list soon, look for high-quality pigments. These don’t just look better; they provide essential UV protection to keep the sun from bleaching your investment. I always tell my clients that skimping on the quality of your product is a rookie mistake that leads to peeling within a single season. Investing in the best wood stain for decks might cost a few extra dollars upfront, but it’s a small price to pay to avoid a total structural headache down the road.
Pro Tips to Protect Your Margin and Your Deck
- Check the weather forecast like it’s a closing date; you need at least a 48-hour window of dry weather to ensure the stain actually penetrates the wood instead of just sitting there waiting to wash away in a downpour.
- Don’t just eyeball the coverage—calculate your square footage and buy more stain than you think you need, because running out mid-job leads to uneven patches that look amateur and tank your property’s perceived value.
- Test your stain on a small, inconspicuous corner first to see how the color actually reacts with the specific grain of your wood, rather than trusting the swatch on the can.
- Avoid the temptation to stain when the wood is bone-dry and baked by midday sun; wait for a temperate day so the wood doesn’t suck the moisture out of the stain too fast, which leads to a patchy, uneven finish.
- Always work in small, manageable sections and “back-brush” the stain into the cracks and crevices, otherwise you’re just painting the surface and leaving the structural parts of the timber vulnerable to rot.
The Bottom Line: Protect Your Equity, Not Just Your Wood
Don’t skip the prep work; if you try to slap stain over dirt or old, peeling layers, you’re essentially throwing money down the drain and inviting rot to move in.
Invest in a high-quality stain that actually penetrates the grain rather than just sitting on top, because a cheap product will fail long before your next renovation cycle.
Treat your deck like any other high-value asset in your portfolio—regular maintenance is significantly cheaper than a full structural replacement when the wood finally gives out.
The ROI of a Good Stain
“I’ve seen too many investors overlook a graying, splintering deck and assume it’s a structural disaster, but half the time, it’s just a maintenance oversight. A strategic stain isn’t just about aesthetics; it’s about protecting your equity and making sure a $50 can of sealant doesn’t turn into a $5,000 lumber replacement.”
Gareth Trelawny
Protecting Your Investment from the Ground Up
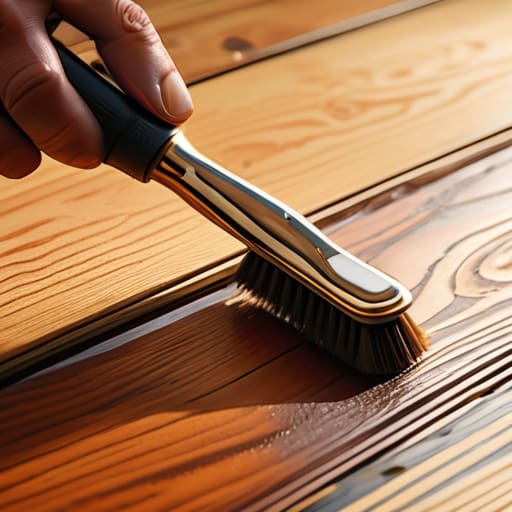
At the end of the day, staining a deck isn’t just about making the wood look pretty for a summer BBQ; it’s about preventing expensive structural failure down the line. We’ve covered the essentials: you can’t skip the prep work, you have to choose a stain that actually penetrates the grain rather than just sitting on top, and you absolutely cannot ignore the signs of rot before you start. If you cut corners on the cleaning phase or pick a cheap, low-grade sealer, you’re essentially throwing money down the drain when that wood starts graying and splintering in six months. Do the job right the first time so you can focus on your next project instead of playing catch-up with a decaying outdoor space.
I know that a weekend spent scrubbing wood and applying coats can feel tedious, but that’s exactly where the profit is made. In my experience, the difference between a mediocre flip and a high-margin asset often comes down to these exact types of details. It’s about seeing the potential in a weathered backyard and having the discipline to execute the maintenance that preserves value. Don’t let a neglected deck be the reason a buyer passes on your property. Put in the sweat equity now, and you’ll be reaping the rewards of a solid, high-value asset for years to come.
Frequently Asked Questions
How often do I actually need to re-stain the deck before the wood starts taking real damage?
Look, I don’t believe in doing things twice just for the sake of it—that’s wasted capital. Generally, you’re looking at a one-to-two-year cycle for high-traffic areas and about every three years for everything else. My rule of thumb? Grab a cup of water and splash it on the wood. If it beads up, you’re golden. If it soaks in immediately, stop procrastinating and get that stain on before you’re paying for structural repairs.
Is it worth paying for a professional crew, or can I realistically knock this out myself without ruining the finish?
Look, if you’re looking to save a few bucks for your next down payment, you can definitely DIY this—provided you don’t skip the prep work. If you have the patience for the sanding and cleaning, go for it. But if the deck is massive or you’re staring down a tight flip timeline, hire a pro. Your time is money, and a botched, patchy finish is a nightmare to fix later.
Can I just slap a new coat of stain over the old, faded one, or is a full sand-down non-negotiable?
Look, I get the temptation to skip the heavy lifting, but if you just slap new stain over the old, faded layer, you’re essentially painting over a problem. It’ll look okay for a month, then it’ll start peeling like a bad sunburn. If the existing finish is sound and not flaking, you might get away with a thorough cleaning and light sanding, but if it’s failing, a full sand-down is non-negotiable for a professional finish.
