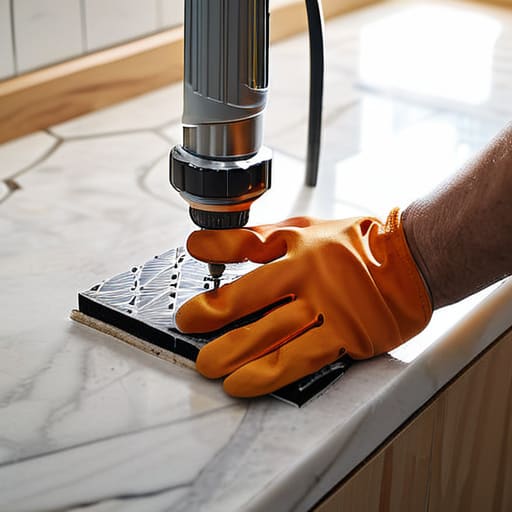
I was standing in a cramped, dimly lit ensuite last Tuesday, staring at a cracked, dated pedestal sink that looked like it belonged in a museum of bad design choices. My laser measurer was already out, and my gut told me this wasn’t just an aesthetic disaster—it was a missed opportunity for equity. Most people think a bathroom vanity installation requires a crew of expensive contractors and a week of downtime, but that’s just a myth that keeps investors from seeing their margins. In reality, if you can level a shelf and follow a plumbing diagram, you can swap out a tired unit for something that actually commands attention and boosts your property value.
I’m not here to give you a fluff piece filled with vague suggestions or “lifestyle” inspiration. I’m going to walk you through the gritty, practical reality of a successful bathroom vanity installation from start to finish. We’re going to cover everything from securing those mounting brackets to ensuring your plumbing doesn’t turn into a weekend-ruining flood. By the time you finish this guide, you’ll have the confidence to stop staring at that old sink and start building the ROI you deserve.
Table of Contents
- Step-by-Step Instructions
- Essential Bathroom Vanity Installation Tools for the Savvy Investor
- Mastering the Art of Mounting Vanity to Wall Studs
- Pro-Tips to Avoid Costly Mistakes and Protect Your Margins
- The Bottom Line: Turning a Simple Install into Real Equity
- ## The Bottom Line on Bathroom Upgrades
- The Final Polish Before the Payoff
- Frequently Asked Questions
Guide Overview
Tools & Supplies
- Drill/Driver for securing the unit to studs
- Level to ensure the vanity is perfectly flat
- Adjustable wrench for connecting water lines
- Caulk gun for sealing edges
- Bathroom vanity unit (1)
- Sink countertop/top (1)
- Faucet and drain assembly (1 set)
- P-trap and plumbing connectors (1 set)
- Silicone caulk (1 tube)
- Shut-off valves (2)
Step-by-Step Instructions
- 1. Before you even think about unscrewing anything, you need to clear the workspace and shut off the water supply to the vanity. I’ve seen too many rookies end up with a flooded bathroom because they assumed the shut-off valve was working when it was actually seized up. Grab a bucket and some old towels, because even with the water off, you’re going to deal with some residual moisture in the lines.
- 2. Once the area is prepped, disconnect the plumbing and carefully remove the old unit. This is the perfect time to pull out my laser measurer to double-check your dimensions against the new vanity you bought. I cannot tell you enough how frustrating it is to tear out a perfectly good cabinet only to realize your new mid-century modern piece is a quarter-inch too wide for the alcove.
- 3. Now, inspect the wall and the floor where the new vanity will sit. If you’re working on a fixer-upper, you’ll likely find some uneven drywall or subfloor issues that need a quick patch or a shim. You want a rock-solid, level surface before the new unit goes down, otherwise, your sink will look crooked and your plumbing connections will be a nightmare to align.
- 4. Position the new vanity in its spot and check the level one more time. If it’s sitting slightly off, don’t panic; just use wood shims to get it perfectly plumb. Once it’s sitting straight, screw the vanity into the wall studs using heavy-duty cabinet screws. I always tell my clients: don’t skimp on the hardware here, because this unit needs to feel immovable when you’re leaning on the sink every morning.
- 5. Next, it’s time to connect the plumbing. Attach your supply lines to the shut-off valves and connect the P-trap to the drain assembly. I prefer using high-quality braided stainless steel lines because they’re much more reliable than the cheap plastic stuff. Tighten everything by hand first, then give it a slight turn with a wrench, but be careful not to over-tighten and crack the fittings.
- 6. If your vanity didn’t come with a pre-installed top, this is when you carefully set the countertop into place. Apply a bead of silicone along the back edge of the vanity to prevent water from seeping behind the cabinet. Once the top is seated, secure it with silicone or clips as specified by the manufacturer, ensuring it’s centered and looks seamless.
- 7. The final, and arguably most satisfying, step is the “wet test.” Turn the water valves back on slowly and run the faucet for several minutes. Grab a dry paper towel and wipe down every single connection—if the towel stays dry, you’ve nailed it. If there’s even a tiny damp spot, you need to tighten that connection immediately before you call it a day.
Essential Bathroom Vanity Installation Tools for the Savvy Investor
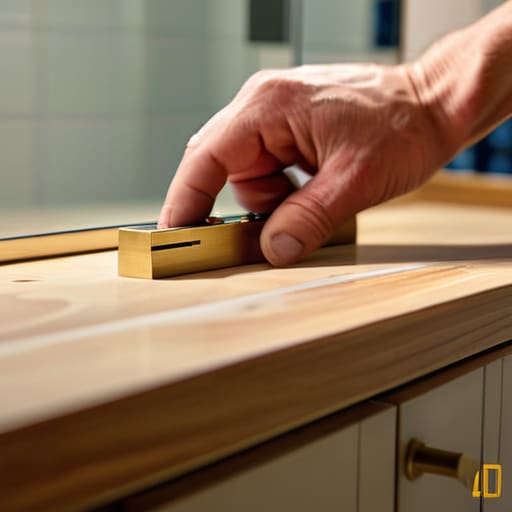
Before you even think about unboxing that new piece, you need to audit your tool kit. I’ve learned the hard way that showing up to a job site without the right gear is the fastest way to blow your budget and your timeline. Beyond the standard drill and driver, you absolutely need a high-quality spirit level. Leveling a bathroom cabinet is the difference between a high-end finish and a DIY disaster that screams “cheap renovation” to potential buyers. If that vanity sits even a fraction of an inch off, your countertop will never sit flush, and you’ll be fighting an uphill battle with every subsequent step.
Don’t forget the small stuff that makes a big impact on your ROI. I always keep a fresh tube of high-grade silicone sealant for vanity edges in my kit; it’s the easiest way to prevent water damage and keep that “newly renovated” look intact. Also, make sure you have a stud finder that actually works. When you’re mounting vanity to wall studs, precision is everything. If you’re anchoring into something flimsy, you aren’t building equity—you’re building a liability.
Mastering the Art of Mounting Vanity to Wall Studs
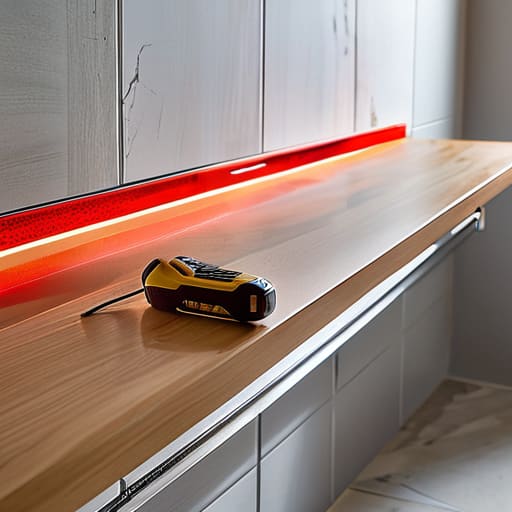
This is where most DIYers—and even some sloppy contractors—lose their grip on the project. If you don’t get the structural support right, you aren’t just looking at a crooked sink; you’re looking at a massive liability. When you’re mounting vanity to wall studs, don’t just eyeball it. I always pull my laser measurer out to ensure my marks are dead-on. You need to find those studs with a high-quality scanner and mark them clearly. If your vanity is heavy or floating, those screws need to bite deep into the timber. A vanity that wobbles isn’t just an eyesore; it’s a red flag for any future inspector or buyer.
Once you’ve got your marks, pay close attention to leveling a bathroom cabinet before you drive those final screws home. I’ve seen too many flips where the countertop looks like a downhill slope because the base wasn’t perfectly flat. Use shims if you have to, but make sure they are tucked in tight so they don’t shift. Precision at this stage saves you a massive headache when you eventually move on to installing the countertop and hardware.
Pro-Tips to Avoid Costly Mistakes and Protect Your Margins
- Don’t trust your old plumbing blindly; always inspect the shut-off valves and supply lines before you tear out the old unit, because a tiny leak behind a brand-new vanity is a nightmare for your ROI.
- Check your floor levelness with a spirit level before you even unbox the new vanity, because if the subfloor is wonky, you’ll spend more time shimmying and cursing than actually installing.
- Always buy your vanity and sink as a set or double-check the dimensions of the sink cutout; nothing kills my momentum like getting halfway through a job only to realize the sink doesn’t actually fit the cabinet.
- Leave yourself a little breathing room with your backsplash measurements; I’ve seen too many rookies cut their tile too short and end up with an ugly gap that screams “amateur” to any potential buyer.
- Seal everything—and I mean everything. Use high-quality silicone around the backsplash and the sink rim to ensure that moisture stays out of your new cabinetry and keeps your renovation looking pristine for years.
The Bottom Line: Turning a Simple Install into Real Equity
Never skimp on the mounting process; a vanity that isn’t rock-solid on the studs isn’t just a DIY fail, it’s a liability that will kill your resale value.
Treat the vanity as the centerpiece of the room, not just a utility—choosing a piece with high design impact can significantly boost your perceived ROI during a walkthrough.
Precision is your best friend when working with tight bathroom footprints, so use that laser measurer to ensure your plumbing lines and clearances are perfect before you commit to the install.
## The Bottom Line on Bathroom Upgrades
“Don’t get lost in the aesthetics of a high-end vanity; if that unit isn’t anchored dead-center to the studs and perfectly level, you’re just installing a future plumbing headache instead of adding real equity.”
Gareth Trelawny
The Final Polish Before the Payoff
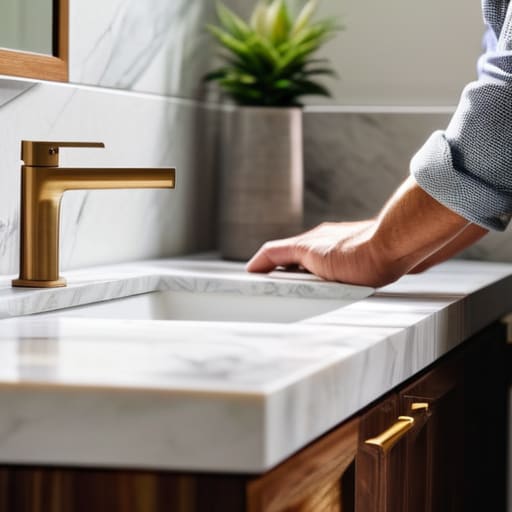
At the end of the day, a successful vanity installation comes down to the details you don’t see. It’s about ensuring those mounting screws are locked into the studs, your level is telling you the truth, and the plumbing connections are tight enough to prevent a midnight disaster. When you take the time to prep the subfloor and align the hardware correctly, you aren’t just putting in a piece of furniture; you are performing a strategic upgrade that pays dividends. Don’t rush the finishing touches—the caulking and the sink alignment are what separate a professional-grade flip from a DIY disaster that kills your margins.
I know that staring at a half-finished bathroom can feel overwhelming, especially when you’re covered in drywall dust and wondering if you made the right call. But remember why you’re doing this: every small, manual task you complete is a direct deposit into your future. You are learning how to manipulate physical space to create tangible equity. Keep that laser measurer handy, stay focused on the math, and don’t let a little bit of mess stand in the way of your next big win. You’ve got the vision; now go finish the job.
Frequently Asked Questions
What should I do if my existing plumbing lines don't align perfectly with the new vanity's sink placement?
This is where most rookies panic, but don’t sweat it. If your new sink doesn’t line up with the old pipes, you’ve got two real options: adjust the vanity or adjust the plumbing. If you’re tight on space, I usually recommend re-routing the supply lines and P-trap behind the wall. It’s a bit more grunt work, but it keeps that clean, minimalist look we’re after. Just make sure you don’t compromise the structural integrity for the sake of a quick fix.
How can I tell if my drywall is too compromised to support a heavy, stone-top vanity without adding extra reinforcement?
If you tap the wall and it feels soft, spongy, or sounds hollow like a drum, stop right there. That’s a red flag for moisture damage or structural rot. I always do a quick probe with a screwdriver; if it sinks in without resistance, that drywall is toast. For a heavy stone top, you can’t gamble on compromised gypsum. If the substrate isn’t rock-solid, you’ll need to tear it out and add blocking before you even think about mounting.
Is it worth paying a professional to handle the final silicone sealing and backsplash, or is that a task I can safely tackle myself to save on rehab costs?
Look, if you’re trying to squeeze every bit of profit out of a flip, I get the urge to DIY the finishing touches. If you’ve got a steady hand and a clean workspace, you can definitely tackle the silicone and backsplash yourself. It’s a great way to shave a few hundred off your rehab budget. But if your lines look wonky or the seal is messy, it’ll kill your perceived value instantly. When in doubt, pay the pro.
