I was standing in a cramped, half-gutted bathroom in a fixer-upper I’d just picked up, staring at a cracked porcelain base and a puddle of mystery water, when it hit me: most people think a professional plumber is the only way to save a project’s budget. But here’s the truth—a botched toilet installation is usually just a result of rushing the prep work, not a lack of specialized tools. I’ve spent years learning that the difference between a high-end renovation and a money pit often comes down to these small, unglamorous details that most people try to skip.
I’m not here to give you a sanitized, theoretical lecture that ignores the reality of a messy job site. Instead, I’m going to walk you through the unfiltered, practical steps of a successful install, from prepping the flange to ensuring a rock-solid seal. My goal is to give you the confidence to handle this task yourself, so you can stop burning cash on service calls and start turning those small repairs into solid equity.
Table of Contents
- Step-by-Step Instructions
- Replacing a Toilet Step by Step for Maximum Roi
- Preventing Toilet Base Leaks and Avoiding Costly Damage
- Pro-Tips for a Flawless Install (And Avoiding the Call-Backs)
- The Bottom Line: Turning a Simple Swap into Real Value
- The Hidden Margin in the Small Stuff
- Turning Small Fixes into Big Wins
- Frequently Asked Questions
Guide Overview
Tools & Supplies
- Adjustable wrench for tightening bolts
- Putty knife for scraping old wax
- Level to ensure proper seating
- Sponge and bucket for absorbing excess water
- New toilet unit (bowl and tank)
- Wax ring with flange bolt kit
- New braided water supply line
- Silicone caulk for base sealing
- Toilet mounting bolts/closet bolts
Step-by-Step Instructions
- 1. First, clear the deck. You can’t build equity if you’re tripping over old porcelain. Get your old toilet out, but more importantly, scrub that floor until it’s spotless. I’ve seen too many rookies try to slap a new wax ring over old, dried-up grime, and trust me, that’s a recipe for a leak that’ll tank your renovation budget before you even get started.
- 2. Inspect the flange. This is the part where most people get nervous, but it’s actually the most critical step. Check if the flange is cracked or sitting too low. If it’s broken, you’ll need a repair ring, because trying to force a fit with a damaged flange is just asking for a disaster down the road.
- 3. Prep the new wax ring. Don’t just toss it on there; be intentional. I usually prefer the ones with a plastic flange to help with alignment, but regardless of which you choose, make sure it’s centered perfectly over the flange. You want a tight, airtight seal that’s going to hold up against years of heavy use.
- 4. Set the bowl. This is the part that requires a bit of muscle and a lot of finesse. Lift your new toilet bowl and lower it straight down onto the flange, making sure it seats right onto that wax ring. Give it a gentle, even downward pressure to compress the wax—don’t rock it side-to-side or you’ll break that seal you just worked so hard to create.
- 5. Secure the bolts. Take your closet bolts and slide them through the base, then tighten the nuts. Here’s my golden rule: do not overtighten. I’ve seen plenty of beautiful, high-end toilets crack because someone thought “tight” meant “impossible to move.” Tighten them just enough so the toilet doesn’t wiggle when you nudge it.
- 6. Hook up the water line. Connect your supply line to the fill valve, but before you call it a day, check your work. Turn the water on slowly and watch for any drips around the base or the supply connection. A quick test with a dry paper towel is the best way to ensure you aren’t leaving a hidden leak behind your new, renovated walls.
Replacing a Toilet Step by Step for Maximum Roi
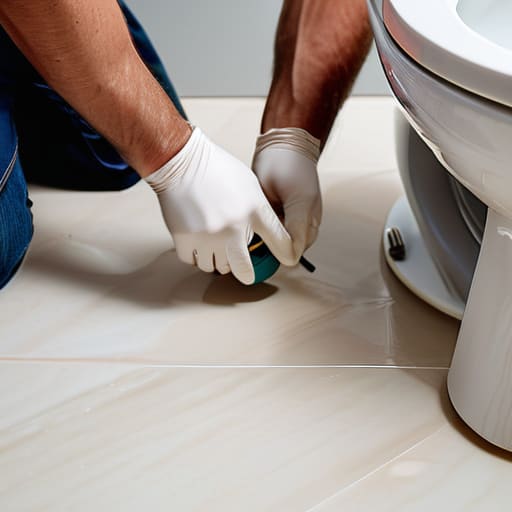
When you’re flipping a property, every dollar spent needs to work twice as hard. I don’t just swap out an old porcelain unit for a shiny new one; I look at it as a way to signal quality to potential buyers. To ensure you aren’t calling a plumber back two weeks after closing, you need a solid new toilet installation checklist. Start by inspecting the flange; if it’s cracked or sitting too low, no amount of caulking will save you. I always make sure the floor is perfectly clean and dry before I even think about setting the new base down.
The real secret to a professional finish—and avoiding those nightmare callbacks—is all in the toilet seal leak prevention. Don’t skimp on a high-quality wax ring or, better yet, a modern rubber gasket. Once the unit is seated, pay close attention to how to level a toilet by using plastic shims if your subfloor is even slightly uneven. A level toilet prevents stress on the supply line and ensures the tank lid sits flush, giving that high-end, intentional look that buyers crave.
Preventing Toilet Base Leaks and Avoiding Costly Damage
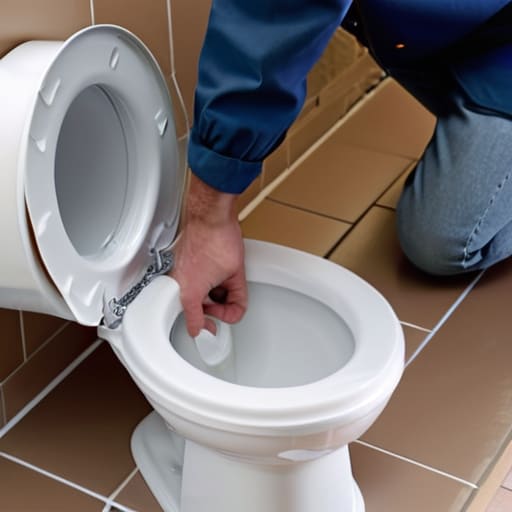
Listen, I’ve seen more subfloor rot in my career than I care to admit, and 90% of it comes down to a single, lazy mistake: skimping on the wax ring. If you’re rushing through replacing a toilet step by step, you might be tempted to just slap the new unit down and call it a day. Don’t do that. A faulty seal is a ticking time bomb that will eventually turn your beautiful new bathroom floor into a soggy, expensive mess. For true toilet seal leak prevention, make sure your flange is sitting flush and isn’t cracked or broken before you even think about setting the bowl.
Once the toilet is positioned, pay close attention to how to level a toilet using plastic shims if your floor isn’t perfectly flat. If the base rocks even a fraction of an inch, it puts uneven pressure on the seal, which is a recipe for a slow, silent leak that eats your profit margins. I always tell my clients: never rely on tightening the floor bolts to fix a wobble. Tightening those bolts too hard can actually crack the porcelain or compromise the seal you just worked so hard to install.
Pro-Tips for a Flawless Install (And Avoiding the Call-Backs)
- Don’t skimp on the wax ring; I’ve seen too many “budget” flips ruined by a cheap seal that failed three months after closing. Invest in a high-quality, heavy-duty wax ring or a modern rubber gasket to ensure that seal is airtight and permanent.
- Check your floor level before you even unbox the new porcelain. If your subfloor is uneven—which happens more often than you’d think in older fixer-uppers—you’ll need to shim the base to prevent the toilet from rocking, which eventually breaks the seal and causes leaks.
- Clean that flange like your ROI depends on it. If there’s old wax or debris stuck to the flange, your new seal won’t seat properly, and you’ll be back to square one with a messy, expensive mistake.
- Tighten those closet bolts with a light touch. It’s tempting to crank them down to feel secure, but over-tightening is the fastest way to crack the porcelain base, and once that happens, you aren’t just replacing a toilet—you’re replacing a whole unit.
- Always test the new install with a “flood test” before you call it a day. Flush it ten times in a row and watch the base closely for any sign of moisture; I’d much rather catch a tiny weep now than deal with a rotted subfloor during a walkthrough later.
The Bottom Line: Turning a Simple Swap into Real Value
Don’t cut corners on the wax ring or the flange; a cheap mistake here can lead to subfloor rot that will absolutely tank your renovation budget.
View every bathroom upgrade as a strategic move toward equity, focusing on clean installs and modern fixtures that appeal to the widest pool of buyers.
Master the fundamentals of the DIY install to keep your overhead low, because every dollar you save on labor is a dollar that goes straight into your profit margin.
The Hidden Margin in the Small Stuff
“A lot of people overlook the bathroom, thinking it’s just plumbing and porcelain, but a clean, professional toilet install is one of the cheapest ways to erase that ‘neglected’ feeling and instantly boost a property’s perceived value.”
Gareth Trelawny
Turning Small Fixes into Big Wins
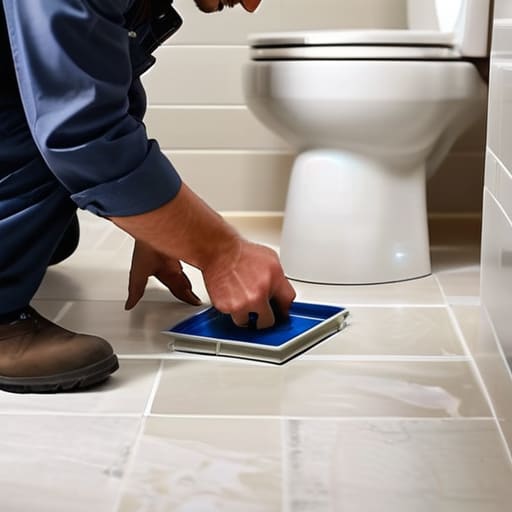
At the end of the day, a successful toilet installation comes down to the details that most people overlook. It isn’t just about dropping a new porcelain unit onto the floor; it’s about ensuring that the wax ring is seated perfectly, the flange is secure, and your plumbing connections are tight enough to prevent a catastrophic leak down the line. When you take the time to do the dirty work right—from prepping the floor to testing the flush—you aren’t just fixing a bathroom; you are protecting your investment from the kind of water damage that can gut your profit margins in a single afternoon.
I know that staring at a pile of tools and a leaking base can feel overwhelming when you’re in the middle of a renovation, but don’t let the small stuff intimidate you. These are the exact moments where you separate the hobbyists from the real investors. Every time you master a task like this, you are adding another tool to your belt and building the confidence needed to tackle even bigger projects. Keep your eye on the prize, stay patient through the mess, and remember that every small renovation is a strategic step toward building your long-term wealth.
Frequently Asked Questions
How do I know if I need to replace the entire flange or if I can just work around a broken one?
Look, I’ve seen too many investors lose their shirts to a single bad flange repair. If the plastic is cracked or the bolts are stripped and won’t hold, don’t play games—replace it. If the flange is sitting too low or is structurally compromised, you’re looking at a full replacement to ensure that bathroom stays dry. A cheap fix now is just a massive, water-damaged headache waiting to eat your profit margins later.
Is it worth spending the extra cash on a high-efficiency model, or should I stick to the cheapest option to keep my margins high?
Look, if you’re flipping for a quick exit, the cheapest unit might tempt you, but don’t fall for it. I always lean toward high-efficiency models. Buyers today are savvy; they see a low-flow, modern toilet as a selling point for lower utility bills. A cheap, noisy unit feels like a “contractor grade” afterthought, which can actually hurt your perceived value. Spend the extra fifty bucks—it’s a small investment to protect your margins and your reputation.
What’s the best way to tell if my old wax ring is actually failing before it starts ruining my subfloor?
Don’t wait for a puddle to appear on your bathroom floor; by then, your subfloor is likely already rotting. Keep an eye out for a persistent, faint sewage smell or any discoloration around the base of the porcelain. If you notice the toilet feels slightly unstable or “wobbles” when you sit down, that’s a massive red flag. It means the seal has likely compromised, and you need to pull that toilet up immediately.
