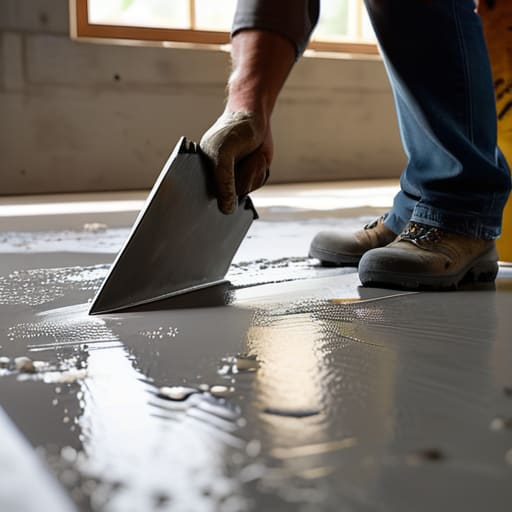
I still remember standing in the middle of a gutted mid-century ranch in East Austin, clutching my laser measurer and feeling my stomach drop. I had just laid down a beautiful, expensive shipment of wide-plank oak, only to realize the subfloor was so warped it looked like a topographical map of the Andes. I watched in horror as the boards began to creak and gap under the slightest pressure. That was the moment I realized that skipping proper floor leveling isn’t just a minor oversight; it is a fast track to throwing your entire renovation budget straight into the trash.
I’m not here to sell you on some overpriced, magical compound that promises a perfect finish in five minutes. I’ve spent enough time on dusty job sites to know that real results come from understanding your substrate and doing the prep work right the first time. In this guide, I’m going to walk you through the gritty, unglamorous reality of floor leveling so you can stop fighting your materials and start building real equity. We’re going to talk about the tools you actually need and the mistakes that will cost you your profit margins.
Table of Contents
- Fixing Sloping Floors Turning Structural Floor Repair Into Profit
- The Hidden Truth of Floor Flatness vs Levelness
- Don't Let a Bad Subfloor Kill Your ROI: 5 Pro Tips for Leveling Success
- The Bottom Line on Floor Leveling
- The Cost of Cutting Corners
- Don't Leave Your Equity to Chance
- Frequently Asked Questions
Fixing Sloping Floors Turning Structural Floor Repair Into Profit
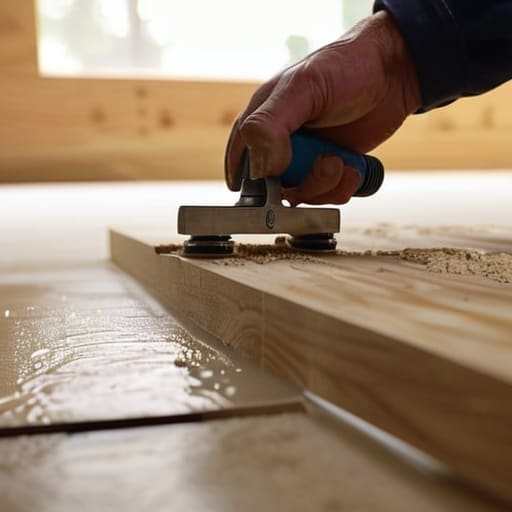
When I walk into a fixer-upper and notice a noticeable dip in the hallway or a slant in the kitchen, my brain immediately goes to one of two places: a quick fix or a serious structural issue. If we’re talking about fixing sloping floors that are just slightly off, it’s often a matter of getting the right materials to bridge the gap. I’ve seen too many rookies try to mask a slope with thick padding or heavy rugs, but that’s just a band-aid that will eventually fail. If you want to build real equity, you have to address the underlying surface.
For most of my mid-range flips, I lean heavily on a precise self-leveling underlayment application to get that surface dead-flat. It’s a game-changer for aesthetics, especially if you’re planning on installing high-end hardwoods or large-format porcelain. However, don’t confuse floor flatness vs levelness; a floor can be perfectly flat but still sit at a weird angle. If the slope is caused by a settling foundation, you’re looking at a much more intensive structural floor repair before you even think about the pretty finishes. Do the hard work now, or pay for it in callbacks later.
The Hidden Truth of Floor Flatness vs Levelness
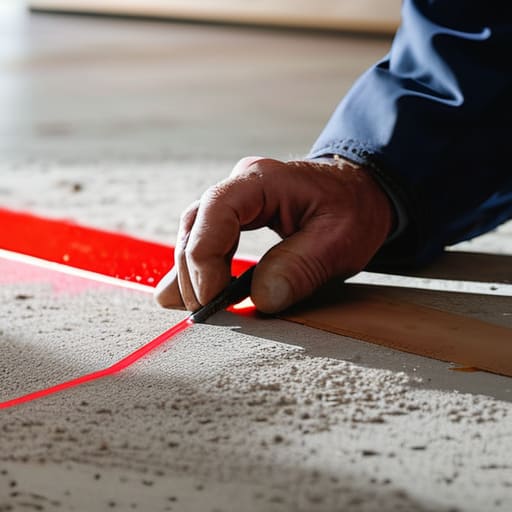
Here is where most DIYers and even some rookie contractors trip up, and it’s a mistake that can cost you thousands in wasted materials. You need to understand the distinction between floor flatness vs levelness before you even touch a bag of compound. Think of it this way: a level floor is perfectly horizontal relative to the earth, but a flat floor is simply free of bumps, dips, or waves. In my experience, you don’t always need a perfectly level house to have a beautiful finish, but you absolutely need a flat surface.
If you ignore flatness, you’re asking for trouble. I’ve seen investors try to rush into preparing subfloors for tile on a surface that was technically level but riddled with tiny dips. The result? The tile grout lines look like a zig-zag mess, and the whole room feels “off” the moment you walk in. Whether you’re using a heavy-duty self-leveling underlayment application or more manual concrete floor smoothing techniques, your goal is to eliminate the deviations that catch the light and trip up your feet. Focus on the plane, not just the tilt.
Don't Let a Bad Subfloor Kill Your ROI: 5 Pro Tips for Leveling Success
- Test your subfloor with a straightedge before you even think about buying materials; I’ve seen too many investors waste thousands on self-leveler only to realize they had a massive structural dip that required more than just a pour.
- Always check your moisture levels first, because if you pour leveler over a damp subfloor, you’re basically asking for a delamination nightmare that will crack your expensive new tile in six months.
- Stop trying to save a few bucks by skipping the primer; a high-quality primer is the only thing standing between a smooth finish and a layer of leveling compound that peels off like old wallpaper.
- Don’t get greedy with the pour depth—if you’re trying to fill a hole deeper than an inch, skip the liquid leveler and use a cementitious patch or a crushed stone base first to avoid massive material costs and long drying times.
- Mix your compound like your profit depends on it, because nothing ruins a renovation faster than “clumpy” leveler that leaves ridges, making it impossible to lay down that high-end LVP or hardwood you planned for.
The Bottom Line on Floor Leveling
Don’t confuse “flat” with “level”—a floor can be perfectly flat but still sit at a slope that makes your high-end cabinetry look like a disaster.
Always diagnose the root cause before you pour self-leveler; if you’re just masking a structural sag with compound, you’re literally pouring your profit down the drain.
Prioritize floor flatness early in the rehab process to avoid the nightmare of expensive, corrective repairs once your finish materials are already installed.
The Cost of Cutting Corners
“If you try to hide a sloping floor with a thick rug or a heavy piece of furniture, you aren’t saving money—you’re just burying a liability that will tank your resale value the moment a buyer walks through the door.”
Gareth Trelawny
Don't Leave Your Equity to Chance
At the end of the day, floor leveling isn’t just about making sure a dining table doesn’t wobble; it’s about protecting your investment from the ground up. We’ve covered why you can’t ignore structural slopes and why understanding the nuance between flatness and levelness is the difference between a professional finish and a costly DIY disaster. If you ignore these subfloor issues now, you’re just setting yourself up to pay for them twice—once during the demo and again when a buyer’s inspector calls you out on it. Fix it right the first time so your high-end finishes actually sit the way they were intended to.
I know that staring down a cracked, uneven subfloor can feel overwhelming when you’re staring at your renovation budget, but don’t let it intimidate you. Every messy, dusty job site is just a stepping stone toward a more profitable asset. Real estate isn’t about finding perfect houses; it’s about having the grit to fix the imperfections that others are too lazy to tackle. Grab your laser measurer, get your boots on, and start turning those uneven surfaces into solid, predictable equity. You’ve got this.
Frequently Asked Questions
Is it actually worth the extra cost to self-level a floor, or should I just let the contractor handle it?
Look, if you’re looking to squeeze every cent of profit out of a flip, DIY self-leveling is a tempting way to save a few hundred bucks, but I wouldn’t risk it. It’s a messy, high-stakes game of timing and physics. One bad pour and you’ve got a wavy floor that ruins your expensive LVP or tile. Pay the contractor. It’s better to spend the cash now than to eat the cost of replacing botched flooring later.
How do I know if my sloping floor is just a minor cosmetic issue or a sign of a serious foundation failure?
Here’s the deal: if it’s just a slight dip in one room, you’re likely looking at settling or old subfloor issues—manageable. But if you see cracks snaking up the drywall, doors that won’t latch, or windows that are suddenly stuck, stop everything. That’s not a cosmetic fix; that’s a structural red flag. Don’t pour money into self-leveling compound until you’ve ruled out a foundation failure, or you’re just masking a massive money pit.
What’s the best way to prep a subfloor so the leveling compound doesn't crack or peel after I lay my new flooring?
Listen, if your leveling compound cracks or peels, you’ve just thrown your profit straight into the trash. The secret is all in the prep. First, you have to scrub that subfloor until it’s spotless—dust is the enemy of adhesion. Once it’s clean, apply a high-quality primer specifically designed for your substrate. It seals the pores and creates a bond so strong that your new floor won’t budge when the house settles.
