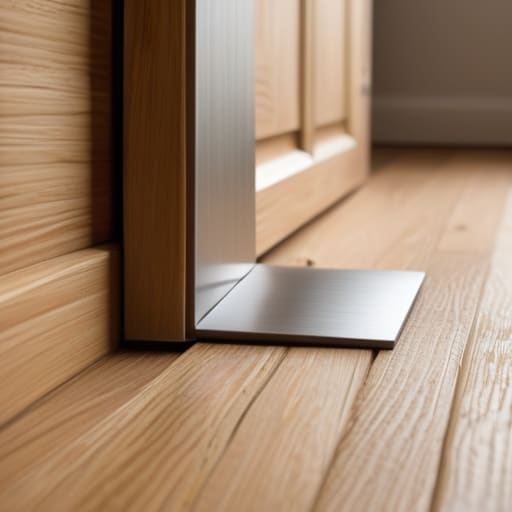
I was standing in the middle of a freshly painted hallway in my latest flip, staring at a massive, jagged hole in the drywall, when it finally clicked. A heavy oak door had swung wide during a walkthrough, slamming straight into the corner with enough force to crack the plaster. It’s one of those infuriatingly avoidable mistakes that eats away at your margins, and honestly, it’s a rookie error I see way too often on job sites. Most people think doorstop installation is just a trivial task for the very end of a project, but if you aren’t treating it as a fundamental part of protecting your investment, you’re basically leaving your walls wide open to damage.
I’m not here to give you some over-complicated, theoretical lecture on hardware; I want to show you how to do this right so you never have to patch that same corner again. In this guide, I’m breaking down the most efficient ways to handle doorstop installation, from choosing the right floor-mounted options to those sleek wall protectors that won’t ruin your aesthetic. We’re going to focus on practical, durable solutions that save you time, money, and a massive headache during your final inspections.
Table of Contents
- Step-by-Step Instructions
- Protecting Your Equity Preventing Wall Damage and Scuffed Paint
- Heavy Duty Door Bumpers Choosing Screw in vs Adhesive Doorstops
- Pro Tips for a Flawless (and Durable) Install
- The Bottom Line on Doorstops
- The Hidden Cost of Neglect
- The Bottom Line on Doorstops
- Frequently Asked Questions
Guide Overview
Tools & Supplies
- Drill/Driver for creating pilot holes
- Pencil for marking installation points
- Measuring tape for precise placement
- Doorstop (1 unit)
- Mounting screws (included with doorstop)
Step-by-Step Instructions
- 1. First, grab your tools and pick out your doorstops. I always opt for the heavy-duty rubber ones because they absorb the impact better; you don’t want a cheap plastic piece failing on you when you’re trying to protect your investment. Make sure you have a drill, some small drill bits, a screwdriver, and a pencil ready to go.
- 2. Decide exactly where the stop is going to live. I like to open the door to the angle where it usually hits the wall and mark that spot with a pencil. You want to be strategic about placement so the door hits the stop, not the drywall, but don’t go so far that the door feels awkward when you’re walking through.
- 3. If you’re installing floor-mounted stops, you’ll need to drill a pilot hole into the flooring. If it’s hardwood, go slow so you don’t splinter the wood; if it’s tile, you’ll need a masonry bit. I always tell my clients that precision is everything here, because a crooked floor stop looks amateur and cheap.
- 4. Once your pilot hole is drilled, screw the base of the doorstop into place. If you’re using wall-mounted stops, you might want to find a stud or use a heavy-duty anchor if you’re dealing with plaster. I’ve seen too many DIYers skip the anchor and end up with a hole in the wall and a doorstop lying on the floor a week later.
- 5. For the wall-mounted variety, check that the screw is tight and the unit isn’t wobbling. If it feels loose, you probably didn’t clear enough debris from the hole or your anchor isn’t seated right. You want that piece to feel like it’s part of the structure, not just something stuck on with luck.
- 6. Finally, test the swing. Open and close the door a few times to make sure the stop catches the door at the right moment without making a massive racket. It’s a small, five-minute task, but it’s these tiny details that keep a renovation from looking like a “cheap flip” and help it feel like a professional home.
Protecting Your Equity Preventing Wall Damage and Scuffed Paint
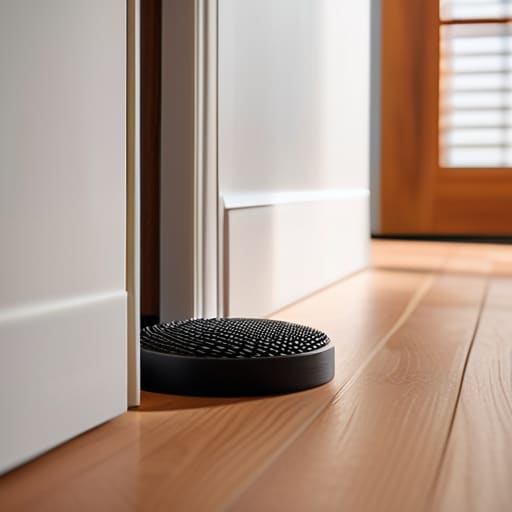
Look, I’ve seen too many “finished” flips lose their luster because a homeowner didn’t think about the little things. You spend weeks getting the perfect eggshell finish on your walls, only to have a heavy door slam into the drywall every single day. It’s a nightmare. When you’re deciding between screw-in vs adhesive doorstops, remember that your choice should depend on the surface you’re trying to save. If you’re working with high-end finishes, I usually lean toward heavy-duty rubber bumpers that can take a beating without looking like an afterthought.
Beyond just the walls, keep an eye on your flooring. If you have those beautiful original planks, you have to be careful about preventing wall damage from doors that swing too wide. I’ve seen people try to save a wall only to end up drilling into hardwood floors by mistake while trying to secure a floor-mounted stopper. It’s a rookie mistake that eats straight into your profit margins. Whether you’re using silicone or metal, make sure the placement is precise. Protecting your handles and walls isn’t just about aesthetics; it’s about preserving the integrity of the asset you worked so hard to build.
Heavy Duty Door Bumpers Choosing Screw in vs Adhesive Doorstops
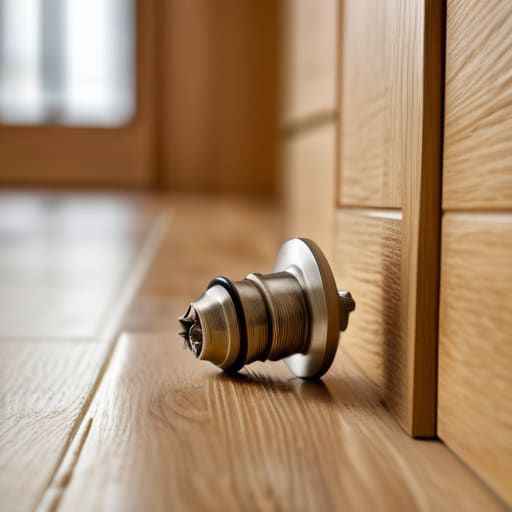
When you’re deciding between screw-in vs adhesive doorstops, you have to look past the convenience and think about the long-term durability of the asset. If I’m working on a high-traffic rental or a flip where the doors are constantly being slammed by kids or pets, I’m reaching for the screw-in options every single time. Adhesive bumpers are great for a quick fix in a guest room, but they tend to peel off after a few months of heavy use, leaving behind a sticky, gross residue that’s a nightmare to clean.
On the flip side, if you’re dealing with high-end finishes where you absolutely cannot risk drilling into hardwood floors or delicate baseboards, that’s when the adhesive or heavy-duty silicone versions become your best friend. I always tell my clients to weigh the “cost of repair” against the “cost of installation.” A screw-in model is a permanent solution that guarantees you won’t be replacing a damaged wall six months after the sale. If you want to truly prioritize protecting door handles and walls without leaving permanent marks on pristine surfaces, choose your mounting method based on the room’s actual usage.
Pro Tips for a Flawless (and Durable) Install
- Don’t just eyeball the height; grab that laser measurer or a tape measure and mark the spot at the exact same height on every door in the room to keep things looking professional and intentional.
- If you’re working with hollow-core doors, don’t just drive a screw into thin air; make sure you’re hitting a stud or use a heavy-duty adhesive version so the doorstop doesn’t just rip right out of the wood the first time a kid slams it.
- Check your floor clearance before you commit to a floor-mounted stop; there’s nothing worse than installing a beautiful brass bumper only to realize it’s blocking the sweep of your door.
- Always test the “swing” after installation—give the door a few firm closes to make sure the stop is actually catching the door and not just hitting the trim or leaving a gap that invites wall damage.
- When in doubt, go for a minimalist aesthetic; I always opt for brushed nickel or matte black hardware that blends into the design rather than something that looks like it belongs in a cheap motel.
The Bottom Line on Doorstops
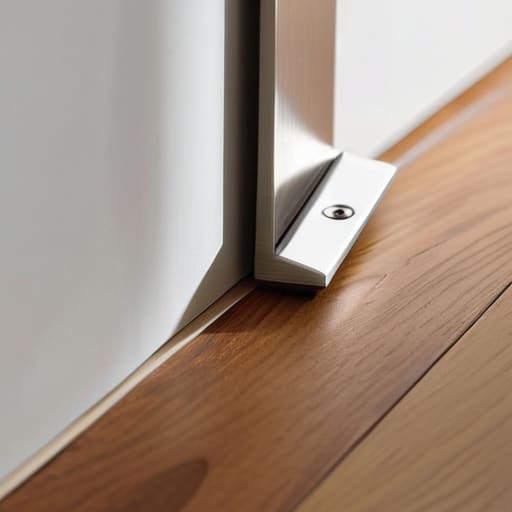
Don’t cheap out on the hardware; if you’re dealing with heavy solid-core doors, skip the flimsy adhesive stickers and go with a screw-in model that can actually handle the impact.
Think of doorstops as preventative maintenance for your drywall—it’s a tiny investment that keeps you from having to pay for professional patching and repainting down the line.
Always measure your clearance before you drill; there’s nothing more frustrating than installing a stop only to realize it’s too bulky to let the door swing fully open.
The Hidden Cost of Neglect
“In this business, people obsess over granite countertops and custom cabinetry, but they overlook the small stuff. A five-dollar doorstop is the cheapest insurance policy you’ll ever buy to prevent a hundred-dollar drywall repair.”
Gareth Trelawny
The Bottom Line on Doorstops
At the end of the day, installing doorstops is about more than just preventing a dent in the drywall; it’s about smart asset management. Whether you decided to go with a heavy-duty screw-in model for a high-traffic rental or a quick adhesive bumper for a light-use bedroom, you’ve successfully eliminated a common source of preventable maintenance costs. By taking twenty minutes to secure these small hardware pieces now, you’re saving yourself from the headache of patching, sanding, and repainting scuffed walls during your next walkthrough or inspection. It is these tiny, tactical decisions that separate a sloppy renovation from a professional-grade flip.
I know it might feel trivial when you’re staring down a massive list of electrical and plumbing upgrades, but don’t overlook the details. Real estate investing isn’t just about the big, flashy kitchen remodels; it’s about the cumulative effect of doing the small things right. Every time you protect a surface or tighten a hinge, you are effectively protecting your margins. Keep that sharp eye on the details, stay patient through the messy parts of the job, and remember that every bit of sweat equity you put into these minor fixes is building the foundation for your long-term wealth.
Frequently Asked Questions
What’s the best way to install a doorstop if I’m working with tile or stone floors where I can't just drill a hole?
If you’re dealing with high-end tile or stone, drilling is a massive risk—one slip and you’ve cracked a slab that costs more to replace than the whole renovation. Skip the drill and go with a heavy-duty adhesive bumper. Just make sure you clean the floor with isopropyl alcohol first so the bond actually holds. If you want something more permanent, look for floor-mounted stops that use a specialized construction adhesive instead of screws.
If I’m dealing with a heavy, solid-core door, will a standard adhesive bumper actually hold, or am I just setting myself up for a mess?
If you’re dealing with a solid-core door, forget the adhesive stickers. I’ve seen too many “quick fixes” peel right off the wall after a week because they couldn’t handle the momentum of a heavy door. You’re essentially fighting physics. For anything substantial, skip the mess and go with a screw-in bumper. It’s the only way to ensure that door doesn’t eventually punch a hole straight through your fresh drywall.
How do I figure out the perfect placement for a doorstop so it actually stops the handle without looking awkward or being in the way?
Don’t just eyeball it and hope for the best. I always grab my laser measurer to get the exact distance from the corner to where the handle sits when the door is fully open. You want the stop positioned so the handle hits it squarely, not glancing off at an angle. Aim for about two inches from the wall to give yourself a buffer. It keeps the hardware functional without looking like an afterthought.
