I was standing in the middle of a dusty living room last October, staring at a massive, soot-stained brick hearth that looked like it belonged in a 1970s basement, and I realized something: most people see a demolition nightmare, but I saw instant equity. It’s a common mistake to think you need to tear out the entire chimney stack to modernize a room, but that’s just a fast way to blow your budget and kill your margins. A strategic fireplace makeover isn’t about starting from scratch; it’s about identifying the structural bones and layering on the right finishes to command a higher asking price.
I’m not here to sell you on some expensive, superficial trend that will look dated in two years. Instead, I’m going to walk you through the gritty, practical reality of upgrading your hearth without draining your bank account. We’re going to cover everything from selecting materials that actually hold their value to the specific DIY tweaks that turn a visual eyesore into a high-end focal point. Let’s stop staring at that crumbling masonry and start turning it into a profitable asset.
Table of Contents
Guide Overview
Tools & Supplies
- Paintbrush or roller for applying finish
- Sandpaper for smoothing surfaces
- Drop cloth to protect flooring
- Painter's tape for clean edges
- Heat-resistant masonry paint (1 quart)
- Chalk paint or specialized stone paint (1 quart)
- Sandpaper assortment (medium and fine grit)
- Painter's tape (1 roll)
Step-by-Step Instructions
- 1. Before you even touch a scraper, you need to assess the structural integrity of the existing unit. I’ve walked into plenty of “fixer-uppers” where a homeowner thought they had a vintage charm, but they actually had a crumbling chimney breast that was a massive liability. Check for cracks in the masonry and make sure the hearth is stable; if the bones are rotten, no amount of tile will save your ROI.
- 2. Once you’ve confirmed it’s safe to proceed, clear the area and strip away the junk. I’m talking about those dated, brass-tacked wooden mantels or the thick, peeling layers of popcorn paint that scream “1980s basement.” You want a clean slate before you start applying any new materials, so don’t skip the tedious part of sanding down the old surfaces.
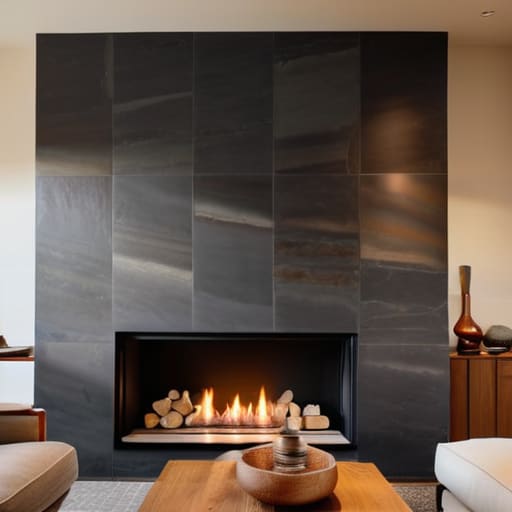
- 3. Now, let’s talk about the heavy lifting: choosing your focal point. If you’re aiming for that minimalist industrial chic look I love, I’d suggest a large-format slate tile or even a sleek, dark concrete finish. Whatever you pick, ensure the scale is right for the room; a tiny mosaic on a massive wall looks cheap and cluttered, which is the exact opposite of what we want when we’re trying to build equity.
- 4. When you start laying your tile or stone, don’t skimp on the prep work. Use a high-quality thin-set and a level—and yes, I’ll be pulling my laser measurer out for this part—to ensure every single piece is perfectly aligned. If your lines are crooked, every potential buyer who walks through that door will feel it instinctively, and a wonky fireplace is a massive red flag.
- 5. Grout is where most DIYers lose their edge, so pay close attention here. Choose a color that complements your tile rather than fighting it; I usually go for something neutral that allows the texture of the stone to do the talking. Once the grout is set, wipe it down immediately with a damp sponge to avoid that cloudy, hazy mess that’s a nightmare to scrub off later.
- 6. The final touch is the mantel, and this is your chance to inject some personality. Instead of buying a pre-fabricated, hollow-core piece from a big-box store, hunt for a solid piece of reclaimed wood at a local salvage yard. A heavy, authentic timber mantel adds a sense of permanence and value that a piece of particle board just can’t replicate.
- 7. Clean everything up and stage the space with intention. A simple, sculptural vase or a few well-placed books on the mantel is all you need; remember, we aren’t decorating a home to live in, we’re curating an asset. You want the fireplace to look like the heartbeat of the room, drawing the eye exactly where you want it to go.
Modern Fireplace Design Ideas for Maximum Roi
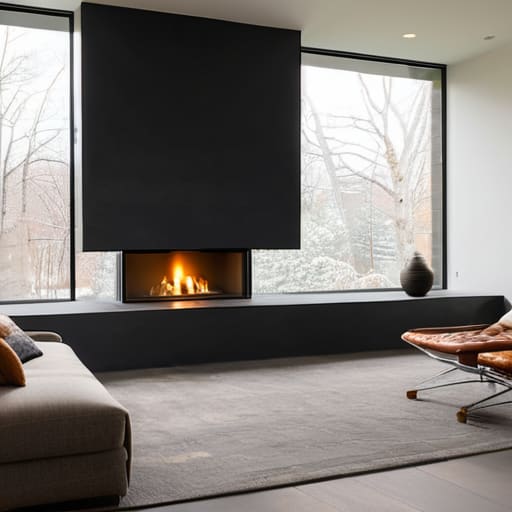
When you’re looking at the bottom line, you have to distinguish between “pretty” and “profitable.” If you’re hunting for high-impact modern fireplace design ideas, think about clean lines and texture rather than cluttered ornamentation. I always tell my clients that a monochromatic palette—think slate, matte black, or even a smooth micro-cement finish—creates that high-end, minimalist look that buyers crave. If you’re on a tight budget, don’t underestimate the power of a faux stone fireplace installation; with the right application technique, you can mimic expensive limestone or marble for a fraction of the actual material cost.
Beyond the structure itself, don’t neglect the finishing touches that pull the room together. Effective fireplace mantel styling tips usually involve a “less is more” approach: a single sculptural piece or a stack of curated art books rather than a collection of knick-knacks. I’ve seen too many investors blow their budget on heavy masonry when a simple, sleek floating mantel would have achieved the same aesthetic lift. Remember, your goal isn’t just to decorate; it’s to create a focal point that makes a potential buyer instantly envision themselves hosting a dinner party in that space.
Diy Fireplace Renovation Steps for the Patient Investor
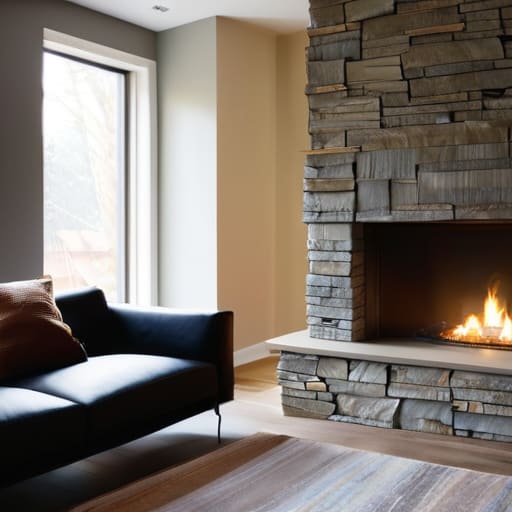
If you’re looking to squeeze every bit of value out of a fixer-upper without draining your capital, you have to be strategic about your DIY fireplace renovation steps. I’ve learned the hard way that you shouldn’t just jump in with a sledgehammer. Start by assessing the structural integrity of the existing hearth; if the bones are solid, don’t waste money on a full tear-out. Instead, focus on a high-impact surface upgrade. For instance, a faux stone fireplace installation can give you that high-end, textured look that buyers crave, but only if you take the time to prep the surface properly. If you rush the prep work, that expensive veneer is going to peel, and you’ll be staring at a massive loss instead of equity.
Budgeting is where most amateur flippers trip up. When calculating the cost of fireplace remodeling, always factor in a 15% buffer for unexpected masonry issues or venting repairs. Once the heavy lifting is done, the real magic happens in the finishing touches. I always tell my clients that fireplace mantel styling tips are just as vital as the masonry itself. A well-curated selection of modern decor can bridge the gap between a “renovated house” and a “dream home.”
Pro-Tips for Avoiding the "Money Pit" Fireplace Trap
- Check the structural integrity before you buy the tile; I’ve seen too many investors spend thousands on high-end marble only to realize the chimney breast was crumbling underneath.
- Don’t overlook the mantel; swapping out a heavy, dated oak beam for a sleek, minimalist floating shelf is the fastest way to modernize the entire living room without touching the masonry.
- Always prioritize the hearth’s functionality; if you’re aiming for a high-end flip, ensure the surround is easy to clean, because buyers will pass on a beautiful fireplace if it’s a maintenance nightmare.
- Scale your materials to the room size; a massive, dark stone surround can swallow a small living area whole, so use lighter tones or smaller tiles to keep the space feeling open and airy.
- Invest in a high-quality surround light; adding subtle, recessed lighting or even a well-placed sconce near the hearth can make a mediocre fireplace look like a designer centerpiece during a walkthrough.
The Bottom Line on Fireplace ROI
Stop viewing a dated hearth as a structural problem and start seeing it as a high-margin opportunity; a strategic facelift is one of the cheapest ways to boost a property’s perceived value.
Don’t over-engineer the solution—focus on clean lines and high-impact materials like stone or tile that appeal to the widest range of buyers without blowing your renovation budget.
Patience pays off during the messy phases, but don’t let perfectionism stall your progress; the goal is a polished, functional focal point that drives equity, not a museum piece.
The ROI of the Hearth
“A dated fireplace is just a hole in the wall that’s eating your profit margin; fix it right, and you aren’t just adding decor, you’re adding hard equity.”
Gareth Trelawny
From Dust to Dollars
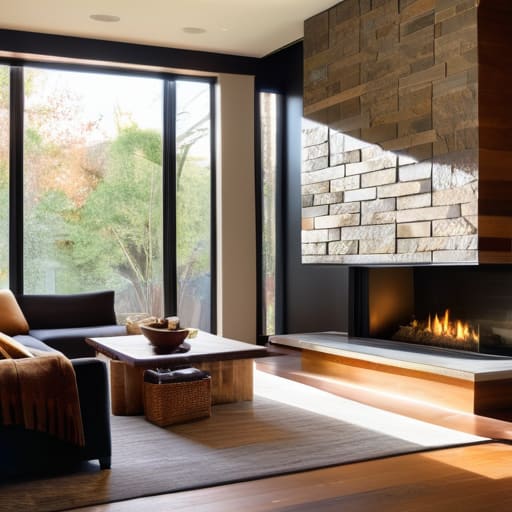
At the end of the day, a fireplace makeover isn’t just about picking out a trendy new tile or a sleek mantel; it’s about recognizing a high-impact opportunity. We’ve covered everything from selecting modern designs that actually drive up your valuation to the gritty, hands-on DIY steps required to get the job done right. Whether you’re opting for a minimalist industrial look or a classic stone veneer, the goal remains the same: transform that outdated, soot-stained focal point into a strategic asset that commands attention during a walkthrough. Remember, every dollar you spend on a smart, well-executed renovation should be viewed as an investment in your property’s long-term equity.
I know that staring at a half-demolished hearth can feel overwhelming, especially when the dust is settling and the real work begins. But don’t let the mess intimidate you. Every successful flip I’ve ever completed started with a vision that most people would have walked right past. Real estate investing is rarely about the easy wins; it’s about having the grit to see the potential beneath the grime. Grab your tools, trust your eye for design, and get to work. You aren’t just fixing a fireplace; you are building your future one renovation at a time.
Frequently Asked Questions
How do I know if my existing chimney structure can handle a heavy stone veneer without needing structural reinforcement?
This is where most DIYers blow their budget. Before you order a single pallet of heavy stone, you need to check your math. Realistically, you should consult a structural engineer to verify the load-bearing capacity of your existing masonry. If you’re looking for a quick field test, check for existing cracks in the foundation or bowing in the chimney stack. If the structure looks even slightly compromised, don’t risk it; stick to lightweight, thin-set veneers instead.
At what point does a DIY fireplace renovation stop being cost-effective and start becoming a liability for my resale value?
Look, there’s a fine line between “charming character” and “structural nightmare.” You cross into liability territory the moment you touch the venting, the chimney masonry, or anything involving gas lines without a permit. If you’re DIYing a cosmetic tile overlay, go for it. But if you’re messing with the hearth’s structural integrity or the flue, stop. A botched fireplace inspection is the fastest way to kill a closing and tank your ROI.
Should I prioritize a cosmetic face-lift for a quick flip, or is it worth investing in a full hearth reconstruction to attract higher-end buyers?
If you’re on a tight timeline for a quick flip, go with the cosmetic facelift. A fresh coat of lime wash or some sleek tile veneer can mask a lot of sins without eating your margins. But, if you’re hunting for that premium buyer, don’t skimp. A full hearth reconstruction—think custom masonry or a floating stone mantel—is what separates a “renovated house” from a “luxury home.” Invest in the bones if you want the big check.
