I still remember the exact moment I realized that most “expert” advice in the renovation world is just a way to pad a contractor’s invoice. I was standing in a cramped, dimly lit bathroom of a fixer-upper I’d just picked up, staring at a crooked, cracked backsplash that looked like it had been laid by someone in a blindfold. I had spent hours scouring the internet for professional tiling tips, only to find endless, fluff-filled articles suggesting I needed a thousand-dollar specialized kit just to handle a basic subway tile. It was infuriating. People act like tiling is some mystical art form reserved for the elite, when in reality, it’s just about smart preparation and not cutting corners when nobody is watching.
I’m not here to sell you on expensive gadgets or complicated theories that don’t work in a real-world job site. Instead, I’m going to give you the straight talk on how to execute a flawless finish without draining your renovation budget. We’re going to dive into the gritty, practical side of things—from leveling your subfloor to mastering your grout lines—so you can turn a mediocre bathroom into a high-equity asset. If you want the truth about what actually makes a tile job look expensive versus what just wastes your time, you’re in the right place.
Table of Contents
- Subfloor Preparation for Tile Building on a Solid Foundation
- Choosing the Right Tile Adhesive for Long Term Value
- The Details That Separate a Flip from a Fail: 5 Tiling Essentials
- The Bottom Line: Don't Cut Corners on the Foundation
- ## The Real Cost of Cutting Corners
- The Bottom Line on Better Tiling
- Frequently Asked Questions
Subfloor Preparation for Tile Building on a Solid Foundation
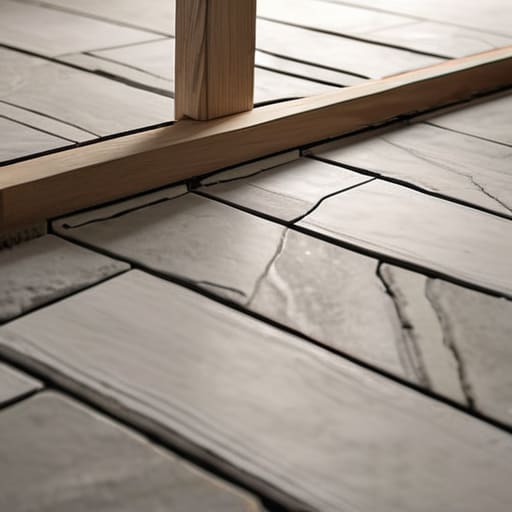
Look, I’ve seen more beautiful, expensive tile jobs ruined by a lazy subfloor than I care to admit. You can buy the most stunning marble slabs on the market, but if your base is uneven or bouncy, you’re essentially throwing money down the drain. Proper subfloor preparation for tile isn’t just about making things look pretty; it’s about structural integrity. If you’re working over plywood, you need to ensure it’s rock-solid and securely fastened to the joists. Any flex in that floor is going to telegraph through your grout lines and eventually crack your tiles.
Before you even think about opening a bag of thin-set, grab your laser measurer and check for level. If you have dips or high spots, use a self-leveling underlayment to flatten the field. This is the single most important step for preventing lippage during tiling, which is that annoying, uneven lip where one tile sits higher than its neighbor. Trust me, when a potential buyer runs their foot over a lip in a high-end renovation, they don’t see “character”—they see a lack of professional craftsmanship.
Choosing the Right Tile Adhesive for Long Term Value
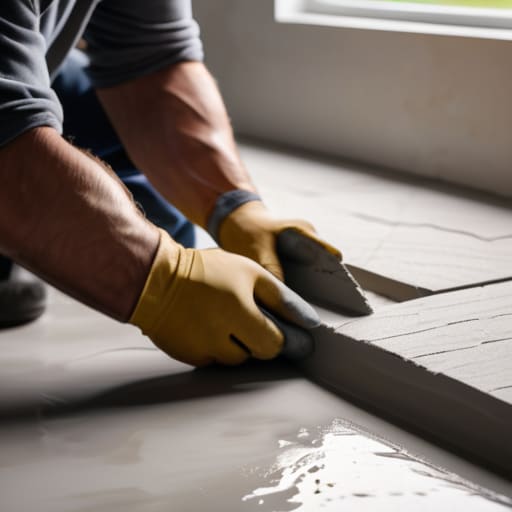
Look, I’ve seen too many beautiful, high-end renovations fall apart because someone tried to cut corners on the thin-set. If you’re looking at a heavy porcelain slab or a natural stone, you can’t just grab the cheapest bucket on the shelf and hope for the best. Choosing the right tile adhesive is about more than just sticking things to the floor; it’s about ensuring that your investment doesn’t start popping loose six months after the closing date. If you’re working with large-format tiles, you need a high-performance, polymer-modified mortar that can handle the weight and the slight shifts in the structure.
One of the biggest tiling mistakes to avoid is using an adhesive that doesn’t match your tile’s absorption rate. If you use a standard mortar for a highly absorbent stone, the tile will suck the moisture right out of the bond, leaving you with a hollow, crunchy mess underfoot. I always tell my clients: don’t skimp here. A premium adhesive might cost a few extra bucks upfront, but it’s a small price to pay for preventing lippage during tiling and ensuring those floors stay rock-solid for the next twenty years.
The Details That Separate a Flip from a Fail: 5 Tiling Essentials
- Stop obsessing over the pattern and start focusing on the layout. I’ve seen too many rookies start in a corner only to realize they’ve left themselves with a tiny, ugly sliver of tile against the far wall. Find your centerline first and dry-lay your tiles to ensure your cuts are balanced and intentional.
- Don’t skimp on the grout quality. If you’re looking to build long-term equity, you want a grout that actually resists staining and cracking. I always lean toward high-performance, pre-mixed or polymer-modified grouts because I don’t have time to come back to a property six months later to scrub out discoloration.
- Check your leveling constantly. A single tile sitting a millimeter higher than its neighbor—what the pros call “lippage”—is a massive red flag for any savvy buyer. Use a leveling clip system; it’s a small upfront investment that saves you from a botched job and a much lower appraisal.
- Respect the drying time. I know it’s tempting to rush into grouting because you want to see the finished product, but if that adhesive hasn’t fully cured, you’re asking for disaster. Patience in the curing phase is what prevents tiles from shifting and ruining your margins.
- Plan your grout lines with the end goal in mind. If you’re working with large-format tiles, keep those grout lines minimal to create that sleek, seamless look that sells. But if you’re using handmade or textured tiles, give them some breathing room so the natural imperfections don’t look like mistakes.
The Bottom Line: Don't Cut Corners on the Foundation
Never skip the subfloor prep; a level base is the difference between a high-end finish and a cracked, money-losing disaster.
Invest in high-quality adhesive because cheap glue is a shortcut that will eventually cost you double in repairs and lost equity.
Treat every tile installation as a long-term asset play—if the prep work isn’t professional, the ROI won’t be either.
## The Real Cost of Cutting Corners
“If you try to save a few hundred bucks by rushing the layout or skimping on the thinset, you aren’t actually saving money—you’re just pre-ordering a massive repair bill that’ll eat your entire profit margin on the flip.”
Gareth Trelawny
The Bottom Line on Better Tiling
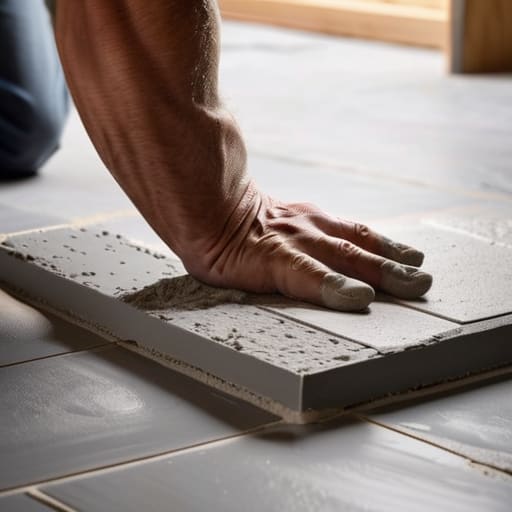
At the end of the day, tiling isn’t just about picking out a pretty pattern at the showroom; it’s about the grit you put in before the first piece even touches the floor. If you skimp on the subfloor prep or grab the cheapest adhesive just to save a few bucks on the budget, you aren’t saving money—you’re just scheduling a future disaster. I’ve seen too many investors lose their margins because they tried to cut corners on the technical stuff. Remember, the goal is to create a finish that looks high-end and, more importantly, stays that way long after the paint has dried. Invest in the prep, and the profit will follow.
I know that staring at a bare, dusty room can feel overwhelming, especially when you’re midway through a renovation and things are getting messy. But don’t let the dust intimidate you. Every perfectly leveled tile and every clean grout line is a step toward increasing your property’s value and building that generational wealth we’re all after. It’s about seeing the vision through the chaos. Take your time, measure twice, and don’t be afraid to get your hands dirty. You aren’t just laying tile; you are building equity, one square foot at a time.
Frequently Asked Questions
How do I figure out if I should go with a standard grout or an epoxy grout to avoid staining issues down the line?
Look, if you’re renovating a high-traffic area like a kitchen backsplash or a shower floor, just bite the bullet and go with epoxy. Standard grout is basically a sponge; it’ll soak up every drop of grease or soap scum until it looks filthy, and then you’re stuck scrubbing for hours. Epoxy is more expensive and a total pain to apply, but it’s non-porous. It stays clean, which means less maintenance and better long-term value.
What’s the best way to choose a tile pattern that actually makes a small, cramped bathroom feel more expensive?
Stop thinking about what looks “pretty” and start thinking about visual lines. If you want to trick the eye into seeing space, go with a large-format tile and minimal grout lines; it reduces visual clutter and makes the floor feel continuous. If you’re feeling bold, a vertical stack pattern can draw the eye upward, making low ceilings feel much higher. Just remember: keep the grout color close to the tile to avoid a choppy, cramped look.
When am I actually going to see a return on investment from high-end tile versus just using something budget-friendly?
Look, if you’re flipping a budget rental, don’t waste the capital on hand-painted Moroccan cement tiles. You won’t see that money back. But if you’re targeting the mid-to-high-end market, that’s where the ROI lives. High-end tile in high-impact zones—like a primary ensuite or a kitchen backsplash—creates that “wow” factor in listing photos. It signals quality and tells buyers the house hasn’t been skimped on, allowing you to push your asking price higher.
