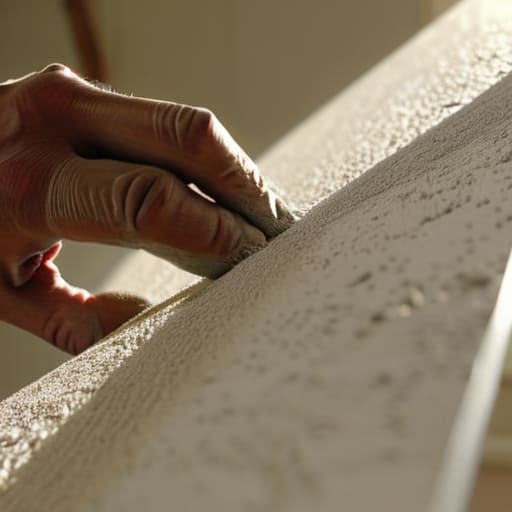
I’ll never forget the look on my first client’s face when I walked into that mid-century bungalow and saw a massive, water-stained crater staring down from the living room. Most contractors would have immediately quoted them five figures for a full tear-out and replacement, but I knew better. They saw a catastrophe; I saw a lucrative opportunity. People love to act like ceiling repair is some terrifying, structural death sentence that requires a specialized crew and a massive loan, but that’s just how they keep their margins high. In reality, most of these issues are just symptoms of much smaller, fixable problems that are standing between you and a beautiful, high-value room.
I’m not here to give you a sanitized, textbook lecture on drywall composition. I’m going to show you exactly how I tackle these messes on my own job sites to maximize my ROI. We’re going to strip away the intimidation and focus on the practical, dirty work required to turn a crumbling surface into a polished, professional finish. By the time we’re done, you won’t just know how to patch a hole; you’ll know how to handle a repair like a seasoned investor.
Table of Contents
Decoding Ceiling Crack Causes and Solutions
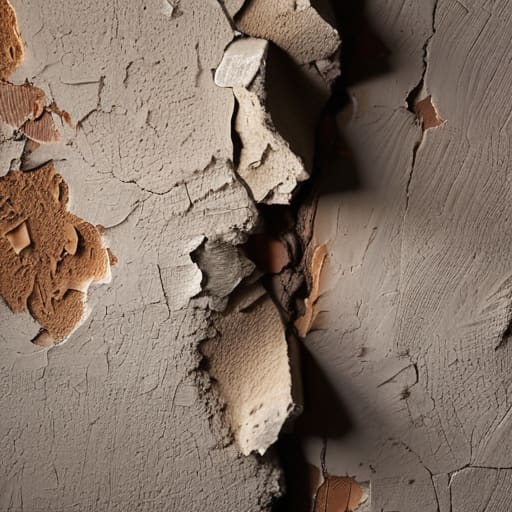
When I first walk into a neglected fixer-upper, I don’t just see a crack; I see a diagnostic puzzle. Before you even grab your putty knife, you have to play detective. If that crack is hairline and superficial, it’s likely just the house “breathing” due to seasonal temperature shifts. But if it’s a wide, jagged fissure, you’re looking at structural movement or settling. Understanding these ceiling crack causes and solutions is the difference between a weekend DIY project and a massive headache that eats your profit margins.
The real killer, though, is moisture. If you see discoloration or bubbling, stop everything. You aren’t just dealing with aesthetics; you’re fixing water damaged ceilings that could be hiding mold or rotting joists. Once the leak is plugged, you have to decide between plaster vs drywall repair depending on the era of the home. Old-school plaster requires a much more delicate touch and specific mesh tapes, whereas modern drywall is more forgiving. Identifying the source early ensures you aren’t just slapping a bandage on a wound that’s still bleeding.
Plaster vs Drywall Repair Choosing Your Weapon
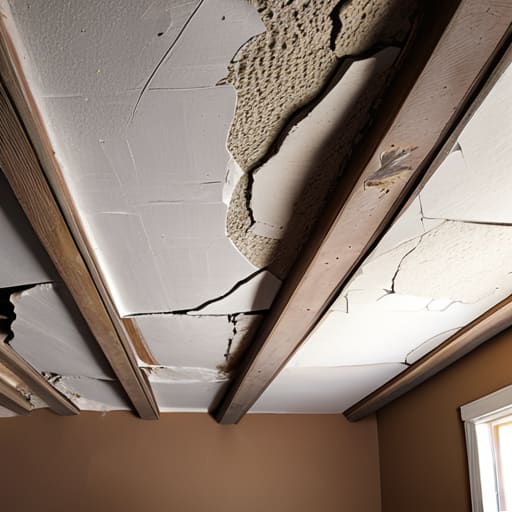
Before you pick up a putty knife, you need to know exactly what you’re fighting. If you’re walking into an older fixer-upper, there’s a high chance you’re dealing with original plaster. It’s heavy, it’s stubborn, and it’s prone to massive, crumbling chunks if you aren’t careful. While plaster vs drywall repair might seem like a minor distinction, the labor difference is night and day. Plaster requires a more nuanced touch and often more specialized materials to ensure the patch actually bonds with the old substrate.
On the flip side, modern drywall is much more forgiving and significantly faster to work with. If you’re tackling a standard renovation, most of your drywall repair techniques will involve simple taping and mudding that any DIYer can master with a bit of patience. However, don’t get cocky; if you’re fixing water damaged ceilings, the material matters less than the source of the leak. Whether it’s brittle plaster or a soft sheet of gypsum, you have to ensure the structural integrity is restored before you even think about aesthetics.
My Pro-Tips for Avoiding a Ceiling Disaster
- Never, and I mean never, patch over a crack without finding the source first; if you’re just covering up a structural shift or a leak with spackle, you’re literally throwing your renovation budget down the drain.
- Invest in a high-quality light meter or a powerful work lamp to inspect your repairs; shadows are the enemy of a smooth finish, and you don’t want to realize a patch is lumpy only after the buyer’s inspector shows up.
- If you’re dealing with old plaster, don’t try to be a hero with just a putty knife; grab some mesh tape to reinforce the area, otherwise, that crack will be back before you’ve even finished your first cup of coffee.
- Always check the attic or the floor above before you start sanding; I’ve seen too many investors lose money because they fixed a water stain but ignored the slow-dripping pipe that caused it in the first place.
- Don’t skimp on the primer; if you skip the prep work and go straight to paint, your repair will look like a textured scar on an otherwise perfect ceiling, and that’s a massive red flag during a walkthrough.
The Bottom Line on Ceiling Fixes
Don’t panic at the first sign of a crack; identify if it’s just settling or a structural red flag before you start patching, so you don’t waste money on a cosmetic fix for a deep-seated problem.
Choose your materials wisely by matching the repair method to the existing substrate—trying to patch plaster with drywall compound is a recipe for a hairline crack returning in six months.
Treat every ceiling repair as an equity play, focusing on a seamless finish that makes the room feel intentional rather than “repaired,” because buyers notice a sloppy ceiling immediately.
The Equity in the Details
A crack in the ceiling isn’t just a maintenance headache; it’s a diagnostic tool. If you learn to read what those fissures are actually telling you, you can stop fearing the repair bill and start seeing the opportunity to protect your margins.
Gareth Trelawny
The Bottom Line on Ceiling Repairs
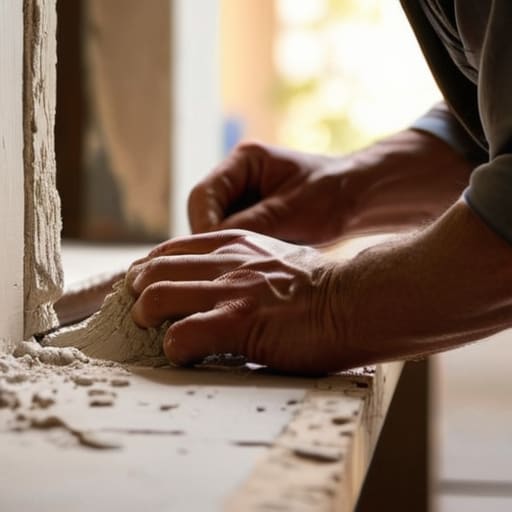
At the end of the day, fixing a ceiling isn’t just about smoothing out some bumps; it’s about understanding the structural story the house is trying to tell you. Whether you’re dealing with a simple hairline crack in the drywall or a more complex plaster issue caused by settling, the key is to diagnose before you decorate. Don’t rush into a cosmetic patch if there’s an underlying moisture problem or a shifting joist, because that’s how you end up wasting your capital on a repair that won’t hold. Once you’ve correctly identified your “weapon”—be it fresh drywall or a careful plaster skim—you can move forward with the confidence that you aren’t just masking a problem, you’re building a lasting foundation for your renovation.
I know that staring up at a water-stained or crumbling ceiling can feel overwhelming, especially when you’re trying to keep your budget tight and your timeline even tighter. But remember, every crack you fix and every uneven surface you level is a direct investment in your property’s value. These aren’t just chores; they are the strategic moves that turn a neglected house into a high-value asset. Don’t let the mess intimidate you. Grab your tools, stay pragmatic, and keep your eyes on the prize: turning that crumbling plaster into solid equity.
Frequently Asked Questions
How do I know if a crack in my ceiling is just cosmetic or a sign of serious structural issues that'll tank my ROI?
Look, I’ve seen both, and the difference is everything for your bottom line. If it’s a hairline crack or a tiny spiderweb pattern, it’s likely just settling—patch it, paint it, and move on. But if that crack is wider than a quarter, running diagonally, or if you see actual sagging, stop. That’s a structural red flag that could turn a quick flip into a money pit. When in doubt, get an inspector before you commit.
Is it actually worth the sweat equity to patch old plaster myself, or should I just bite the bullet and hire a pro?
Look, if it’s a minor hairline crack or a small patch, grab your tools and do it yourself. That’s pure profit staying in your pocket. But if you’re staring at a ceiling that’s actively bowing or crumbling in large chunks, stop. Plaster is temperamental, and a botched DIY job will cost you more in professional repairs later than you’ll save now. Know when to sweat for your equity and when to call in the pros.
What’s the best way to prep a repaired ceiling so the new paint job doesn't look like a patchy, amateur mess?
The biggest mistake I see? Skimping on the sanding. If you leave even a tiny bump from your joint compound, it’ll scream “amateur” once the light hits it. Once you’ve smoothed things out, hit it with a high-quality primer. Don’t just slap regular paint over the patch; the texture will absorb it differently and leave a dull spot. Prime it first to seal everything, then paint the entire ceiling to ensure a seamless finish.
