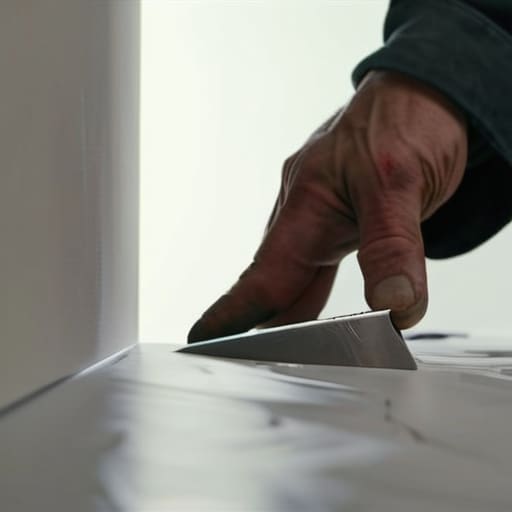
I was standing in the middle of a gutted bungalow in East Nashville, staring at a wall that looked more like a topographical map of the Andes than a flat surface. My contractor had just walked off the job, leaving me with a pile of mud, a handful of sanding blocks, and a mounting sense of dread. Most people think drywall finishing is some magical skill reserved for seasoned pros with decades of experience, but that’s a lie that keeps amateur investors from actually building equity. The truth? It isn’t about having steady hands; it’s about understanding the patience required to layer that mud correctly so you don’t end up with a wavy, amateur mess once the light hits it.
I’m not here to sell you a dream of effortless perfection; I’m here to give you the grit. In this guide, I’m breaking down the actual, unvarnished process of drywall finishing so you can stop outsourcing the small stuff and start controlling your margins. We’re going to cover everything from the right way to tape your seams to the precise sanding techniques that make a wall look seamless under any lighting. If you’re ready to get your hands a little messy to turn a crumbling room into a high-value asset, let’s get to work.
Table of Contents
- Step-by-Step Instructions
- Mastering Taping Drywall Seams to Prevent Costly Cracks
- Selecting Professional Drywall Finishing Tools for Maximum Equity
- Pro Moves to Save Your Margin and Your Sanity
- The Bottom Line on Drywall Success
- ## The Real Cost of a Sloppy Finish
- Turning Dust into Dollars
- Frequently Asked Questions
Guide Overview
Tools & Supplies
- Drywall knives (6-inch and 10-inch for taping and smoothing)
- Mud pan (to hold joint compound)
- Sanding sponge (medium and fine grit)
- Corner tool or taping knife (for inside corners)
- Joint compound (1 bucket of all-purpose or lightweight)
- Drywall tape (1 roll of paper or mesh tape)
- Sandpaper (various grits for smoothing)
Step-by-Step Instructions
- 1. First, you need to prep the surface, and I mean really prep it. Grab your utility knife and trim away any frayed paper edges or loose bits of mud that are hanging on for dear life. If you leave those imperfections now, they’ll show up like a sore thumb once you hit them with the lights. Take a sanding sponge to the joints to ensure everything is flush, because a clean start is the difference between a professional finish and a DIY disaster.
- 2. Once the surface is smooth, it’s time to tape your seams. I always reach for paper tape over the mesh stuff for my bigger flips because it’s way more stable and less likely to crack later on. Apply a thin layer of all-purpose joint compound to the seam, press your tape into it, and then use your knife to squeeze out the excess. You want the tape embedded, not floating in a thick, messy glob.
- 3. Now we move into the first coat, often called the “bedding” coat. Use a wide taping knife to spread the compound over the tape, feathering the edges outward so the transition from the mud to the drywall is as seamless as possible. Don’t worry if it looks a little rough at this stage; the goal here is structural integrity, not perfection. You’re building the foundation of your finish.
- 4. After that first coat has dried completely—and I mean bone dry—you’ll need to do some light sanding to knock down any ridges or bumps. Once the dust is cleared, apply your second coat. This time, use a wider knife to cover a larger area. You’re essentially trying to camouflage the seam by spreading the compound further and further out from the center. This is where the magic of “feathering” actually happens.
- 5. For the third and final coat, we’re talking about the “skim coat.” Use your thinnest layer of compound to fill in any tiny pinholes or scratches that surfaced during your previous sanding sessions. I like to keep this layer incredibly thin to avoid heavy sanding later. This is your last chance to catch those pesky imperfections before the paint goes on.
- 6. The final step is the most grueling but the most rewarding: the final sand. Use a fine-grit sanding sponge and a bright work light held at an angle against the wall to reveal every single shadow or dip. If you see a bump, sand it; if you see a dip, add a tiny bit more mud and repeat. When you can run your hand across the wall and not feel a single transition, you’ve officially turned a crumbling wall into solid equity.
Mastering Taping Drywall Seams to Prevent Costly Cracks
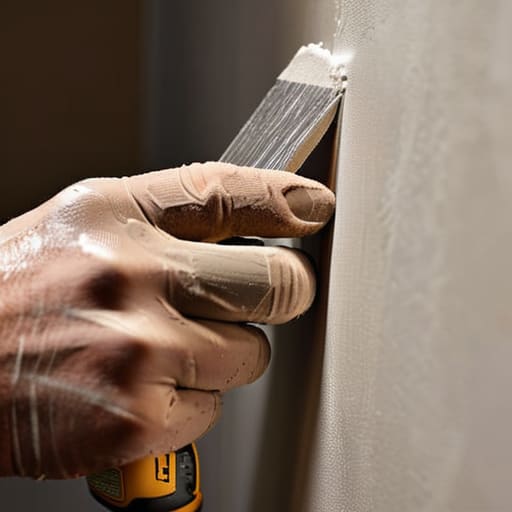
If you want to avoid the nightmare of a client calling you six months later because a hairline fracture appeared in the living room, you have to get serious about taping drywall seams. I’ve seen too many amateur flippers rush this stage just to get to the paint, only to watch their hard-earned equity literally split apart. The secret isn’t just about slapping the tape on; it’s about ensuring the bond is absolute. I always recommend using a high-quality paper tape rather than mesh if you’re looking for maximum durability in high-traffic areas.
When you’re applying the first coat of joint compound over that tape, remember that less is often more. You aren’t trying to build a mountain of mud; you’re trying to embed the tape so it becomes one with the board. Use a wide taping knife to press the compound into the seam, squeezing out any excess air bubbles that could cause a bulge later. If you don’t get that initial layer perfectly flat, no amount of sanding is going to save you from a visible bump under the lights.
Selecting Professional Drywall Finishing Tools for Maximum Equity
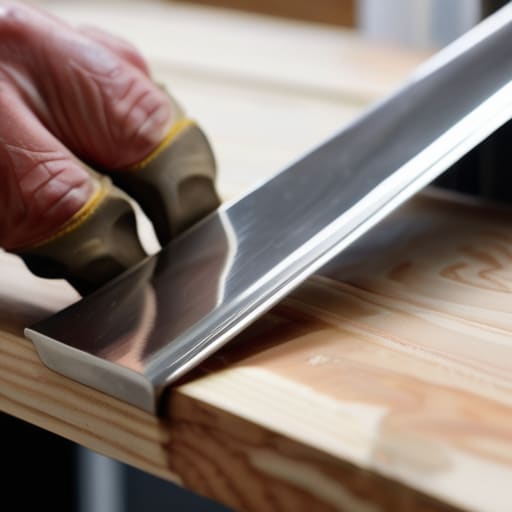
Look, I’ve seen too many rookie investors blow their margins because they tried to save a few bucks on cheap, flimsy knives. If you’re serious about turning a profit, you can’t treat your tool kit like an afterthought. You need a set of high-quality drywall finishing tools—specifically stainless steel taping knives and a reliable mud pan—that won’t flex or bend when you’re under pressure. When you’re applying the first coat of joint compound, a stiff, well-made knife is the difference between a professional-grade surface and a wavy mess that requires hours of extra sanding.
I always tell my clients that the right gear is an investment in your time, and in this business, time is literally money. Don’t just grab whatever is on sale at the big-box store; look for ergonomic handles and blades that hold a crisp edge. Having a quality hawk and a variety of corner trowels will make mastering different smooth wall texture methods significantly easier. If your tools are up to the task, you’ll spend less time fighting the material and more time building real equity through a flawless finish.
Pro Moves to Save Your Margin and Your Sanity
- Stop chasing perfection on the first pass; your goal is to build up thin, even layers rather than trying to hide a massive gap with one thick, heavy coat that’s guaranteed to crack.
- Invest in a high-quality lighting setup, like a handheld LED work light, to catch those shadows and bumps that your eyes will inevitably miss once the overheads are on.
- Don’t skip the sanding prep; if you don’t wipe away every speck of dust before your final coat, you’re just sealing imperfections under a layer of expensive mud.
- Watch your moisture levels like a hawk, because applying fresh compound over a damp patch is a fast track to a failed inspection and wasted time.
- Keep your mud consistency consistent—if it feels like peanut butter one minute and water the next, your finish is going to be a nightmare to sand down later.
The Bottom Line on Drywall Success
Don’t cut corners on your tape job; a sloppy seam is a crack waiting to happen, and fixing it later eats directly into your profit margins.
Invest in quality tools upfront because cheap knives and bad pans will turn a simple finish into a multi-day nightmare that stalls your entire renovation timeline.
Treat the finishing process as a way to build equity, not just a chore—smooth, professional walls are often what separate a mediocre flip from a high-value asset.
## The Real Cost of a Sloppy Finish
“In this business, you can’t hide a bad drywall job behind a coat of expensive paint; if your seams aren’t seamless, you aren’t building equity, you’re just building a liability that’ll haunt your inspection report.”
Gareth Trelawny
Turning Dust into Dollars
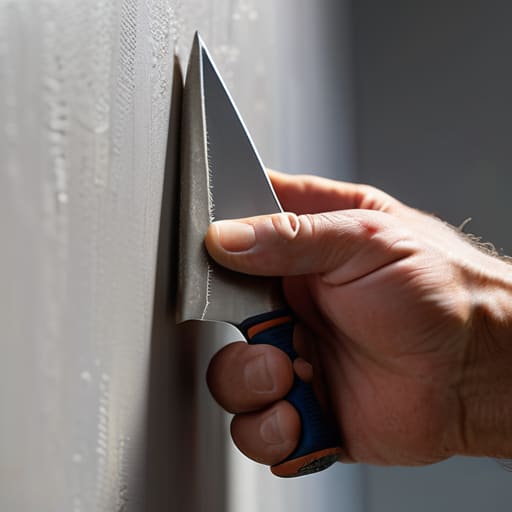
At the end of the day, a flawless drywall finish isn’t just about making a room look pretty; it’s about the structural integrity and the long-term value of the property. We’ve covered everything from selecting the right professional-grade tools to the precision required for taping those seams so they don’t crack the moment a tenant moves in. If you skip the prep work or try to cut corners on your finishing technique, you’re essentially throwing money down the drain. Remember, the goal is to create a surface so seamless that it becomes a silent asset rather than a maintenance headache. When you master these steps, you aren’t just smoothing out walls; you are protecting your investment margins from the very start.
I know that standing in a room covered in white dust, staring at a pile of mud and tape, can feel overwhelming. It’s messy, it’s exhausting, and it’s definitely not glamorous. But that’s exactly where the profit lives. The difference between a amateur flip and a professional-grade renovation is found in these granular, often tedious details. Don’t let the grit discourage you. Every smooth coat and every perfectly sanded corner is a step closer to building that generational wealth we all work so hard for. Keep your laser measurer handy, stay patient with the drying times, and keep pushing forward. You’re turning crumbling walls into solid equity, one pass at a time.
Frequently Asked Questions
How do I know when I've applied enough mud to hide the seams without making the sanding process a total nightmare?
The secret is to stop thinking about “hiding” the seam and start thinking about “feathering” it. If you pile on thick layers to bury the tape, you’re just creating a mountain of dust and a sanding nightmare later. Aim for a thin, consistent coat that gradually widens as you move outward. You want the transition to feel seamless to your trowel, not a heavy ridge. If it looks slightly uneven now, don’t sweat it—it’s easier to skim a thin layer than to grind down a hump.
Is it actually worth investing in high-quality joint compound, or can I save my margins by using the cheaper stuff from the big-box stores?
Look, I get the urge to squeeze every cent out of a rehab, but don’t cheap out on your joint compound. I’ve seen too many rookies try to save fifty bucks on a bucket only to spend five hundred in labor trying to sand down the grit and bubbles from the cheap stuff. High-quality compound spreads smoother and dries more predictably. If you want to protect your margins, buy the good stuff; it saves you time, and in this business, time is equity.
How can I tell if a crack in my finished drywall is just a minor settling issue or a sign of a much more expensive structural problem?
Look, I’ve seen both. If it’s a hairline crack following a seam, it’s likely just minor settling—patch it, tape it, and move on. But if that crack is diagonal, wider than a nickel, or traveling through a corner where walls meet the ceiling, stop everything. That’s a red flag for structural movement. Don’t just slap mud over it; you need to find the source before you waste a dime on aesthetics.
